p.
6
- M
anu
al
FA0
158
1-
EN
-
03
/2
02
1 - © C
AM
E Ö
ZA
K. - T
ra
ns
la
tio
n o
f t
he o
rig
in
al i
ns
tru
ct
io
ns - T
he c
on
te
nt
s o
f t
hi
s m
anu
al m
ay c
ha
ng
e, a
t a
ny t
ime
, a
nd wi
th
ou
t n
ot
ic
e.
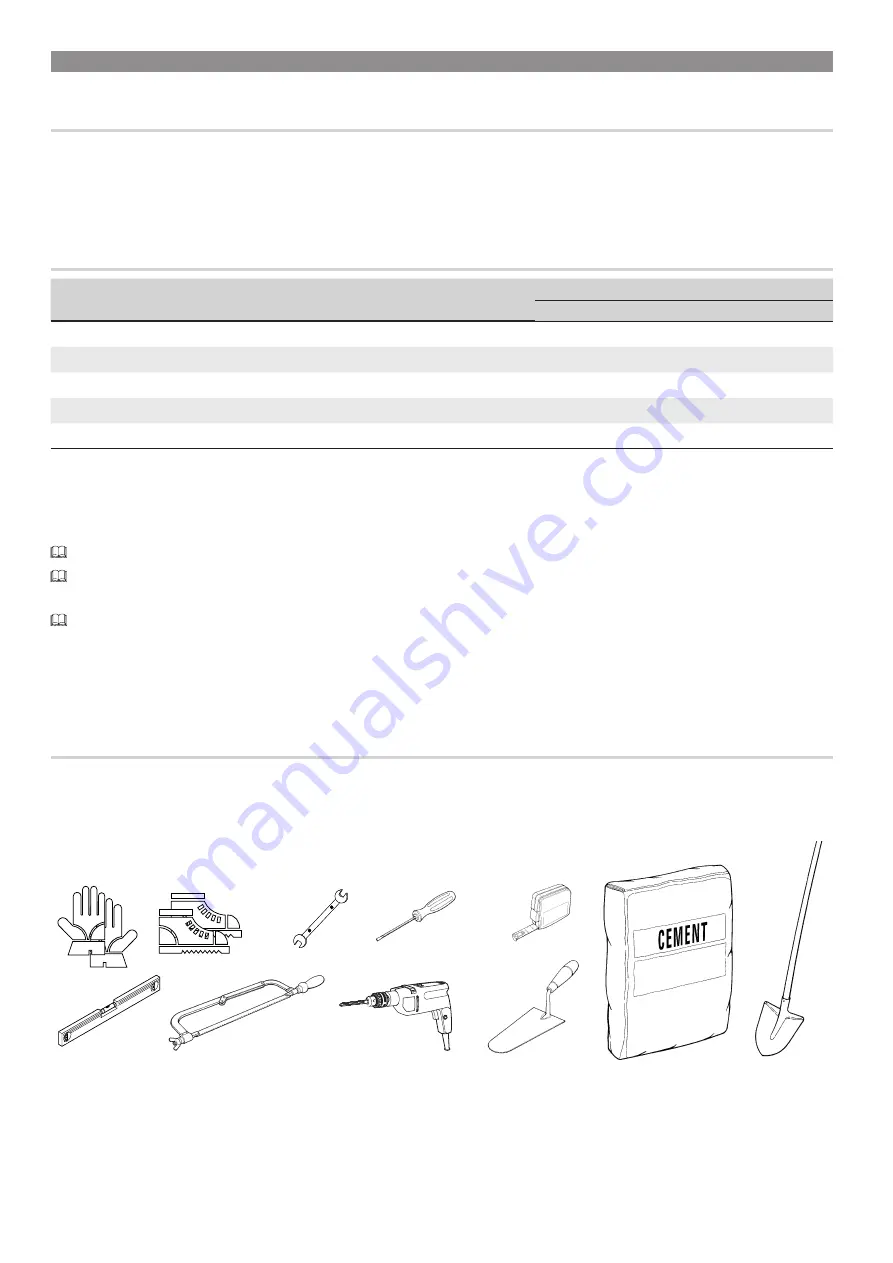
TOOLS AND MATERIALS
Make sure you have all the tools and materials you will need for installing in total safety and in compliance with applicable regulations.
The figure shows some of the equipment installers will need.
GENERAL INSTRUCTIONS FOR INSTALLING
⚠
Only skilled, qualified staff must install this product.
PRELIMINARY CHECKS
⚠
Before beginning, do the following:
• make sure the plate is anchored to a solid spot;
• checkthat there are no obstructions or impediments near the cabinet; • set up suitable tubes and conduits for the electric cables to
pass through, making sure they are protected from any mechanical damage.
CABLE TYPES AND MINIMUM THICKNESSES
Connection
cable length
< 20 m
20 < 30 m
Input voltage for 230 V AC control board (1P+N+PE)
3G x 1.5 mm
2
3G x 2.5 mm
2
Command and control devices
2 x 0.5 mm
2
Signaling devices
2 x 0.5 mm
2
TX photocells
2 x 0.5 mm
2
RX photocells
4 x 0.5 mm
2
⚠
When operating at 230 V and outdoors, use H05RN-F-type cables that are 60245 IEC 57 (IEC) compliant; whereas indoors, use
H05VV-F-type cables that are 60227 IEC 53 (IEC) compliant. For power supplies up to 48 V, you can use FROR 20-22 II-type cables
that comply with EN 50267-2-1 (CEI).
To connect the antenna, use the RG58 (we suggest up to 5 m).
If cable lengths differ from those specified in the table, establish the cable sections depending on the actual power draw of the
connected devices and according to the provisions of regulation CEI EN 60204-1.
For multiple, sequential loads along the same line, the dimensions on the table need to be recalculated according to the actual
power draw and distances. For connecting products that are not contemplated in this manual, see the literature accompanying said
products


