11
DVD89
Audio setup page continued
7.
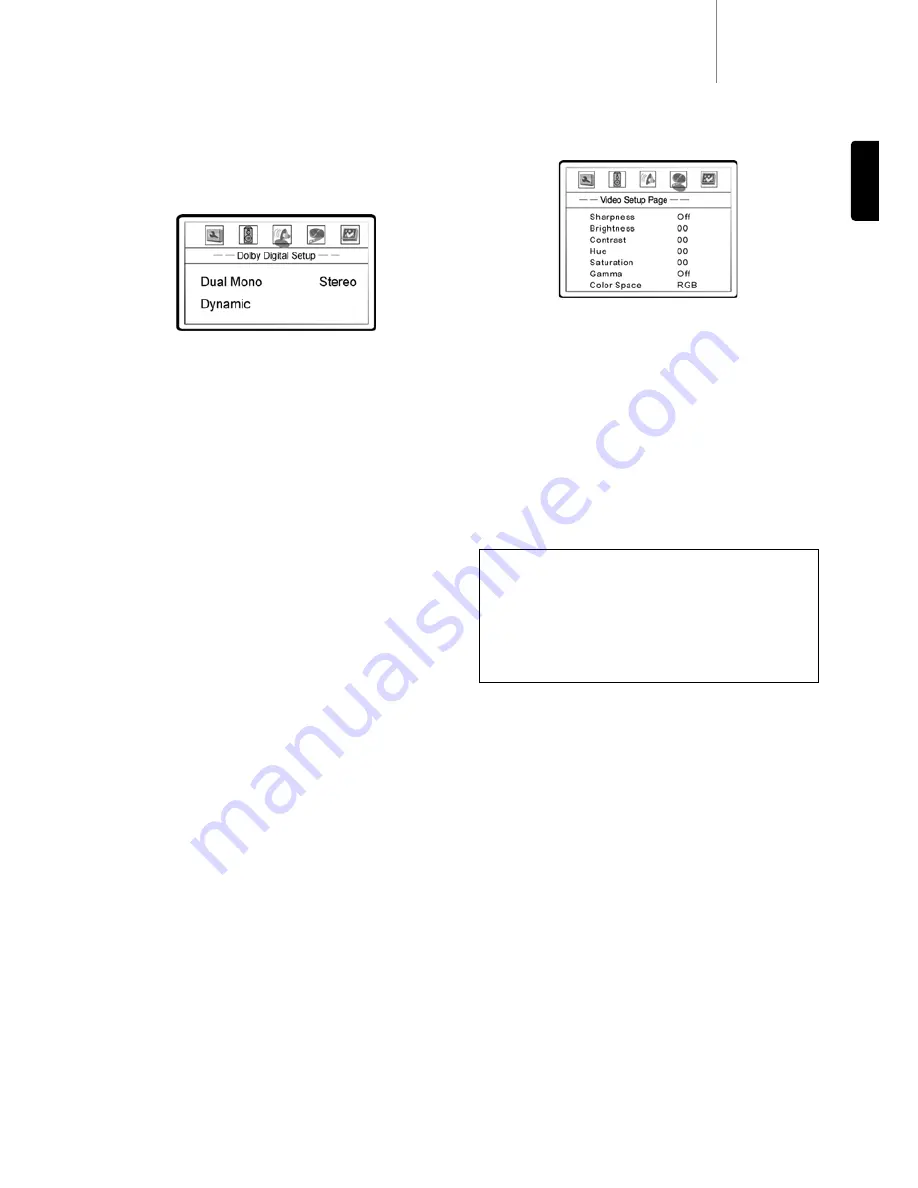
Dolby Digital Setup:
To configure the Dolby Digital decoder, press the
SELECT button to enter the Dolby Digital Setup page and press the
LEFT ARROW button to exit the Dolby Digital Setup page.
A.
Dual Mono:
To choose the output for Dolby Digital discs encoded with
two independent audio channels, such as bilingual programs. The
options are:
•
Stereo
– Stereo output
•
L-Mono
– Left channel output to both Left and Right speakers.
•
R-Mono
– Right channel output to both Left and Right speakers.
•
Mix Mono
– Left and Right channels mixed to both Left and Right
speakers.
B.
Dynamic:
To set the Dynamic Range Compression (DRC). DRC can
smooth out the sonic peaks and valleys common with wide-range
digital audio. Increasing DRC may make low level audio more audible
during low-level listening. Decreasing or turning off DRC restores the
sonic energy present in the original recording.
8.
HDMI Audio:
Turns the audio output from the HDMI port on or off.
A.
Multi-Channel
– Digital audio output via HDMI will be multi-channel
PCM format (HDMI 1.1 audio). The Down-mix setting in the “Speaker
Setup Page” will affect whether and how multichannel audio content
will be down-mixed to stereo. When this option is selected,
compressed audio bit streams will decoded by the DVD player.
B.
SPDIF
– Digital audio output via HDMI will be the same as the SPDIF
(digital coaxial
/
optical audio) output. The SPDIF setting will affect
whether 2-channel PCM or raw compressed bit streams will be
carried over via HDMI. When this option is selected and SPDIF is set
to “Raw”, the TV or HDMI A
/
V receiver must decode compressed
audio formats. (Copyright protection on some DVD-Audio and Super
Audio CD discs may prevent audio output via HDMI with this setting.)
C.
Off
– No digital audio output via HDMI.
Video setup page
1.
Sharpness:
To set the sharpness of video output. Sharpness level can
be set with the following options:
•
Sharp
– Enables edge enhancement which is an artificial and picture-
degrading feature. We recommend leaving this off.
•
Soft
– Softens edges by smoothing the image which may cause slight
loss of details.
•
Off (recommended)
– Turns off edge enhancement completely.
2.
Brightness:
Adjusts the brightness (black level) of the video output.
• Press the SELECT button to show the Brightness scale, and then use
the LEFT
/
RIGHT ARROW buttons to adjust.
• Press the SELECT button to confirm the new setting.
3.
Contrast:
Adjusts the contrast (white level) of the video output.
4.
Hue:
Adjusts the hue (tint) of the video output.
5.
Saturation:
Adjusts the saturation (color intensity level) of the video
output.
6.
Gamma:
Adjusts the Gamma (the actual transition from black to
white) of the video output. The available settings are High, Medium,
Low and Off.
7.
Color Space:
Selects the color space for the HDMI output. The
available options are:
•
Auto (recommended)
– Allows the DVD player to automatically select
the best color space based on capability information collected from
the TV display.
•
YCbCr 4:4:4
– Forces YCbCr 4:4:4 color space. If you select this option
please make sure that your TV is configured to accept YCbCr 4:4:4
signals, otherwise the video color will be incorrect.
•
RGB
– Forces RGB color space. If you select this option please make
sure that your TV is configured to accept RGB signals, otherwise the
video color will be incorrect.
Important: The ability to set brightness and contrast is no small thing.
If you do not have the correct black and white levels then your images
can appear washed out or you won’t be able to see into the shadows
when watching darker scenes in movies. Televisions have brightness
(black level) and contrast (white level) controls; however it may take a
combination of tweaking both the DVD player and your television to
get just the right result. We recommend using a calibration DVD like
AVIA Guide to Home Theater or Digital Video Essentials and setting
your display for the best possible picture. Once that is done, see if the
DVD player settings can get even closer.
ENGLISH


