3-2 SmartSwitch 9A100 Installation and Setup Guide
Switch Configuration
Configuring the Switch
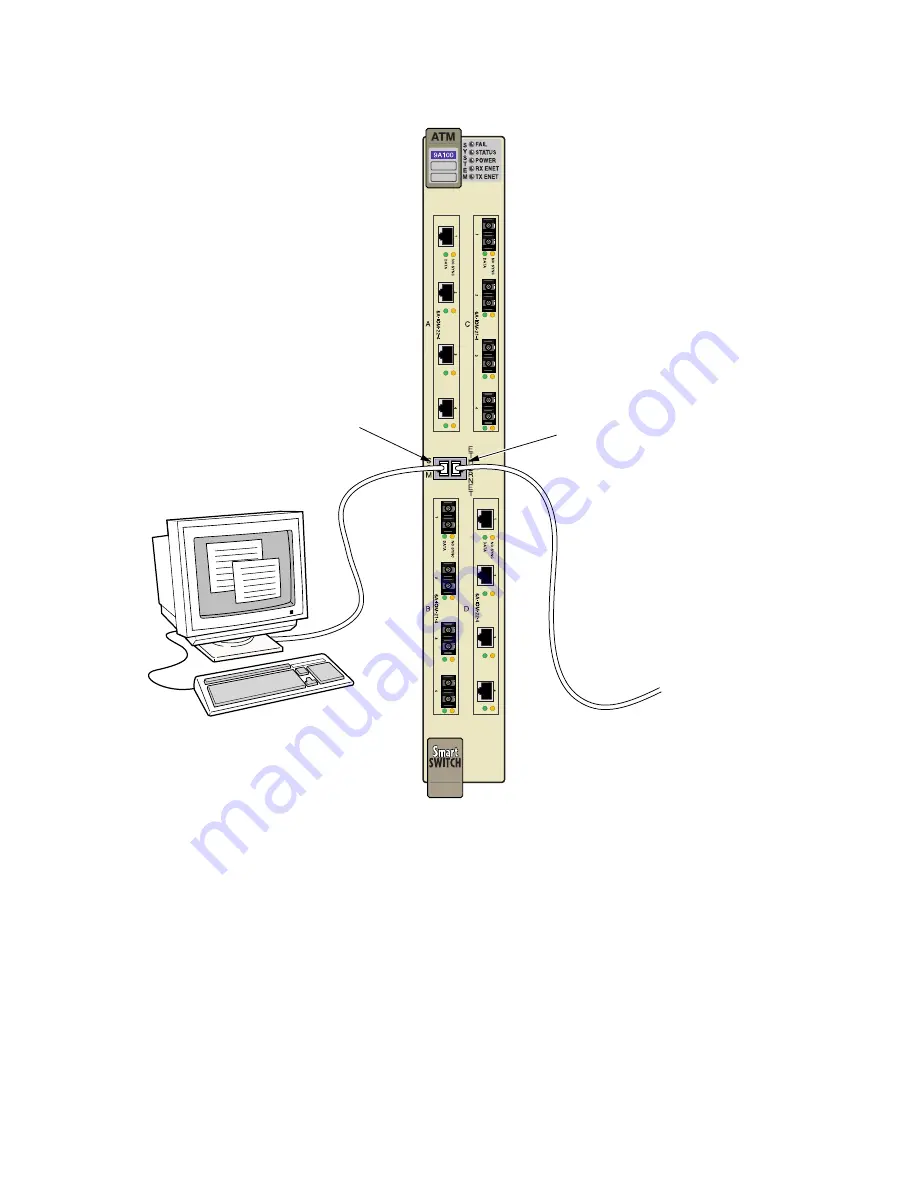
Figure 3-1 SmartSwitch 9A100 console and network connections
5.
Start the dumb terminal or PC and its terminal emulation software; then turn on the SmartSwitch
9A100 switch.
6.
As the SmartSwitch 9A100 powers up, a series of diagnostic messages appears on the terminal’s
screen.
7.
After the diagnostics are finished, the switch prompts for a password. Enter the default password,
“
admin
.”
8.
The switch prompts for the information necessary to make the switch accessible through your
Ethernet network. Supply the following information:
•
Switch name
Terminal
Ethernet
Network
Terminal
RJ-45
Port
Ethernet
RJ-45
Port
Содержание SmartSwitch 9A100
Страница 10: ...x SmartSwitch 9A100 Installation and Setup Guide Table of Contents A 7 Repair Services A 2...
Страница 12: ...xii SmartSwitch 9A100 Installation and Setup Guide List of Figures...
Страница 14: ...xiv SmartSwitch 9A100 Installation and Setup Guide List of Tables...
Страница 16: ...1 2 SmartSwitch 9A100 Installation and Setup Guide Introduction...
Страница 22: ...2 6 SmartSwitch 9A100 Installation and Setup Guide Installing the Switch Switch Installation...
Страница 32: ...3 10 SmartSwitch 9A100 Installation and Setup Guide Using the Console Configuring the Switch...
Страница 44: ...4 12 SmartSwitch 9A100 Installation and Setup Guide Managing Your ATM Network ATM Administrator...
Страница 49: ...SmartSwitch 9A100 Installation and Setup Guide 5 5 Specifications TechnicalSpecifications...
Страница 50: ...5 6 SmartSwitch 9A100 Installation and Setup Guide Technical Specifications Specifications...


