C.T.M. MOBILITY SCOOTER
7-Series
Instruction Booklet
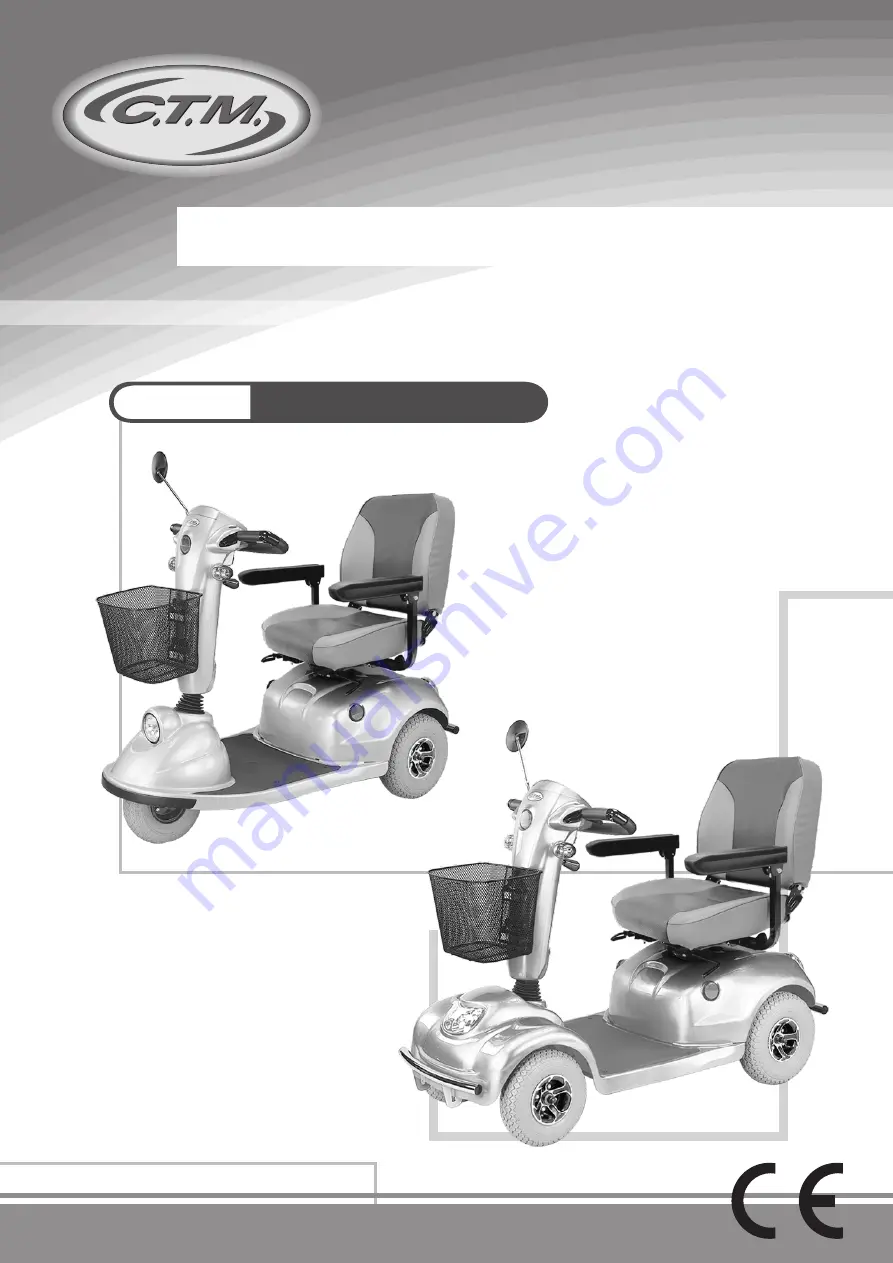
HS-735
HS-745
Страница 1: ...C T M MOBILITY SCOOTER C T M MOBILITY SCOOTER C T M MOBILITY SCOOTER 7 Series Instruction Booklet HS 735 HS 745...
Страница 2: ...INTERFERENCE AND WARNINGS SAFETY WARNING AND INSTRUCTION LABELS IDENTIFICATION OF PARTS OPERATING YOUR SCOOTER DISASSEMBLING YOUR SCOOTER ASSEMBLING YOUR SCOOTER CHARGING THE BATTERIES CARE AND MAINTE...
Страница 3: ...We pride ourselves on providing safe and comfortable products Our goal is to ensure your complete satisfaction with our product We are certain that you will enjoy your C T M mobility scooter Please r...
Страница 4: ...escending or traversing aslope or incline and also on uneven terrain ramps and soft or loose surfaces such as gravel or grass To prevent any danger do not turn around at high speed on ascending descen...
Страница 5: ...ore common sources of radiated EMI The immunity level of this motorized scooter model is not known There are a number of sources of relatively intense electromagnetic fields in the everyday environmen...
Страница 6: ...fe 4 Be aware that adding accessories or components or modifying the motorized scooter may make it more susceptible to EMI and 1 20 volts per meter V m is a generally achievable and useful immunity le...
Страница 7: ...S 1 4 3 2 5 2 3 5 4 N D Lever adjustment label which instructs freewheel mode operation Never put scooter in neutral gear when staying on slopes Warning Sticker 1 Please read the instruction booklet c...
Страница 8: ...ostic Warning Light Power Reserve Indicator Amrest Width Adjustment Thumbscrews Rear Light and Turn Signals Rear Bumper Free Wheels Lever Anti Tip Wheels Warning button Horn button Speed Control Knob...
Страница 9: ...ing downward on the handle to loose Moving the handle to left to adjust Pushing up to lock tiller at comfortable angle BELOW SEAT Seat Locker Knob Turn the seat locker knob counterclockwise to loose T...
Страница 10: ...it and try the scooter again 8 When you are finished riding turn off the key before getting off 9 If you are finished riding for the day immediately recharge the batteries See CHARGING THE BATTERIES...
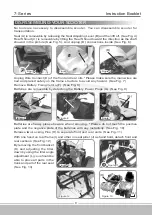
Страница 11: ...ISASSEMBLING YOUR SCOOTER No tools are necessary to disassemble scooter You can disassemble scooter for transportation Seat A is removable by releasing the Seat Adjusting Lever B and then lift off See...
Страница 12: ...on first making sure that the locking pins are removed 4 Slide the two sections of the unit together until the front half reaches its limits 5 Insert the two locking pins into their corresponding hole...
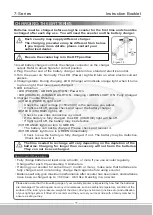
Страница 13: ...t position 2 Plug the other end of the battery charger cable into a standard electrical outlet 3 Turn the power on Normally The LED Power Light will turn on when electric current passes 4 Charging sta...
Страница 14: ...do not wobble Check if all lights such as head lights rear lights and turn signal are functioning correctly WEEKLY CHECK Check point Inspection What to do if the inspection is failed Speed Dial Knob...
Страница 15: ...be considerably reduced by extreme or incorrect usage The fact that we estimate a service life for this product does not constitute an additional warranty RECYCLING DISPOSAL SERVICE LIFE OTHER INFORMA...
Страница 16: ...se the stop condition seat raised etc Disconnect the battery charger Ensure the throttle is in Neutral when turning the controller on The throttle may require re calibration 5 Park Brake Either a park...
Страница 17: ...mph 7 5 mph 160 kg 355 lbs 85 mm 3 3 12 degree 70 mm 2 8 1100 mm 43 Front Rear Electro Mechanical 480 mm 19 700W 4100 r p m 2 12V 50Ah 30 5 kg 67 2 lbs 36 5 km 22 7 Miles 5A Off Board 1450 mm 57 685 m...