background image

Using your Set top box

Let’s get started

Using your Set top box

21

section of these instructions,  or online at 

www.argos-support.co.uk 

If you still require further assistance, call one of our experts on 

0345 604 0105.

Advanced settings

OSD time out

Adjust the amount of time any on-screen menus 
appear for when they are not being used.

LPM in stand-by

Enabling the LPM mode allows less power to be used 
when the set top box is in standby mode.

when using this function the time for the set top box 
to wake from standby is slightly longer.

Auto power down

Choose how the set top box behaves when not in use. 
Enabling a timer from 1-3 hours will force the set top 
box into standby mode when not used for that period 
of time.

Select from Off, 1 Hour, 2 Hours or 3 Hours.
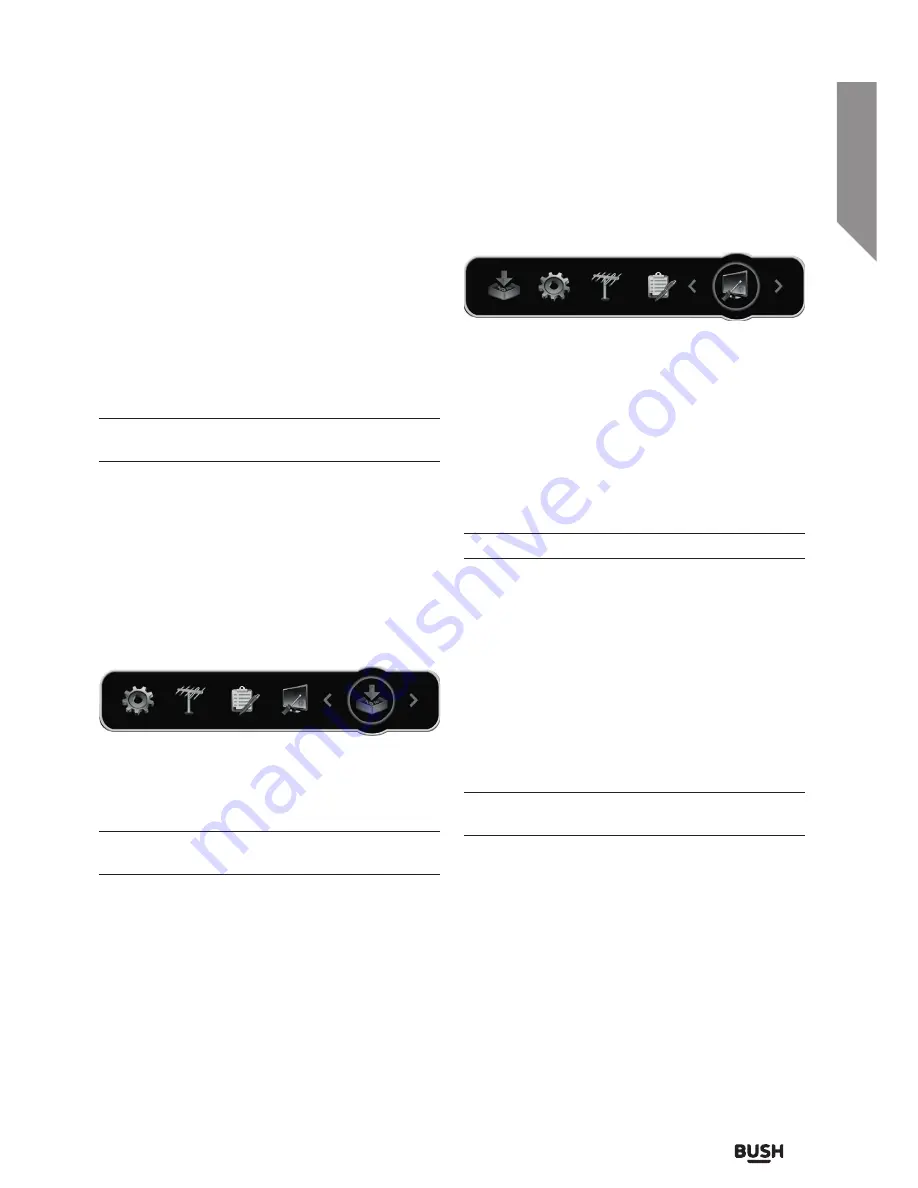
Software upgrade

S/W upgrade via OTA

Select this option to search for available software 
updates over the air.

No connection is required for these updates other 
than the aerial used for the set top box.

System configuration

Version

Select this option to display the current software 
version details. Press MENU to return back to the 
System Configuration menu.

Factory default

This function will erase all settings and stored channels 
and reset the set top box back to the default state it 
arrived in.

Any customised lists or settings will be erased.

When selecting this function, and option box checking 
you really want to perform this operation will appear. 
Select Yes and enter the default password ‘0000’. After 
a few seconds the set top box will re-start and proceed 
with the ‘First time installation’ process described on 
page 16.

Change password

Should you wish to change the default password from 
‘0000’ you can select this option and enter a new 
code.

The master override code should you forget your 
code is ‘3331’.

Diagnostics

Select this option to display diagnostic details. Press 
MENU to return back to the System Configuration 
menu.

Service information

Select this option to display service details. Press MENU 
to return back to the System Configuration menu.

Содержание FREEVIEWHD DV3 T2

Страница 1: ...Instruction manual CDVBT2 Set top box...

Страница 2: ...instructions Don t worry there s nothing too technical coming up Just simple step by step guidance to get you up and running quickly Sound good Then let s get started Help and Guidance We re here to h...

Страница 3: ...ance 30 Disposal 31 Guarantee 32 3 4 5 Safety information Safety information 6 Getting to know your Set top box Ready Let s begin 8 Accessories 8 Functions and features 9 Preperations 11 Connecting a...

Страница 4: ...This page is left intentionally blank...

Страница 5: ...1 Safety information...

Страница 6: ...ician for replacement In order to disconnect the apparatus from the mains completely switch off the outlet and remove the mains plug completely Do not bend stretch or pull the supply cable in order to...

Страница 7: ...Getting to know your Set top box 2...

Страница 8: ...contain important information which will help you get the best from your Set top box and ensure safe and correct installation and operation If you require any further assistance our technical experts...

Страница 9: ...V 1A Getting to know your Set top box You ll be up and running in no time 1 STANDBY button Press to switch the Set top box ON or OFF 2 LED POWER indicator Red OFF Green ON 3 IR sensor Remote control s...

Страница 10: ...settings Aud Press to adjust audio settings List Press to display a channel list for quick selection TV Radio Press switch between TV and Radio modes Mute Press to silence the audio output EPG Displa...

Страница 11: ...n guide to connect the Set top box to a TV with an HDMI input Ensure all devices are switched OFF before attempting any connections 1 Connect the coaxial cable from your aerial to the RF IN socket on...

Страница 12: ...and insert the jack into the DC INPUT on the rear of the set top box 4 When all the connections are made you can switch the power on for all devices If you have a TV with an internal tuner you can op...

Страница 13: ...Using your Set top box 3...

Страница 14: ...This page is left intentionally blank...

Страница 15: ...e schedules and basic operations Turning on the set top box 1 Press the STANDBY button on the remote or the set top box to power the box on 2 Press the STANDBY button on the remote or the set top box...

Страница 16: ...search 1 While viewing the channel list press the BLUE button to display the channel search interface 2 Use the navigation and OK buttons to type the name of a channel As you type the channel list wil...

Страница 17: ...o description options 2 Use the navigation buttons to select the language Then press the OK button 3 To disable audio descriptions repeat steps 1 2 but select OFF in step 2 Using the Electronic Progra...

Страница 18: ...ical order To the right is a list of genre s with a reference digit to the left 5 Use the buttons to select each channel for which a favourite is to be set and press the relevant digit on the remote t...

Страница 19: ...a new scan is performed 5 Using the buttons select a channel and press one of the option buttons 1 2 or 3 Repeat for any other channels you wish to edit 6 Press the OK button to store the settings Tel...

Страница 20: ...s from 0 100 Press the OK button to store the setting HD Resolution Adjust the screen resolution Press the OK button to store the setting Aspect ratio Adjust the screen aspect ratio Press the OK butto...

Страница 21: ...updates other than the aerial used for the set top box System con guration Version Select this option to display the current software version details Press MENU to return back to the System Configura...

Страница 22: ...ve made using the channel organiser will remain Any new channels located will be added to the existing database After Pressing the OK button you will be asked for the default password 0000 before proc...

Страница 23: ...Other information 4...

Страница 24: ...This page is left intentionally blank...

Страница 25: ...Right channel Stereo Sampling frequency 32 44 1 48KHZ Outputs 1 x SCART 1 x HDMI 1 x RF Loop through 1 x RF coaxial 1 x Ethernet Power requirements Mains inout voltage 100 240V 0 5 A Max 50 60Hz Powe...

Страница 26: ...This page is left intentionally blank...

Страница 27: ...Product support 5...

Страница 28: ...r aerial may not be strong enough to locate the Freeview channels Seek professional advice Your aerial may be damaged or need realigning Seek professional advice No picture or sound The HDMI SCART cab...

Страница 29: ...work after moving house The house may be in a different Freeview location and requires re tuning See the installation section of this manual for details I ve changed the password and forgotten it The...

Страница 30: ...you a fast and efficient service please have the following information ready Model Ref Serial number Date of purchase Local call rates applies Lines open 8am 7pm Monday to Saturday and 10am 4pm Sunday...

Страница 31: ...ing to your local rules and do not dispose of your old products with your normal household waste The correct disposal of your old product will help prevent potential negative consequences for the envi...

Страница 32: ...l It must be used solely for domestic purposes The guarantee will be rendered invalid if the product is re sold or has been damaged by inexpert repair Specifications are subject to change without noti...

Страница 33: ...section of these instructions or online at www argos support co uk If you still require further assistance call one of our experts on 0345 604 0105...

Страница 34: ...If you require any technical guidance or find that your product is not operating as intended a simple solution can often be found in the Troubleshooting...

Страница 35: ...section of these instructions or online at www argos support co uk If you still require further assistance call one of our experts on 0345 604 0105...

Страница 36: ...Contact www argos support co uk Helpline 0345 604 0105...

Отзывы: