Installing your chest freezer
Bringing it all together
Electrical connection
Any electrical work that is required to
install this appliance MUST be carried out by
a qualified electrician.
Warning: THIS APPLIANCE MUST BE
EARTHED
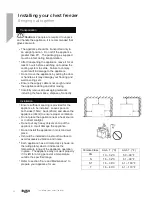
Before making any electrical connections,
ensure that:
Electrical safety is only guaranteed when the
earth system of your house is in accordance
with the related local regulations.
Do not damage the refrigerant circuit.
Do not bend, stretch or pull the supply cable to
avoid electric shock.
Do not use electrical appliances inside the
food storage compartments of the appliance,
unless they are of the type recommended by
the manufacturer.
Ensure the power socket is suitable for the
maximum power of the machine (fuses in the
power circuit must be 13 amp).
The supply voltage should be the same as that
indicated in the technical specifications and
the appliance rating plate.
The appliance should be earthed and in
compliance with the applicable law.
When installed, the power socket must be
within easy reach.
If the socket outlets in your home are not
suitable for the plug supplied with this unit
check with a qualified electrician for
replacement.
The use of adapters, multiple connectors or
extension cables are not recommended.
The appliance must be connected to a 220-
240 volt 50Hz AC supply by means of a three
pin socket, suitably earthed and protected by a
13 amp fuse.
Should the fuse need to be replaced, a 13
amp fuse approved to BS1362/A must be used.
The plug contains a removable fuse cover that
must be refitted when the fuse is replaced. If
the fuse cover is lost or damaged, the plug
must not be used until a replacement cover
has been fitted or the plug is replaced.
A damaged plug should be cut off as close to
the plug body as possible, the fuse should be
removed and the plug disposed of safely.
Plug replacement (UK & Ireland only)
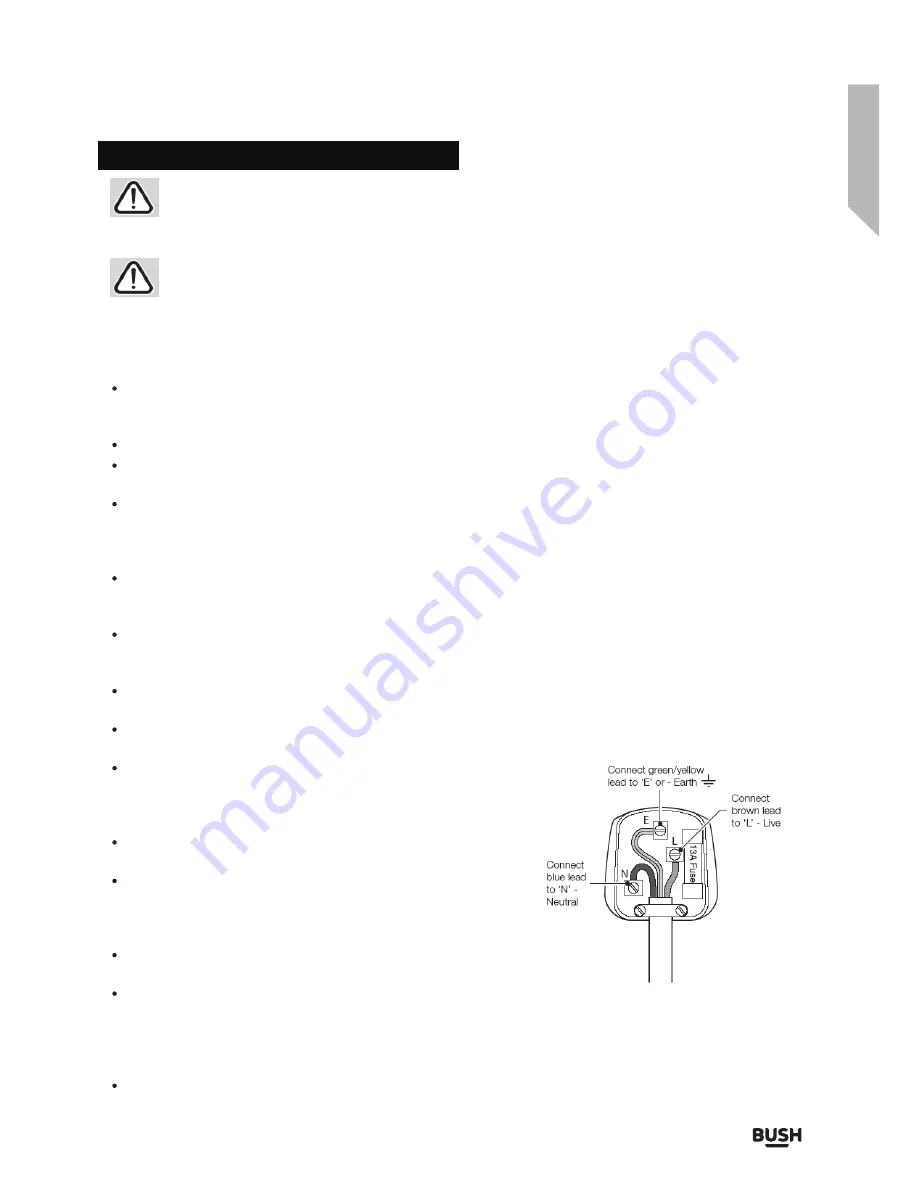
Should you need to replace the plug;
The wires in the power cable are coloured
in the following way:
Blue – Neutral ‘N’
Brown – Live ‘L’
Green & Yellow – Earth ‘E’
As the colours of the wires in the power cable
may not correspond with the coloured markings
identifying the terminals in your plug, and
proceed as follows:
The green & yellow wire must be connected to
the terminal in the plug that is marked with the
letter E or by the earth symbol.
The blue wire must be connected to the terminal
that is marked with the letter N.
The brown wire must be connected to the
terminal that is marked with the letter L.
If power supply cord is damaged, it must
replaced by the manufacturer or its service
agent or a similar qualified person in order to
avoid a hazard.
Installing your chest freezer
1 5
Содержание BCF198L
Страница 2: ...BCF198L...
Страница 5: ......
Страница 6: ...1 Safety information...
Страница 7: ...6 Safety informtion...
Страница 8: ...7 Safety informtion...
Страница 9: ...8 Safety informtion...
Страница 10: ...Getting to know your chest freezer 2...
Страница 11: ...Getting to know your chest freezer Getting to know your chest freezer 10...
Страница 13: ......
Страница 14: ...Installing your chest freezer 3...
Страница 17: ......
Страница 18: ...Using your chest freezer 4...
Страница 21: ......
Страница 22: ...Care and maintenance 5...
Страница 25: ......
Страница 26: ...Product support 6...
Страница 27: ...Product support Help is always at hand Product support 26 chest freezer chest freezer...
Страница 29: ...28 Product support...
Страница 30: ......
Страница 31: ......
Страница 32: ......
Страница 33: ...Contact www argos support co uk Helpline 0345 257 7271...

