


Operation
Product manual 2CKA001473B8724
│
52
Display
Information
Description
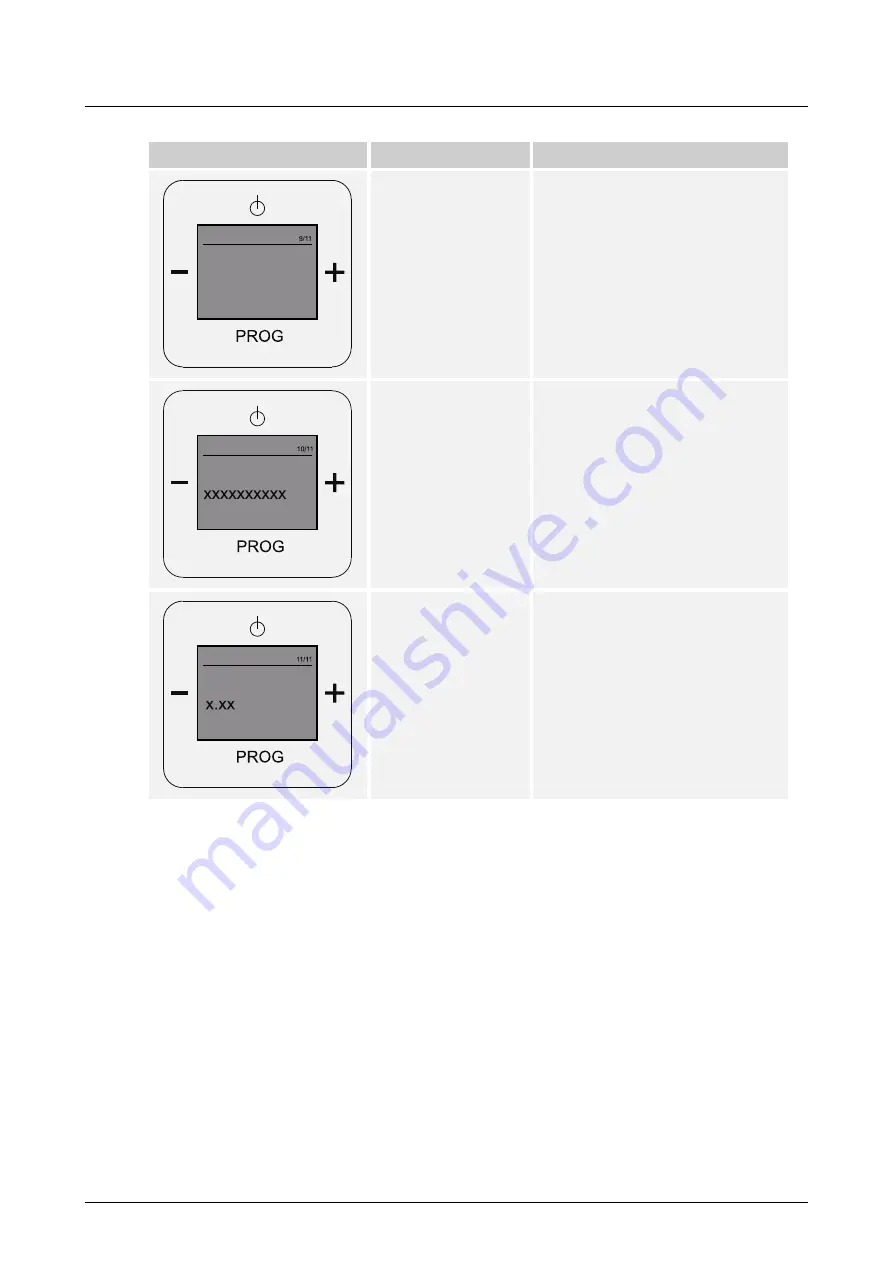
Country
Here you find the language which has
been set or the country in which the set
language is spoken. The time is
automatically adjusted.
Serial number
Here you find the serial number of your
device.
SW Version
Here you find the latest software
version of your device.
Table 12: Device information
Info
Country:
UK/USA
Info
Serial Number:
Info
SW Version:
Содержание Busch-AudioWorld 8216 U Busch-Radio iNet
Страница 55: ...Operation Product manual 2CKA001473B8724 55 ...