Page 14
For technical questions, please call 1-888-866-5797.
Item 61624
SAFET
y
ADV
ANCED
OPERA
TION
SETUP
BASIC
MAINTENANCE
TROUBLESHOOTING
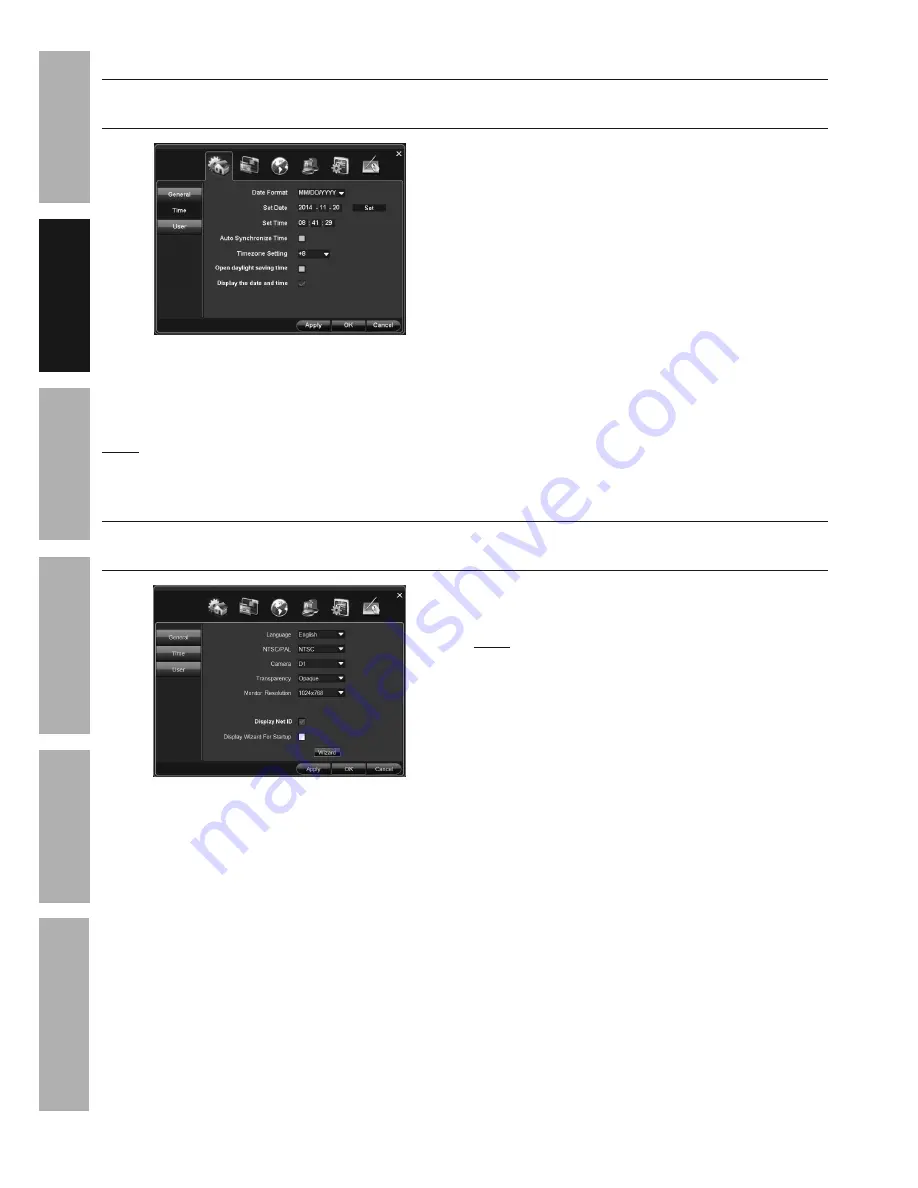
Date and Time Settings
General > Time
Select Date Format, Set Date, Set Time, Set Time Zone, Display Date and Time
1.
Date and Time:
a.
Time Format:
MM/DD/yyyy
is selected by
default. Change to other format if desired.
b.
Set Date:
Enter current date.
Note:
The DVR uses a 24 hour clock, where
midnight is 00:00, noon is 12:00, and 11:00 pm is 23:00.
c.
Set Time:
Enter current time.
d.
Click Apply
to save date and time settings.
2.
Auto Synchronize Time
: This is an Advanced
setting.
(Go to Clock Settings on page 20.)
3.
Timezone Setting:
This is an Advanced setting.
(Go to Clock Settings on page 20.)
4.
Open daylight saving time:
This is an Advanced
setting.
(Go to Clock Settings on page 20.)
5.
Display the date and time:
Date and time
is displayed in upper right hand corner of
monitor by default. Uncheck box to disable.
Click Apply to save changes and leave menu open.
Click OK to save changes and close menu.
Changes will not be saved if you click
Cancel or right click on screen.
General Settings
General > General
Select Language, Select Resolution for Cameras, Set Menu Transparency, Set Output Monitor Resolution
1.
Language: English
is selected by
default. Change if desired.
2.
NTSC/PAL:
Default is
NTSC
, which is the standard
in the United States.
LEAVE IT SET TO NTSC
.
3.
Camera:
a.
D1
resolution
is selected by default.
D1 is the
proper setting for the included cameras.
b. If using 960H cameras (sold separately),
change setting to
960H.
Note:
System will prompt restart after changing setting.
4.
Transparency (of menus):
Opaque
is
selected by default. Change if desired.
5.
Monitor Resolution:
Select resolution of
monitor connected to DVR. (Refer to monitor's
owner's manual for correct resolution.)
6.
Display Net ID:
Net ID (Network configuration
information) is displayed in upper right hand corner
of monitor by default. Uncheck box to disable.
Click Apply to save changes and leave menu open.
Click OK to save changes and close menu.
Changes will not be saved if you click
Cancel or right click on screen.


