4.1.2 installation host and support
With reference to the above group around the beam with socket head cap
screw and bracket connected, and then the host on the bracket, at the same time
take the host and the bracket in inner hexagon spanner, again according to the logo
connecting line the good joint.
4.2 the connection
4.2.1 Please make sure the machine power switch is closed, and ensure the
power supply voltage of 110-220 - v, connect the power supply..
4.2.2 Connect the USB interface to PC, read in inkjet plotter center software,
installed driver, prepare the way for drawing.
4.3 Paper was
After installation of the machine, our paper work can be carried out, in paper
cones fixed drum paper (note that the direction of the paper, the pressure lever on
the paper after paper rod guide groove, the paper from to the pressure after the
paper rod under beam, then move up to the machine after the above, through the
pressure roller, to accept the location of the drum of paper, take up the paper, and
then use tape from the middle to put the paper on the paper roller with both sides,
laying a good pressure bar paper paper; Open the check, press down the button on
the control panel, can guarantee to deliver the paper stem paper paper down rod, at
the same time will pressure paper rod into paper rod guide groove pin.
Содержание A200-2
Страница 1: ...Ink jet plotter Operating manual...
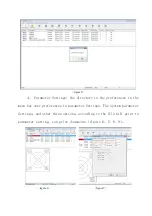
Страница 13: ...figure 3 figure 4...
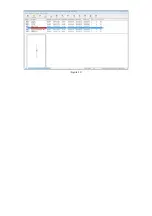
Страница 16: ...figure 11...


