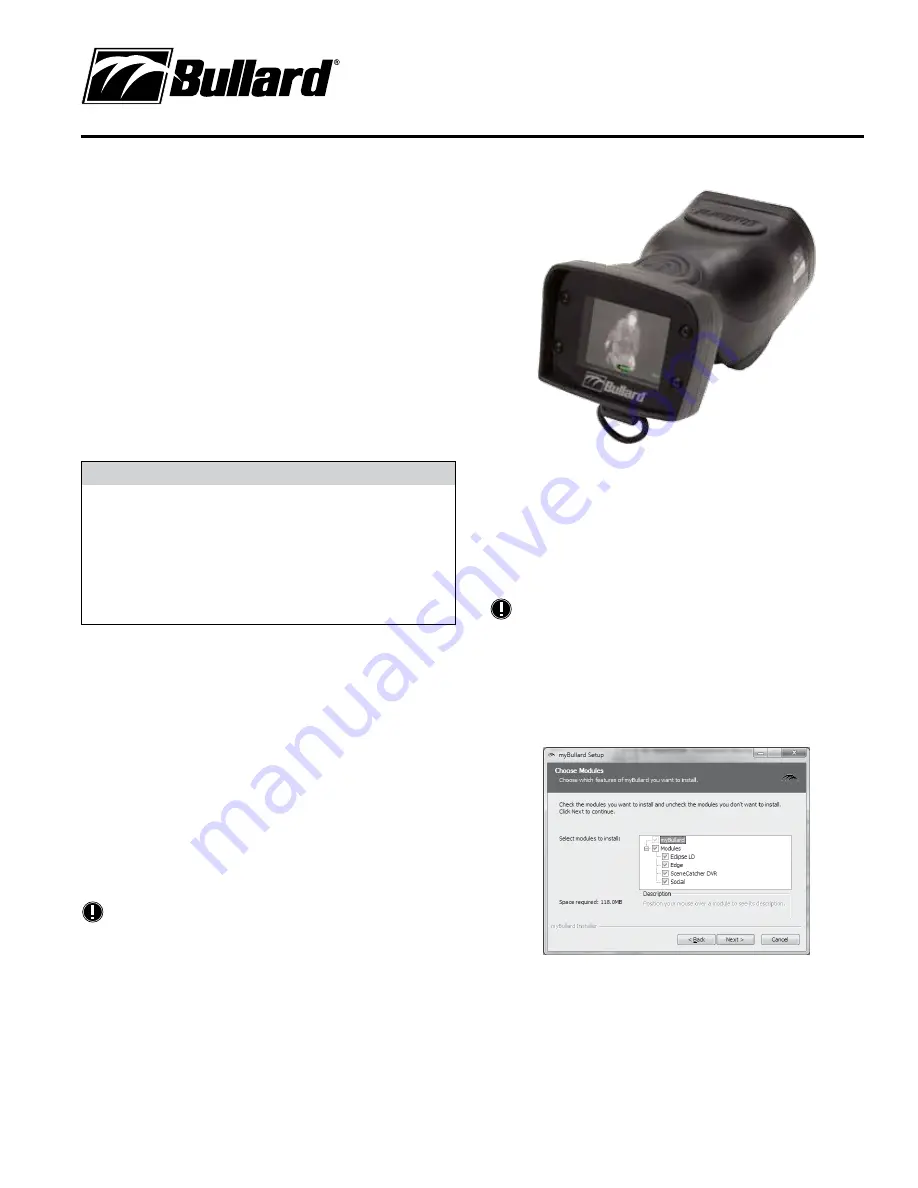
Edge Thermal Imager
User Manual
www.bullard.com
Congratulations
Congratulations on the purchase of your new Bullard Edge Thermal Imager.
Edge combines the latest advancements in thermal imaging technology without our
expertise in impact and element resistant engineered materials to bring you the most
durable thermal imager on the market. The compact design and easy-to-use interface is
ideal for numerous law enforcement, tactical security, and force protection applications.
Some of the uses for your Edge Thermal Imager include:
• Vehicle Pursuits and Fugitive Searches
• Perimeter Surveillance
• Search and Rescue
• Hidden Compartments in Vehicles
• Marine and Ground Surveillance
• Environmental Law Enforcement
• Officer Safety
• Force Protection
�
WARNING
REad aLL InSTRuCTIOnS and waRnInGS BEFORE uSInG THIS
PROduCT. YOuR THERMaL IMaGER IS LIkE anY OTHER TOOL. IT
MuST BE uSEd PROPERLY and SaFELY. aLL uSERS SHOuLd BE
TRaInEd On THE PROPER and SaFE uSE OF THERMaL IMaGInG
PRIOR TO uSInG THE EdGE THERMaL IMaGER. THIS IS ESPECIaLLY
IMPORTanT FOR uSERS wHO MaY uSE THE EdGE THERMaL IMaGER
In HazaRdOuS OR LIFE-EndanGERInG SITuaTIOnS.
FaILuRE TO FOLLOw THIS InFORMaTIOn COuLd RESuLT In dEaTH OR
SERIOuS InjuRY.
Getting Started
Registering Your Edge via myBullard™
Before using your Edge Thermal Imager for the first time, it is necessary for you to
register the product with Bullard. Registration accomplishes these important tasks.
• Registration assures that you will always stay informed of the latest
product updates, service and training information related to the Edge
Thermal Imager.
• Registration will reduce the startup time of your imager from 30 seconds
to about five seconds.
• Registration activates a security feature on Edge. with this feature
activated, should your Edge ever become lost or stolen, provide Bullard
with a copy of a police report so we can flag that serial number in our
database. If the imager is ever returned to Bullard for service or upgrade,
you will be notified.
NoTE
do not connect your Edge Thermal Imager to your computer until after the
myBullard software is installed. Failure to observe this practice may result
in the installation of defective uSB drivers.
Downloading and Installing myBullard Software
myBullard is a powerful tool for you to register, inventory, maintain, service, and
enhance your thermal imaging products and accessories. This easy-to-use software
enhancement will help you organize and optimize your thermal imaging operations.
If you turn on your Edge prior to registration, the Edge display will advise you
of the need to register your thermal imager. This message will be displayed for
30 seconds, after which, the Edge will function normally. upon registration;
however, the advisory message will disappear and the Edge will power up to
normal operation in less than four seconds.
Registration is accomplished by downloading and installing the myBullard
software onto your computer, running myBullard, and then connecting your
Edge Thermal Imager via the enclosed data cable. To download the myBullard
software, insert the Cd that came with your Edge. after the program loads,
click myBullard under the Edge icon and follow the instructions to download and
install the program.
NoTE
as an alternative to using the Cd, you can connect to the internet and go to
www.bullard.com/mybullard.
upon running the installation program, you will be prompted with language and
license terms selections and then the following dialog box (Figure 1). Make
sure to select applicable modules so that these will be available when you
run myBullard. However, if you do not do this, you can still add modules within
myBullard at any time.
Make sure you have selected, at minimum, the Edge module. after selecting the
modules and clicking the next button, the installation process for myBullard will
begin. Follow the remaining prompts and instructions to complete installation.
Using myBullard
Begin by launching myBullard from the icon on your desktop. Create a profile in
the opening menu and complete the requested information. upon completion,
Figure 1


