CC20
respirator
Use/Donning/Doffing
12
CC20 respirator Use
Donning the CC20 respirator
Before using your CC20 Series respirator, assemble the respirator
using the instructions given on pages 9-11.
1. Connect NIOSH approved Bullard air supply hose to an air
source supplying Grade D breathable air as defined on page
7. Turn on breathing air source.
2. With air flowing, connect breathing tube assembly to air sup-
ply hose (see Figure 14). Connect quick-disconnect fitting on
breathing tube assembly to quick-disconnect coupler on air
supply hose. Once fitting is secured, release coupling sleeve
to lock fittings together. Pull on both hoses to make sure they
are attached securely.
3. Adjust air pressure at point-of-attachment to within the
approved pressure range (see Figure 15). See the Breathing
Air Pressure Table (page 8) for approved pressure ranges.
4. With air still flowing, put on CC20 Series respirator hood.
5. Position headband suspension or hard hat for a comfortable
fit. (See instructions on page 9 for proper sizing).
6. If using an optional chin strap, pull elastic strap under your
chin. Adjust for a secure and comfortable fit.
7. If using the Bullard loose-fitting facepiece hoods: Available
in large 20LF2L or 20LFL, medium 20LF2M or 20LFM, and
small 20LF2S. Select the size that fits most comfortably
and matches your head size. Remove the protective cover
from the visor. Pull the hood over your head and adjust the
headband around your head and the elasticized edge of the
faceseal under your chin. Make sure that the breathing tube
is not twisted after donning.
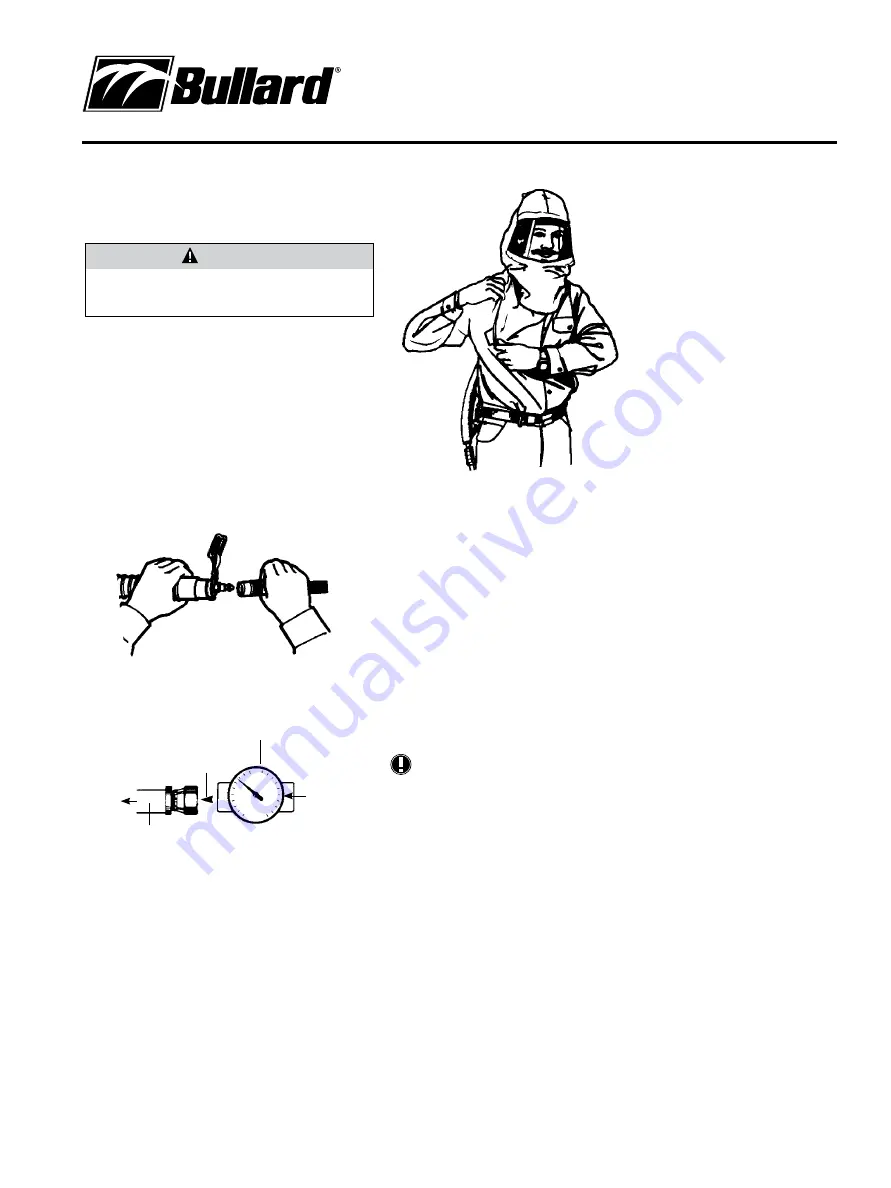
8. Tuck inner bib of hood (except on 20TJ, 20TP, 20LFM,
20LFL, 20LF2S, 20LF2M and 20LF2L) into shirt or protec-
tive clothing for additional splash and overspray protection
(see Figure 16).
9. Pull respirator outer bib over collar of shirt or protective
clothing. If you are using the 20SIC, 20SICH, or 20TICH
model, pull the long outer bib down on the outside of clothing
and tie at the sides.
10. With breathing tube assembly attached to the hood, fasten
belt at waist or hip level and adjust for comfort.
11. Recheck air pressure and adjust if necessary.
12. With air flowing into your respirator, you are now ready to
enter work area.
removing the CC20 respirator
When finished working, leave work area wearing respirator and
with air still flowing. Once outside contaminated area, remove
respirator and then disconnect the air supply hose using the
quick-disconnect fittings.
Note
If using V20 Series (1/2” I.D.) air supply hose, the hose
quick-disconnect coupler does not have a shut-off valve.
Therefore, air will continue to flow freely after disconnect-
ing hose from respirator.
Figure 16
WarNiNg
Do not put on or remove these respirators in a hazardous atmo-
sphere except for emergency escape purposes. Failure to heed
these warnings could result in death or serious injury.
Figure 15
Figure 14
Air Supply Hose
Respirator
Grade “D”
Breathable
Air Source
Point-of-Attachment
Pressure Gauge


