7
9. If you want to use the SNMP function,
check "Use" and input the WLM-L11G’s
location, administrator information and
community names. Click Set.
10. If the WLM-L11G is operated in a large
network environment, using a pre-
determined name identification system
may be recommended, to help identify the
WLM-L11G easily. In order to set the
name, click the "Basic" menu to open the
basic setup page. Type an
appropriate name in the "AirStation Name"
box. Click Set.
11. On the same page, you may opt to obtain
the IP address from the DHCP server or
enter a static IP address manually for the
access point. If you are given a default
gateway IP from your ISP, input that
address. If it is not given to you, leave the
box empty. Click Set.
7.7 Input Parameters Through a
Wired PC, Terminal Software
1. Use the serial cable provided to connect
the WLM-L11G to the PC’s COM port.
2. Start the Hyper Terminal software included
in the Windows OS. Hyper Terminal is a
standard software in Windows but it is
possible to use any other off-the-shelf
software.
■
Note: If the AirStation is already
connected by Telnet or Client Manager, you
cannot log in from the terminal software.
3. Setup the terminal as follows:
Baud rate: 57600
Data bit: 8
Parity: None
Stop bit: 1
Flow Control: None
4. When the "Apxxxxxxxxxxxxx login"
prompt appears, login the WLM-L11G by
"root".
5. Set the WLM-L11G’s time by using “date”
command: Setup date year/month/date
(use two digit number for the month and
the date, Example: "set date 2002/03/27")
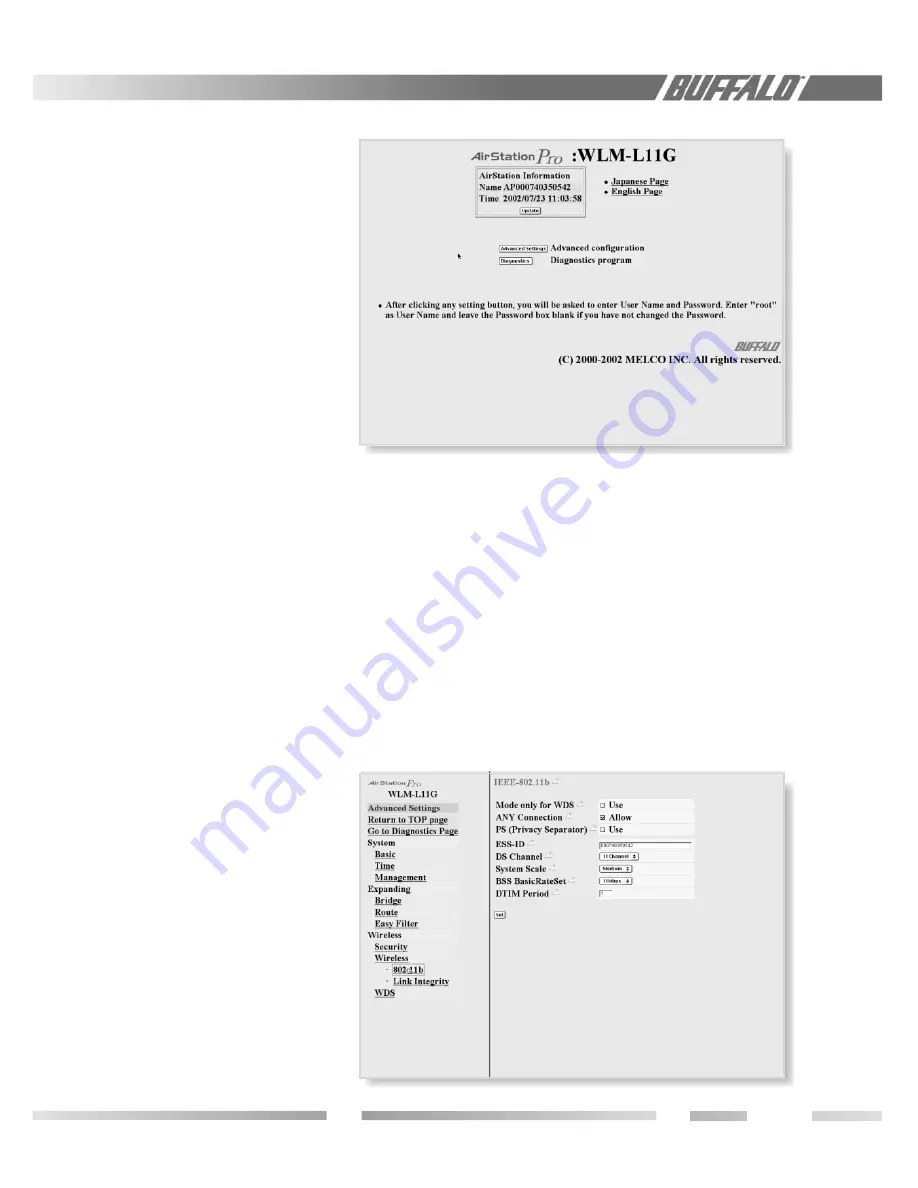
Figure 7.6.6
Security
Settings
Figure 7.5
Setup
Screen
6. Set the WLM-L11G’s ESS-ID by using
"essid" command. Airset essid xxxxxxx
(ESS-ID is defined by up to 32 alphanu-
meric characters. The default value is 12
digits. You can reset the ESS-ID to the
default value by using "airset essid_default"
command.)
7. Set the WLM-L11G’s wireless channel.
Use “airset channel xx” command. Select
one number from 1~11. The default
number is 11.


