background image

30

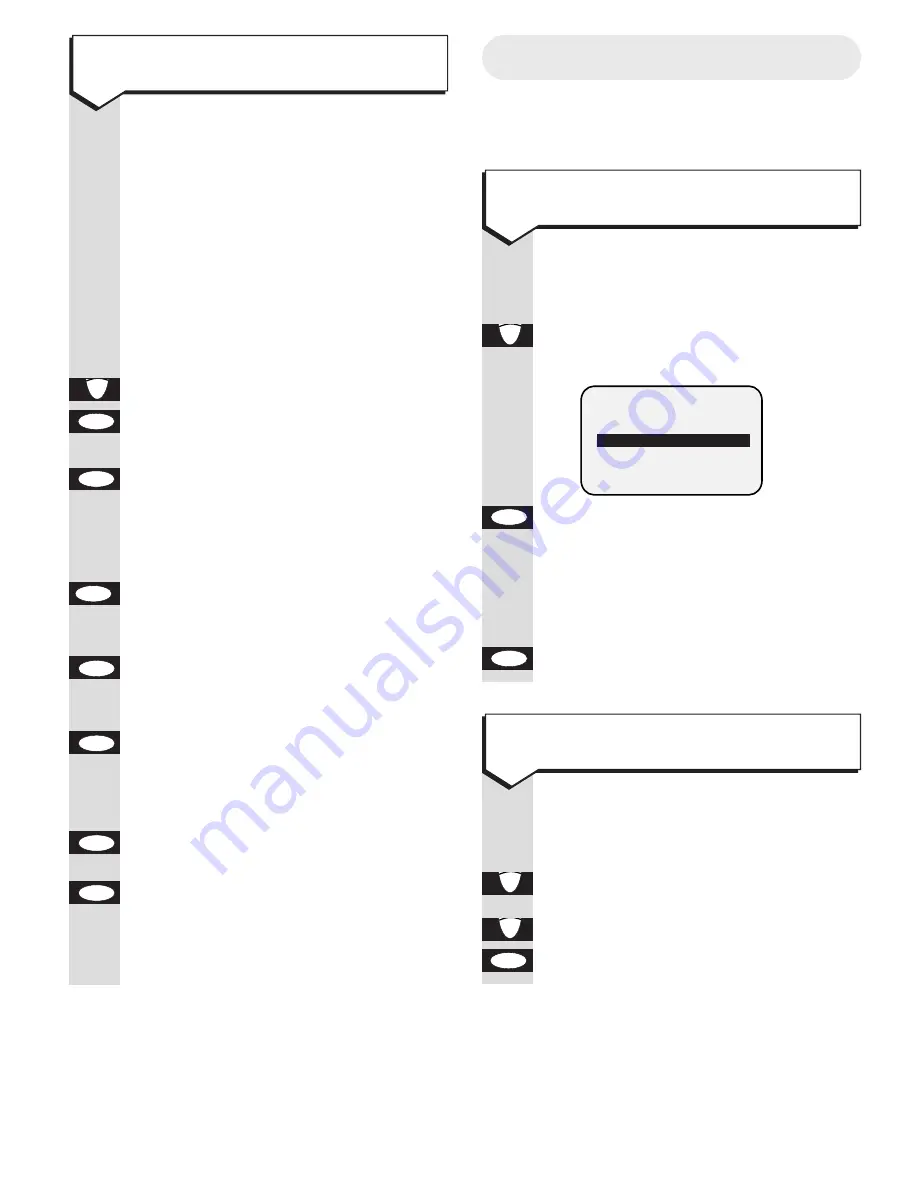
Reminder Call

You can set your Easicom 200 to give you a
call at a pre-arranged time...

Select 

SELECT SERVICES

from the

main menu.

Select 

REMINDER CALL

.

Display shows

Press the 

OK

button. The Reminder

Call is dialled.

Announcement asks you to enter
the time of your reminder call
followed by the 

#

button.

Press the OK button to confirm.

Select SELECT SERVICES from the
main menu.

Select 

REMINDER CALL

.

Highlight 

CANCEL

.

Press the 

OK

button

OK

Ä

Ä

OK

OK

Ä

To set a reminder call

To cancel a reminder call

Press buttons in order shown

You can get an instant bill total
including all charges up to the last
working day.

When the main menu is displayed:

Select 

SELECT SERVICES

from the

main menu.

Highlight 

CALL MY BILL

.

Press the 

OK 

button. The Call My

Bill number is displayed.

Press the 

OK

button. The Call My

Bill number is dialled.

Listen to the announcement for your
up to date bill.

Press the 

OK

button. The number 

is dialled and the display highlights

✱ ✱

When requested press the 

OK

button to send 

✱ ✱

. Display

highlights your telephone number.
When requested press the 

OK

button to send the telephone
number. Display highlights your
customer number
When requested press the 

OK

button to send customer number. 
Now follow the instructions from
the service to add or change
numbers. Press the 

OK

button to

send each number.

OK

OK

OK

OK

OK

OK

OK

Ä

To use Call My Bill

SELECT SERVICES

REMINDER CALL

SET

CANCEL

CHECK

Содержание EASICOM 200

Страница 1: ...ersonal organiser and handsfree telephone with caller display This equipment is not designed for making emergency telephone calls when the power fails Alternative arrangements should be made for acces...

Страница 2: ...Please open this page for an at a glance guide to your Easicom 200...

Страница 3: ...Please open this page for a further at a glance guide to your Easicom 200...

Страница 4: ...one and loudspeaker for handsfree operation The red LED lights up when handsfree mode is switched on CRADLE 1 2 3 4 5 6 7 8 9 0 wxyz mno tuv jkl pqrs ghi abc def A edit add esc ok menu del 3 4 x P R C...

Страница 5: ...ery compartment 2 x AAA alkaline batteries supplied Back up battery compartment 1 x CR1616 battery supplied Battery compartment 2 x AAA alkaline batteries supplied Connection sockets to mains power su...

Страница 6: ......

Страница 7: ...asicom 200 10 Using the calls list 24 Using Select Services 27 Set up Options 32 Connecting to a switchboard PBX 36 Maintenance 37 Help 38 Technical information 40 Index 41 Hints and tips boxes In thi...

Страница 8: ...Service For more information call BT on Freefone 0800 800 150 You can expect your Easicom 200 to give you many years of trouble free service Please read the instructions carefully before use and keep...

Страница 9: ...or power adaptor is disconnected If your Easicom 200 is connected to a PBX switchboard you may have to dial an access number before 999 to contact the emergency services Some switchboards cannot dial...

Страница 10: ...power supply connection except the one provided otherwise you may damage your Easicom 200 It may also invalidate approval of this apparatus Do not dispose of used batteries with general household rubb...

Страница 11: ...her end into the telephone line wall socket If you do not have modern phone sockets call Freefone 0800 800 150 and ask for a BT engineer to come and fit the correct type This is a chargeable service C...

Страница 12: ...anually For example after your first call the time and date screen shows Press buttons in order shown When the main menu is displayed Enter the number 0 Press the 5 button Press the edit button Press...

Страница 13: ...ck setting or 24 HOUR for a 24 hour clock setting Press the edit button Use the LEFT and RIGHT buttons to highlight DAY MONTH YEAR TIME setting you want Press the UP and DOWN buttons to adjust the set...

Страница 14: ...etters and special symbols These include and many more All calculator functions are marked in orange on the Organiser to move the cursor to the left enter a during a call to move the cursor to the rig...

Страница 15: ...ons For example to store the name JOHN 4 5 6 GHI JKL MNO del A Press 5 on the organiser until J appears in the display Then press 6 on the organiser until the display shows O Enter the H by pressing 4...

Страница 16: ...nk sends details from the organiser to the cradle when calls are made and received Press buttons in order shown When the main menu is displayed Press the OK button KEYPAD Dial the number If the organi...

Страница 17: ...played Press the OK button to dial the number You can prevent your caller from hearing you while you hold a conversation with someone else close by During a call Press the secrecy button The secrecy l...

Страница 18: ...the UP and DOWN buttons to highlight the number you want and then press the OK button 1 6 esc OK del OK esc esc OK edit P 14 To delete a Quickdial number Using the Quickdial memory Store up to 6 of yo...

Страница 19: ...eypad to enter the information you want Press OK to save the entry or esc to cancel esc OK add R 15 To add a Personal entry PERSONAL H O N F P Press buttons in order shown Select PERSONAL from the mai...

Страница 20: ...entry OK esc OK add R OK To copy a Personal entry 16 PERSONAL NAME ONE H 1234567890 O 2345678901 M 3456789012 F 4567890123 P 5678901234 DIRECTORY FULL OK Press buttons in order shown Select PERSONAL f...

Страница 21: ...4 I5 PM 18 APR DIALLING NAME 1234567890 Using the Business directory The Business directly lets you store a company name and list a number of people under each company name You can also view individu...

Страница 22: ...t the person s name then press the edit button to display their details 18 BUSINESS COMPANY ONE COMPANY TWO COMPANY THREE COMPANY FOUR COMPANY FIVE COMPANY SIX To delete a Business entry DELETE OK ESC...

Страница 23: ...ve to remember The Appointments diary can contain up to 60 separate entries Providing the appointments alarm is set to ON your Easicom 200 will give you an alert call at any time up to 15 minutes befo...

Страница 24: ...shown Select APPOINTMENTS from the main menu Highlight the entry you want to change Press the edit button KEYPAD Use the keypad and cursor buttons to change the details you want Press the OK button t...

Страница 25: ...t ON or OFF Press the OK button to confirm OK A 21 To switch the appointment alarm on and off APPOINTM T ALARM ON OFF Using the calculator The calculator buttons are Press buttons in order shown Selec...

Страница 26: ...hlight the title of the note you want to view Press the edit button KEYPAD Use the keypad to make changes Press the OK button to save or the or esc button to cancel esc OK edit P esc OK add R 22 To ed...

Страница 27: ...ntry is displayed OK esc OK del esc OK edit P User Information You can store important personal information such as your Diving License National Insurance and Passport numbers under User Info for easy...

Страница 28: ...t 50 incoming calls You can view details of these calls copy call details into the Quickdial Personal or Business directories The CALLS light on the cradle flashes to indicate new calls have been rece...

Страница 29: ...you to enter the name KEYPAD Enter the name and any other details you want to store Press the OK button to save or or esc to cancel esc OK OK add R OK OK To copy to the Personal directory INCOMING NA...

Страница 30: ...ompts you to enter the name KEYPAD Enter the name and any other details you want to store Press the OK button to save or or esc to cancel esc OK OK OK add R OK OK 26 To copy to the Business directory...

Страница 31: ...llowing range of BT Select Services Friends Family Call My Bill Call Waiting Subscription service Call Diversion Subscription service Reminder Call Pay as you use For further information see the Selec...

Страница 32: ...service is pre programmed into your Easicom 200 You will need to follow these steps to put in your telephone number and your customer number before you contact Friends and Family with your Easicom 200...

Страница 33: ...My Bill for the first time Press buttons in order shown Providing the above steps have been followed the first time you contact Friends and Family with your Easicom 200 you need only follow the steps...

Страница 34: ...working day When the main menu is displayed Select SELECT SERVICES from the main menu Highlight CALL MY BILL Press the OK button The Call My Bill number is displayed Press the OK button The Call My B...

Страница 35: ...the OK button Select SELECT SERVICES from the main menu Select CALL WAITING Highlight OFF Press the OK button Select SELECT SERVICES from the main menu Select CALL WAITING Highlight CHECK Press the OK...

Страница 36: ...f useful features which you can adjust to suit your preferences Alarm Clock set the time you want it to ring every day Password to help prevent unauthorised access to the details in the organiser Keyp...

Страница 37: ...ix digits Press the OK button or or esc to cancel esc OK edit P To enter a password PASSWORD NAME TEL OLD NEW CONFIRM PASSWORD ON OFF If you make a mistake when confirming the new password you are ask...

Страница 38: ...the esc button to return to the MEM BAT status screen esc OK OK Select SET UP from the main menu Select LCD CONTRAST Adjust the contrast between Low and High Press the OK button to save or or esc to...

Страница 39: ...out losing any of the information stored on the memory Press the RESET button located in the back up battery compartment Please note If you want to reset and delete all the of the data that has been e...

Страница 40: ...out having to re programme all the numbers 36 Connecting to a switchboard PBX Press buttons in order shown The organiser must be placed on the cradle while you follow these steps Select SET UP from th...

Страница 41: ...urchase Some retailers offer extended warranty schemes for cover outside the initial 12 month period Please ask them for details Outside warranty If your Easicom 200 needs repair after the warranty pe...

Страница 42: ...th the cradle Make sure the infrared window on the organiser can see the cradle without obstruction The range for the organiser is 3 metres from the cradle Batteries could be low or flat 38 Help If th...

Страница 43: ...enough time for the switchboard PBX to get an outside line Flashing IN USE CALLS light There is an incoming call Flashing POWER light The cradle back up batteries are low Replace batteries as soon as...

Страница 44: ...Recall Guarantee If you own your Easicom 200 under guarantee BT guarantee the product for one year provided that The equipment has only been used for its proper purpose and has not been subjected to...

Страница 45: ...Installing 5 Introduction 4 Keypad tone 33 Making calls 12 Maintenance 37 Memory status 34 Menu 10 Notes 22 Organiser keypad 10 Organiser symbols 10 Password 33 Personal directory 15 Power cable 7 Qu...

Страница 46: ...t to British Telecommunications plc s respective standard conditions of contract Nothing in this publication forms any part of any contract TouchtoneTM is a registered trade mark of British Telecommun...

Отзывы: