background image

1

Bedienungsanleitung

Instruction Manual

9902A

9902D

Содержание 4058796001301

Страница 1: ...1 Bedienungsanleitung Instruction Manual 9902A 9902D...

Страница 2: ...schreibung 4 Montageanleitung f r Estrichb den 5 Montageanleitung f r Hohlb den 9 Gebrauchshinweise 14 Technical data 3 Product description 15 Assembly instructionsfor screed floor 16 Assembly instruc...

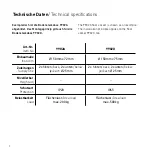
Страница 3: ...ack 2x unten below je each 25mm Nivellierbar Height adj Schutzart Protection IP20 IP65 Belastbarkeit Load Fl chenlast Area load max 200kg Fl chenlast Area load max 500kg Exemplarisch ist die Bodenstec...

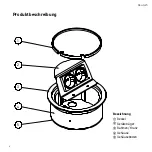
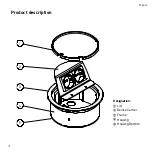
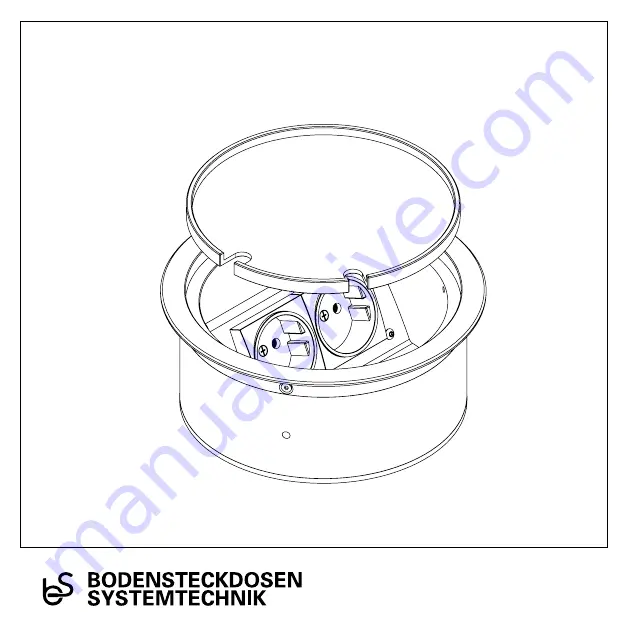
Страница 4: ...4 Produktbeschreibung Bezeichnung Deckel Ger tetr ger Rahmen Kranz Geh use Geh useboden 1 2 3 4 5 Deutsch...

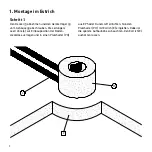
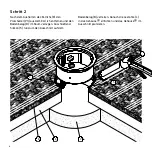
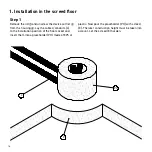
Страница 5: ...om Geh use abschrauben Die Leitungen Leerrohre L zur Einbauposition der Boden steckdose verlegen und in einen Platzhalter PH aus EPS oder Kunststoff einf hren Nun den Platzhalter PH mit Estrich E eing...

Страница 6: ...s E den Platzhalter PH aus dem Estrich entfernen und den Bodenbelag B im Raum verlegen Anschlie end Silikon S rund um den Ausschnitt auf dem Bodenbelag B verteilen Danach die Leerohre L in das Geh use...

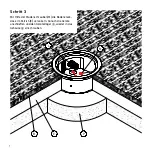
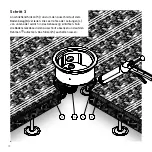
Страница 7: ...7 L M P E B Schritt 3 Mit Hilfe der Madenschrauben M die Bodensteck dose im Estrich E verankern Danach die Ger te anschlie en und den Ger tetr ger wieder in das Geh use einschrauben...

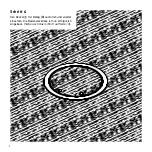
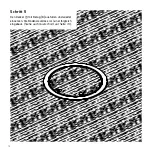
Страница 8: ...8 Schritt 4 Den Deckel mit Belag B ausf llen und wieder einsetzen Die Bodensteckdose ist nun erfolgreich eingebaut Siehe auch Querschnitt auf Seite 13...

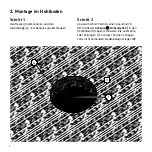
Страница 9: ...d den Ger tetr ger vom Geh use abschrauben Schritt 2 An gew nschter Position einen Ausschnitt in der Gr e der Geh use Einbauma e in den Hohlboden H s gen schneiden Die Leehrohre oder Leitungen L zu di...

Страница 10: ...rund um den Ausschnitt auf dem Bodenbelag B verteilen Die Leerrohre oder Leitungen L von unten oder seitlich in das Geh use einf hren Nun die Bodensteckdose in den Ausschnitt absenken und auf den Rahm...

Страница 11: ...11 B H L M Schritt 4 Mit Hilfe der Madenschrauben M die Bodensteck dose im Hohlboden H verankern Danach die Ger te anschlie en und den Ger tetr ger wieder in das Geh use einschrauben...

Страница 12: ...12 Schritt 5 Den Deckel mit Belag B ausf llen und wieder einsetzen Die Bodensteckdose ist nun erfolgreich eingebaut Siehe auch Querschnitt auf Seite 13...

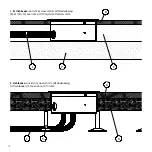
Страница 13: ...13 E P B L B H S L 1 Estrichboden Ansicht im Querschnitt B Bodenbelag E Estrich L Leerrohre P Polystyrol D mmschicht 2 Hohlboden Ansicht im Querschnitt B Bodenbelag H Hohlboden L Leerrohre S St tze...

Страница 14: ...der Ecken an Geh use Deckel oder anderen Bauteilen kommen Bei mechanischen Sch den oder anderen M ngeln technisch elektrisch darf das Produkt nicht in Betrieb genommen werden Das Produkt ist unter Bea...

Страница 15: ...15 English Product description Designation Lid Device Carrier Frame Housing Housing Bottom 1 2 3 4 5...

Страница 16: ...ce carrier from the housing Lay the cables conduits L to the installation position of the floor socket and insert them into a placeholder PH made of EPS or plastic Now pour the placeholder PH with scr...

Страница 17: ...ened remove the placeholder PH from the screed and lay the floor covering B Then spread silicone S around the cutout on the flooring B Insert the cables conduits L into the housing and put the floor s...

Страница 18: ...18 L M P E B Step 3 Anchor the floor socket in the screed E with the help of the grub screws M Then connect the devices and screw the device carrier back into the housing...

Страница 19: ...19 Step 4 Fill the lid with floor covering B and reinsert The floor socket is now successfully installed See also cross section on page 24...

Страница 20: ...Remove the lid and unscrew the device carrier from the housing Step 2 Saw cut a cut out in the size of the housing installation dimensions into the raised floor H at the desired position Then lay the...

Страница 21: ...ow put the floor socket into the cutout and place it on the frame Let the silicon S harden B H L S Step 3 Then spread silicone S around the cutout on the flooring B Insert the conduits L into the hous...

Страница 22: ...22 B H L M Step 4 Anchor the floor socket in the raised floor H with the help of the grub screws M Then connect the devices and screw the device carrier back into the housing...

Страница 23: ...23 Step 5 Fill the lid with floor covering B and reinsert The floor socket is now successfully installed See also cross section on page 24...

Страница 24: ...24 E P B L B H S L 1 Screed floor Cross section view B flooring E screed L conduits P polystyrene insulation layer 2 Raised floor Cross section view B flooring H raised floor L conduits S pillar...

Страница 25: ...ing inspection sharp edges or corners on housings lids or other components may occur during the manufacturing process In the case of mechanical damage or other defects technical electrical it is not a...

Страница 26: ...technische nderungen vorbehalten Errors and technical changes reserved BS Bodensteckdosen Systemtechnik GmbH Dingerdisser Str 36 33699 Bielefeld Tel 49 52198927800 info bodensteckdosen com www bodenst...

Отзывы: