Bluetooth Connection
1.
Press the [Menu], [
a
], or [
b
] button to select the [Bluetooth] menu, and
then press the [OK] button.
Set [Bluetooth (On/Off)] to [On].
2.
Use your Bluetooth management software to discover the printer.
Bluetooth communication is now available.
Wi-Fi Connection
1.
Press the [Menu], [
a
], or [
b
] button to select the [WLAN] menu, and then
press the [OK] button.
Set [WLAN (On/Off)] to [On]. Wi-Fi communication is now available.
For details, see the Online User’s Guide.
Example:
O
= Indicator is blinking in orange
Maintenance of the printer may be carried out as required. However, some
environments may require that maintenance must be done more frequently
(e.g. in dusty conditions).
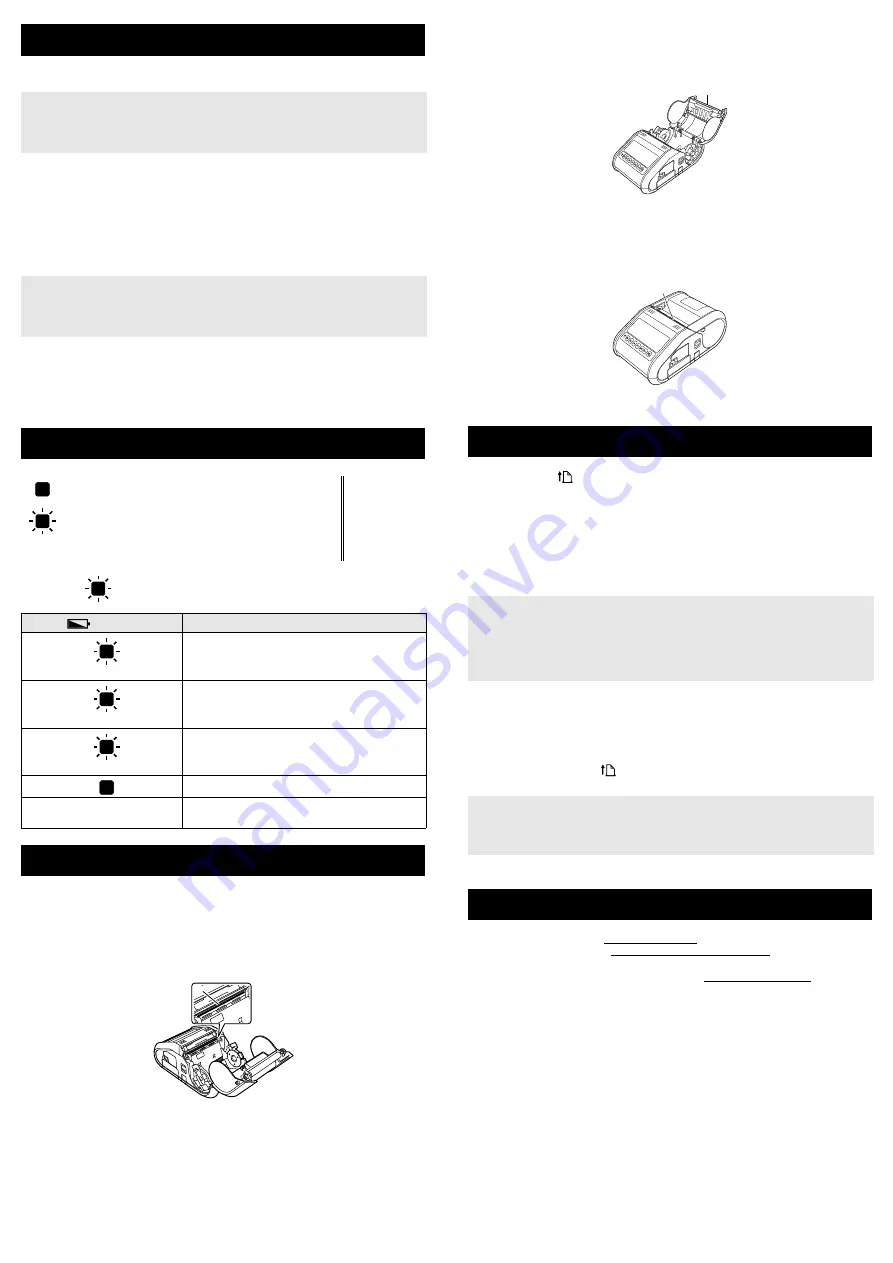
Print Head Maintenance
Use a dry cotton swab to wipe the print head.
Roller Maintenance
Use a piece of cellophane tape or a lint-free cloth to remove dirt from the
roller. After cleaning the roller, make sure that no lint or other material remains
on the roller.
Paper Outlet Maintenance
If adhesive accumulates at the paper outlet and media becomes jammed,
clean the paper outlet with a cloth slightly moistened with isopropyl alcohol.
You can use the
(Feed) button to print a report that lists the following
printer settings:
Program version
Printer usage history
Missing dot test pattern
Printer setting information
List of transferred data
Network setting information
1.
Make sure that a roll of 3" (76.2 mm) receipt paper has been loaded and
the RD Roll compartment cover is closed.
2.
Turn on the printer.
3.
Press and hold the
(Feed) button until the message“Printing”is
displayed on the LCD display. The settings will print.
For details, see the Online User’s Guide.
Brother Global Web Site: www.brother.com
Brother Developer Center: www.brother.com/product/dev
For Frequently Asked Questions (FAQs), Product Support and Technical
Questions, and Driver Updates and Utilities: support.brother.com
Wireless Network Connections
IMPORTANT
In order for the printer and your Bluetooth-equipped computer or adapter
to communicate, you must first pair the printer with the computer or
handheld device using the Bluetooth management software.
IMPORTANT
In order for the printer and your network access point or router to
communicate, you must first install the printer driver and Printer Setting
Tool.
Battey Indicators
= Indicator is lit
O
= Orange
= Indicator is blinking
(off)
= Indicator is off
(Battery)
Description
O
(Once every second)
Battery needs recharging
O
(Twice every 4 seconds)
Rechargeable battery power: low
O
(Once every 4 seconds)
Rechargeable battery power: half
O
Charging
(off)
Rechargeable battery power: full
Charging complete
Maintaining the Printer
1
Print head
1
2
Roller
3
Paper outlet
Printing the Printer Set-up Information
NOTE
• You can use the Printer Setting Tool to set in advance which items will
be printed.
• The node name appears in the Printer Settings. The default node
name is “BRWxxxxxxxxxxxx”. (“xxxxxxxxxxxx” is based on your
printer’s MAC Address / Ethernet Address.)
NOTE
• To print the Printer Set-up Information, we recommend to use 3" (76.2
mm) receipt paper.
• This operation can also be performed using the Printer Setting Tool.
Internet Addresses
2
3


