


98
Contents
Bef
ore Using
Getting Star
ted
Design Center
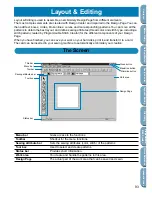
La
y
out & Editing
File Utility
Programma
bl
e
Stich Creator
Quic
k Ref
erence
Alphabetic Inde
x
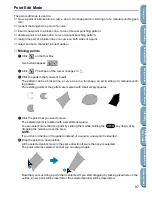
■
Reorienting a tangent to a point
1
Click
on the Tool Box.
Two buttons appear:
.
2
Click
. The shape of the cursor changes to
.
3
Click the pattern that you want to edit.
The pattern can only be a curve.
The existing points of the pattern are marked with small empty squares.
4
Click the point at which you want to reorient the tangent to the curve.
The selected point is marked with a small black square and a control handle.
5
Click on one end of the handle and drag it without releasing the mouse.
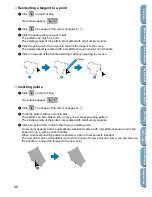
■
Inserting points
1
Click
on the Tool Box.
Two buttons appear:
.
2
Click
. The shape of the cursor changes to
.
3
Click the pattern that you want to edit.
The pattern can be a broken line, a curve or a manual punching pattern.
The existing points of the pattern are marked with small empty squares.
4
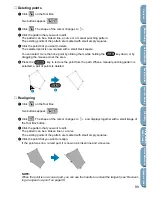
Click at a point of the contour other than an existing point.
A new point appears and is automatically selected (marked with a small black square and in the
case of a curve, with a control handle).
When a manual punching pattern is selected, a pair of new points is inserted.
The new point can be immediately moved. In the case of a new point on a curve, you can also use
the handle to reorient the tangent to the new point.
4
5
4
Handle
4
Содержание PE-DESIGN 2.0
Страница 1: ... Instruction Manual ...