


Chapter 1
8
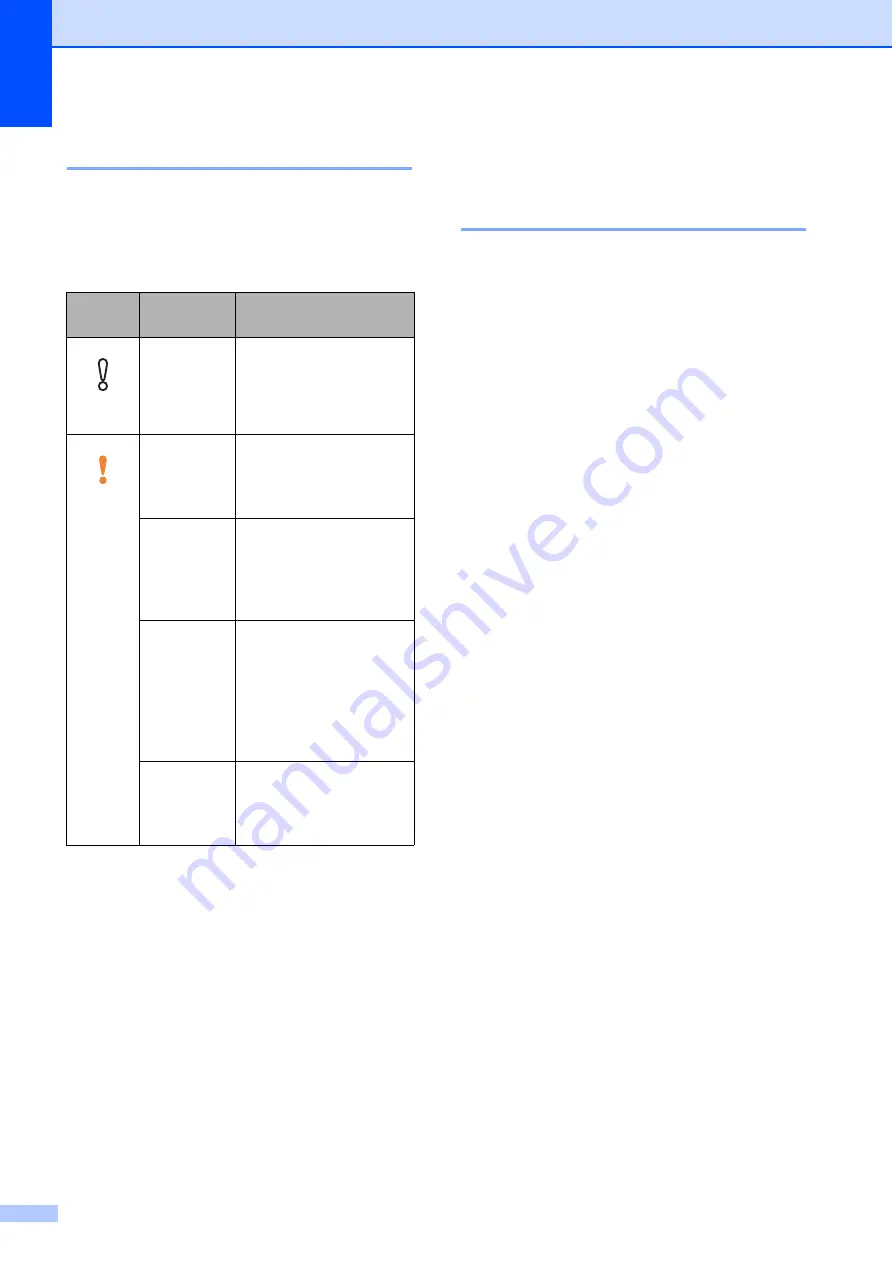
Warning LED indications
1
The Warning LED (Light Emitting Diode) is a
light that shows the DCP status. The LCD
shows the current machine status when the
machine is idle.
LCD display
1
LCD Contrast
1
You can adjust the LCD contrast for a sharper
and more vivid display. If you are having
difficulty reading the LCD, try changing the
contrast setting.
a
Press
Menu
.
b
Press
a
or
b
to choose
0.Initial Setup
.
Press
OK
.
c
Press
a
or
b
to choose
2.LCD Contrast
.
Press
OK
.
d
Press
a
or
b
to choose
Light
or
Dark
.
Press
OK
.
e
Press
Stop/Exit
.
LED
DCP
status
Description
Off
Ready
The DCP is ready for
use.
Orange
Cover open The cover is open.
Close the cover. (See
Error and maintenance
messages
Cannot
print
Replace the ink
cartridge with a new
one. (See
Paper error Put paper in the tray or
clear the paper jam.
Check the LCD
message. (See
are having difficulty with
your machine
Other
messages
Check the LCD
message. (See


