
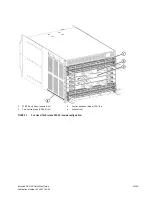


18 of 20
Brocade DCX-4S QuickStart Guide
Publication Number: 53-1001192-03
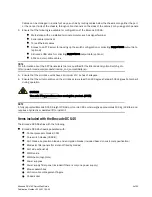
swDir:admin>
reboot
5. Type reboot to reboot the Brocade DCX-4S.
6. You can use the serial port to monitor error messages through the serial connection. If the serial port is no
longer required, use the logout command to log out of the serial console, remove the serial cable, and replace
the plug in the serial port.
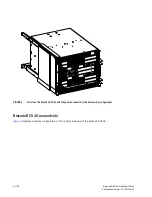
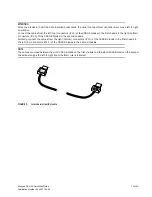
Establishing an Ethernet connection
NOTE
Connecting the CP blades to a private network/VLAN is recommended.
After using a serial connection to configure the IP addresses for the Brocade DCX-4S, you can connect the active CP
blade to the local area network (LAN).
By establishing an Ethernet connection, you can complete the Brocade DCX-4S configuration using either a serial
session, Telnet, or a management application such as Web Tools or DCFM. To create an Ethernet connection to the
Brocade DCX-4S, follow these steps.
1. Remove the shipping plug from the Ethernet port on the active CP blade.
2. Insert one end of an Ethernet cable into the Ethernet port.
3. Connect the other end to an Ethernet 10/100/1000 BaseT LAN.
The Brocade DCX-4S can be accessed through a remote connection using any of the management tools, such as
Telnet, Web Tools, or DCFM.
4. To complete any additional Brocade DCX-4S configuration procedures through a Telnet session, log in to the
Brocade DCX-4S by Telnet, using the admin login. The default password is password.
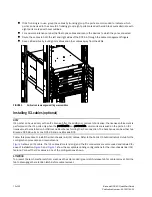
Customizing a switch name
The switch name of the Brocade DCX-4S can be up to 15 characters long; it can include alpha, numeric, and
underscore characters; and must begin with an alpha character.
NOTE
Changing the name causes a domain address format RSCN to be issued.
1. Type switchName followed by the new name in quotes.
swDir:admin>
switchName "swModularSwitch5"
Committing configuration...
Done.
swModularSwitch5:admin>
2. Record the new name for reference.