background image

TWO HANDLE WIDESPREAD LAVATORY FAUCETS
LLAVES DE AGUA / GRIFOS DE CAÑO ALTO
ROBINETS À GRAND ENTRAXE POUR LAVABO

1

Vettis™

Model/Modelo/Modèle

Para instalación fácil de su llave 

Brizo

®

 usted necesitará:

• 

LEER TODAS

 las instrucciones completamente 

antes de empezar.

• 

LEER TODOS

 los avisos, cuidados, e  

información de mantenimiento.

• Comprar las conexiones correctas para el  

suministro de agua

.

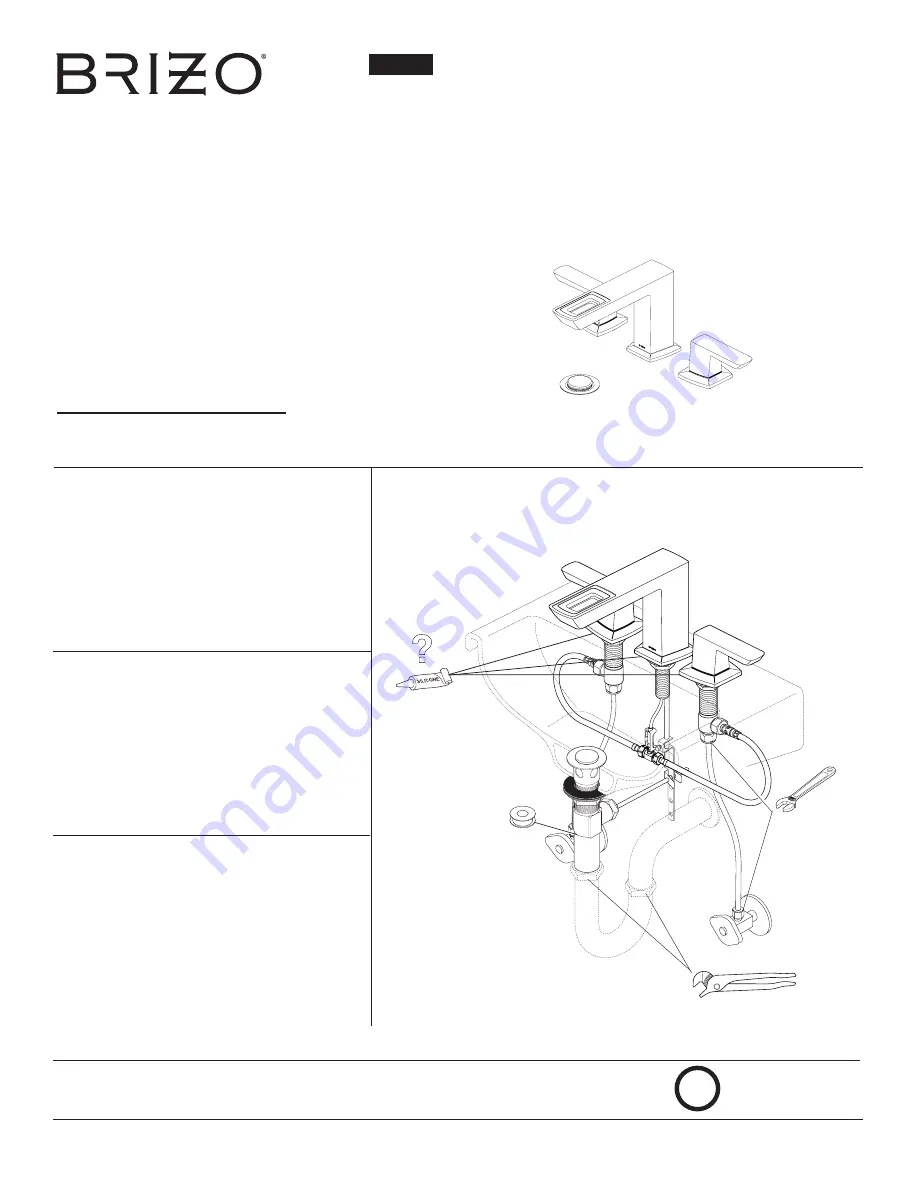
For easy installation of your Brizo

®


faucet you will need:

• To 

READ ALL

 the instructions completely 

before beginning.

• To 

READ ALL

 warnings, care, and maintenance 

information.

• To purchase the correct 

water supply hook-up

.

Write purchased model number here.
Escriba aquí el número del modelo comprado.
Inscrivez le numéro de modèle ici.

Pour installer votre robinet Brizo

®


facilement, vous devez:

• 

LIRE TOUTES

 les instructions avant de  

débuter;

• 

LIRE TOUS

 les avertissements ainsi que toutes 

les instructions de nettoyage et d’entretien;

• Acheter le bon nécessaire de raccordement.

07/19/17   Rev. B

www.brizo.com

92176

For product & installation questions, do not return to the store. For additional help, contact customer service.

Si tiene preguntas sobre el producto y su instalación, no acuda a la tienda.  Para ayuda adicional, comuníquese con el departa-

mento de servicio al consumidor.

Si vous avez des questions au sujet du produit et de l’installation, ne retournez pas au magasin. Pour obtenir de l’aide, commu-

niquez avec le service à la clientèle.

www.brizo.com 
1-877-345-BRIZO (2749)
[email protected]

?

65386LF-

-ECO

Содержание Vettis 65386LF Series

Страница 1: ... aquí el número del modelo comprado Inscrivez le numéro de modèle ici Pour installer votre robinet Brizo facilement vous devez LIRE TOUTES les instructions avant de débuter LIRE TOUS les avertissements ainsi que toutes les instructions de nettoyage et d entretien Acheter le bon nécessaire de raccordement 07 19 17 Rev B www brizo com 92176 For product installation questions do not return to the sto...

Страница 2: ...rd de Vidange Droit RP12516 Strap Screw Barra Chata y Tornillo Feuillard et Vis RP6132 Nut Tuerca Écrou RP12517 Horizontal Rod Clip Barra Horizontal y Gancho Tige Horizontale et Agrafe RP6130 Pivot Seat Gasket Asiento de Pivote y Empaque Joint et Siège du Pivot RP44193 Nut Washer Gasket Tuerca Arandela y Empaque Écrou Rondelle et Joint RP92364 Nut Tuerca Écrou RP92363 Handle Escutcheon Nut Chapa d...

Страница 3: ... the bottom From the top thread the adapter 3 onto the shank until it stops From underneath securely tighten the mounting nut Repeat this step for the other side Instale la tuerca la arandela y la junta en la espiga de la válvula extrema final 1 Retire el adhesivo al dorso del empaque 2 y coloque en la ranura del adaptador Coloque la espiga de la válvula extrema a través del orificio de montaje de...

Страница 4: ...ide 2 puis laissez s écouler l eau une minute Important Il faut laisser s écouler l eau pour évacuer les saletés qui pourraient abîmer les éléments internes du robinet 6 2 1 2 1 2 1 2 1 OVERTIGHTEN APRIETES DEMASIADO TROP SERRER SEALANT SELLADORES PRODUITS D ÉTANCHÉITÉ Remove the adhesive backing from the gasket and install into spout escucheon Install escutcheon onto spout shank Slide the spout s...

Страница 5: ...a rondelle et le joint vers le bas Enlevez le raccord droit de vidange du corps appliquez du ruban de plomberie puis remettez le raccord droit en place METAL POP UP DESAGÜE AUTOMÁTICO DE METAL RENVOI MÉCANIQUE EN MÉTAL S IL IC O N E Remove pivot nut 1 Install horizontal rod 2 and stopper 3 as removable 4 or non removable 5 Hand tighten pivot nut 1 Quite la tuerca del pivote 1 Instale la barra hori...

Страница 6: ...s une coupe d équerre et enlevez les bavures 2 Glissez l écrou 2 et la manchon en plastique 3 sur le tube coupé Assurez la manchon est orienté comme montré 3 Introduisez le tube dans le raccord 4 Le tube doit toucher le fond du trou à l intérieur du raccord 4 Faites glisser le manchon en plastique dans le tube jusqu à ce qu il pénètre dans la partie supérieure du raccord NOTIFICATION Si le manchon...

Страница 7: ...handle Remove screw 3 and spline adapter 4 Unthread nut 5 and remove Remove escutcheon 6 Remove cartridge 7 by turning it counterclockwise with a 17 mm or 11 16 hex socket wrench Install new cartridge and tighten firmly but do not over tighten Reinstall other parts in reverse order 2 MANTENIMIENTO Si con el tiempo se ha reducido el flujo de agua el filtro o el regulador de flujo pueden estar bloqu...

Страница 8: ...i dessous Aux États Unis et au Mexique Au Canada Brizo Kitchen Bath Company Masco Canada Limited Plumbing Group Product Service Technical Service Centre 55 E 111th Street 350 South Edgeware Road Indianapolis IN 46280 St Thomas Ontario Canada N5P 4L1 1 877 345 BRIZO 2749 1 877 345 BRIZO 2749 brizosupport brizo com customerservice mascocanada com La preuve d achat reçu original du premier acheteur d...

Отзывы: