


8
3.10
ACTIVATE THE PASSWORD
【
KEY
】
●
Enter the
【
KEY
】
mode to select whether the access password is on or off.
●
When the fixture is set as PASS
【
ON
】
, after 30 seconds or turn on the fixture
next time, the fixture will need an access password to enter the display menu
control.
Note:
The factory access password is
【
UP
】
+
【
DOWN
】
+
【
UP
】
+
【
DOWN
】
,
then press
【
ENTER
】
to confirm the access.
KEY
ON
OFF
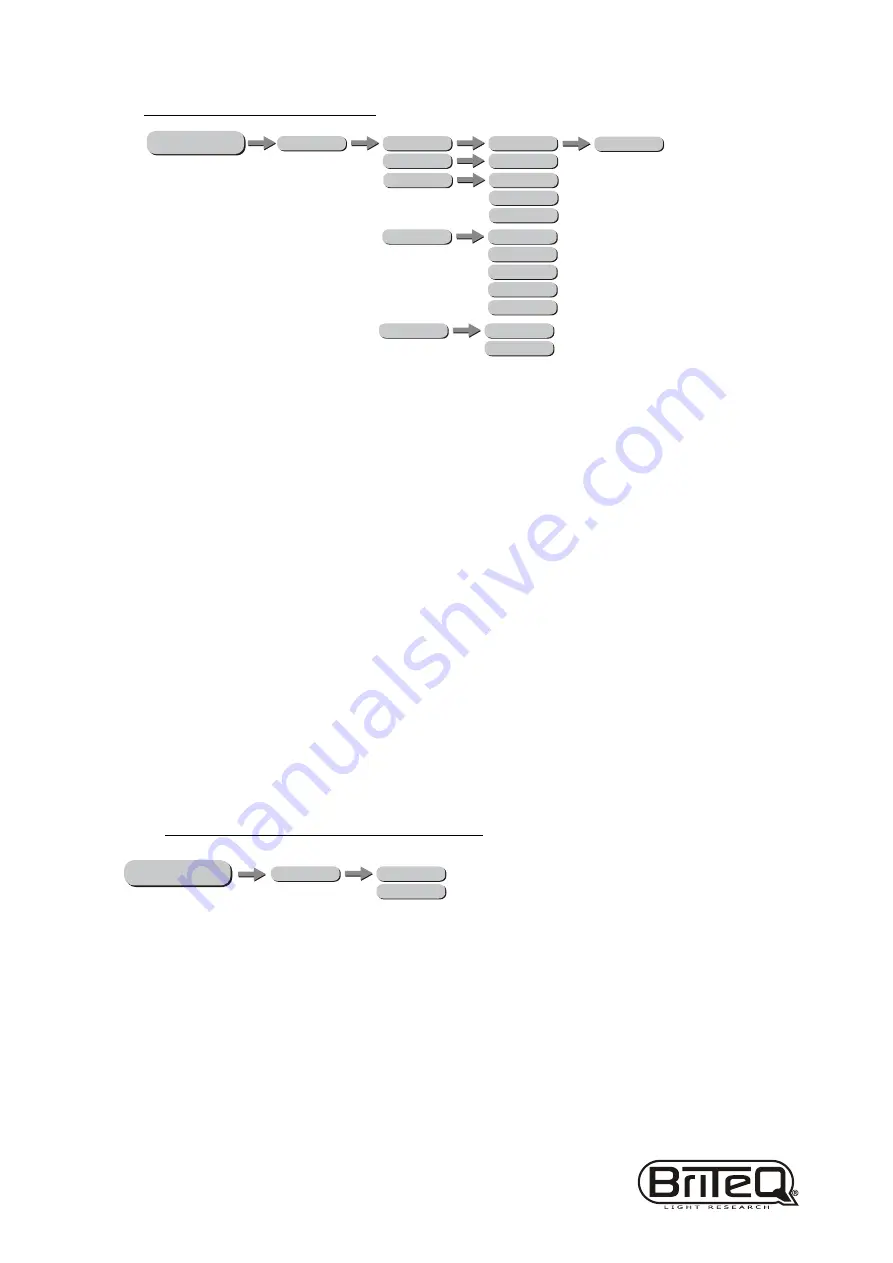
MENU
【
SETTING
】
●
Select
【
UPLD
】
to upload the custom programs from the current MASTER unit to
the SLAVE units.
●
In order to activate the upload function the password must be entered.
●
Password is the same as the main access password.
●
When uploading the MASTER and SLAVE units will display YELLOW.
●
If an error occurs when uploading the MASTER and/or SLAVE units will display RED.
●
On successful uploading of the custom programs the MASTER and SLAVE units
will display GREEN.
●
In order to reset custom modes to default values select
【
REST
】
.
●
【
COLOR
】
is for activate/unactivate the color calibration functions.
When
【
RGBW
】
is selected, on RGB = 255,255,255, the color is displayed as calibrated
in CAL2 -- RGBW. When
【
COLOR
】
is set
【
OFF
】
, on RGB = 255,255,255, the RGB
values are not adjusted and the output is most powerful.
When [
UC
] is selected, the RGB output are adjusted to a standard preset universal color
which balances fixtures from different generations.
●
DERR
【
】
hoose
Save
in order to save the last DMX data incase of DMX signal error.
Choose
Black
in order to blackout in case of DMX signal error.
C
【
】
【
】
3.9
SPECIAL SETTINGS
MENU
OFF
RGBW
COLO
SET
UPLD
REST
DIM2
DIM4
DIM3
DIM1
DIM
UC
OFF
SEND
END
OK
BLAK
SAVE
DERR
8
Содержание Pro Beamer RGBW outdoor
Страница 1: ......


