9
Screen Stitching
This option connects the selected screens into a video wall configuration.
Cancel Stitching
Return the Video Wall configuration to normal outputs.
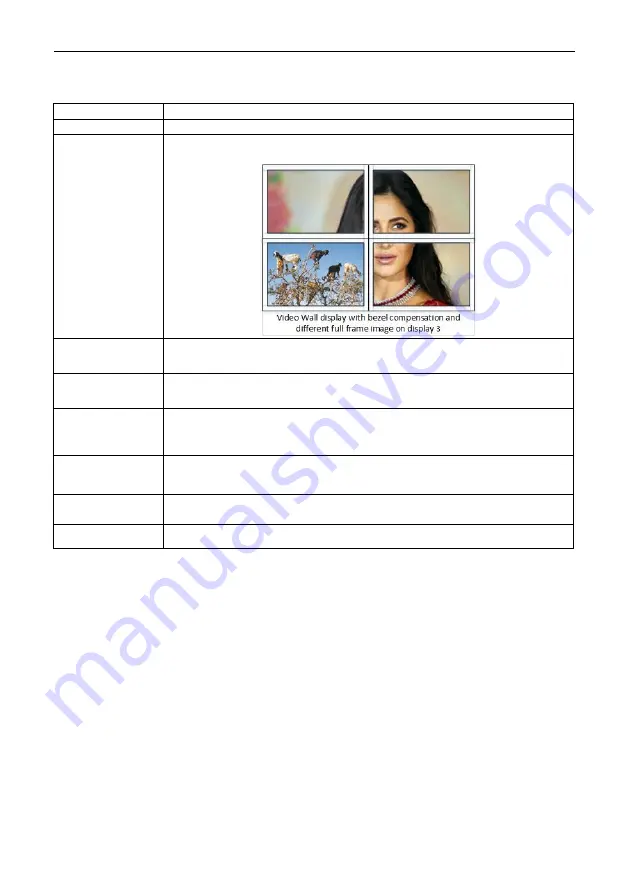
Screen x – Cancel
Stitching
Removes the single screen x from the video wall to allow the displaying another
full frame image within the video wall configuration, as shown in this example:
Input Select
Use the sub-menu to select the input to display on the video wall or the
secondary input image shown in the above example.
Output Select
This option is only available for any screen that is not assigned to a video wall
mode.
Output Type
This option is only available for any screen that is not assigned to a video wall
mode. It allows setting of the selected screen output mode as described in the
Output Board section.
Output Format
This option is only available for any screen that is not assigned to a video wall
mode. It allows setting of the output resolution for the selected screen output.
Mirror
Two sub options : OFF ( default ), ON ( H+V Mirror)
When select
ON
, you can make 180
º
rotation with the selected screen
Test Pattern
When enable Test Pattern, the output will display Color Bar pattern
Bezel Setting
The Bezel Setting section allows the entry of values to compensate for the display bezel
thickness. These values may be entered either as pixels (Type A) or as milli metre (Type B).
Type A Bezel Settings
The image size will be adjusted to allow for the number of pixels entered in each of the entry
boxes. Click the
Set
button view the effect of the new values.
Type B Bezel Settings
The image size will be adjusted to allow for the Inner and Outer display dimensions as entered
in each of the entry boxes. Click the
Set
button view the effect of the new values.
Bezel Compensation
The following images demonstrate the effect of not having bezel compensation and what a
correctly configured bezel compensation setting should produce:
Brightlink 2x2 4k@60Hz Video Wall Controller with Web GUI
Brightlinkav.com


