8
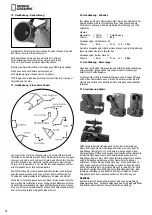
18. Handling - Observation:
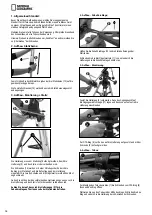
After locating Polaris in the view finder, look through the eyepiece,
Polaris should be visible.
If necessary, you can align the star more precisely with the help of
the flexible handles, just as you can adjust the focus by using the
focussing wheel (B).
When properly focused, the star should then appear point-shaped.
You may now also interchange eyepieces to
increase or decrease magnification.
TIP: Begin each observation with an eyepiece of a low magnification
(30mm).
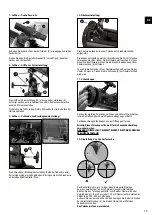
19. Handling - Find a star:
Initially it will be difficult for you to find your bearings in the night sky,
since the stars and the constellations always appear to be moving
and according to season, date and time their position in the sky will
change. The North star, also known as Polaris (Stella Polare), is the
exception. It is a fixed star and the starting point for all star maps in
the northern hemisphere.
To begin, you should look at some well known constellations and star
group orders that are visible the whole year over. The position of the
celestial objects depend on date and time.
If you have aligned your telescope accurately on one of these stars,
you will find that it vanishes out of your visual field after a few min
-
utes. To even out this effect, you must turn the flexible handle (K) the
rectascension axis and your telescope will follow the trajectory of this
star.
20. Handling - Accessories:
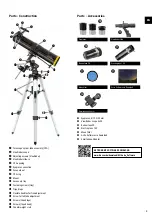
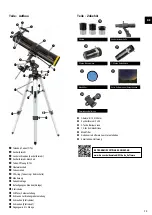
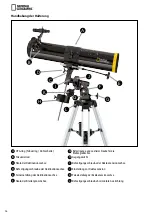
Your telescope is supplied with 3 eyepieces. By interchanging the
eyepieces you can alter the magnification of your telescope. For best
performance, the maximal recommended magnification is 152X.
Hint:
Focal length / Eyepiece = Magnification
700 mm
/ 30 mm
=
23 x
Using Erecting lens 1.5x:
700 mm
/ 8 mm
= 87.5x x 1.5 =
131x
By using the Barlow lens you can triple the magnification of each of
the eyepieces.
Using Barlow lens 3x:
700 mm
/ 8 mm
= 87.5x x 3 =
262x
21. Handling - Dismantling:
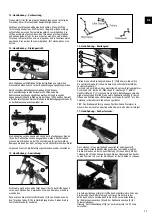
After a hopefully interesting and successful observation, it is
recommended that you store the entire telescope in a dry, well aired
area.
Do not forget to put the dust-protection-caps onto the OTA opening
and onto the eyepiece connection. Also, you should stow all
the eyepieces and optical accessories into their corresponding
containers.
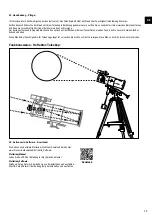
21. Smartphone Adaptor:
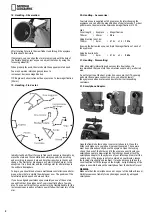
Open the flexible holder and put your smartphone in it. Close the
holder and make sure your phone is properly secured. The camera
must be positioned exactly above the eyepiece. Open the locking
clip on the back of the holder and fit the eyepiece exactly onto your
smartphone camera. Now retighten the locking clip and attach the
smartphone adaptor to the eyepiece of your telescope. Now start the
camera app. If the image is not yet centered on your display, loosen
the locking clip slightly and readjust. It may be necessary to use the
zoom function to fill the image on the display. A slight shading at the
edges is possible. Remove the smartphone from the holder after use!
WARNING
Make sure that the smartphone can not slip out of the holder. Bresser
GmbH assumes no liability for any damages caused by a dropped
smartphone.


