BREIL OS80 Manta, Инструкция
Инструкция по эксплуатации BREIL OS80 Manta - это необходимое руководство для использования устройства. Вы можете бесплатно загрузить этот мануал на нашем сайте manualshive.com. Узнайте подробности о функциональности и настройках данного продукта, чтобы использовать его максимально эффективно.
Поделиться
Скачать


Отзывы:
Нет отзывов
Похожие инструкции для OS80 Manta

26
Бренд: Hamilton Страницы: 5
T270
Бренд: Japan CBM Страницы: 2
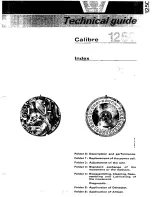
1250
Бренд: Omega Страницы: 66
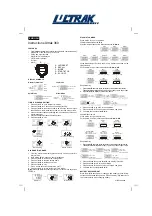
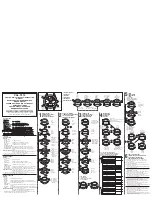
360
Бренд: Ultrak Страницы: 2

H1
Бренд: X-ONE Страницы: 30
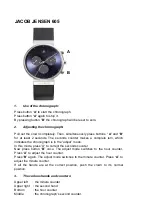
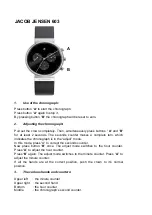
605
Бренд: Jacob Jensen Страницы: 2
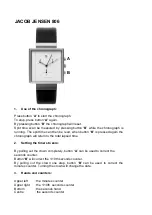
806
Бренд: Jacob Jensen Страницы: 2
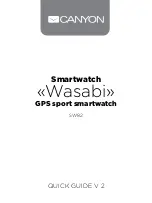
SW82
Бренд: Canyon Страницы: 182
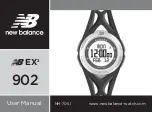
902
Бренд: NB Страницы: 29
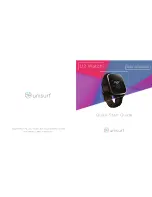
U2
Бренд: Unisurf Страницы: 48
9015
Бренд: Zeppelin Страницы: 6
WS-2314
Бренд: Sami Страницы: 4
382
Бренд: Jaeger-leCoultre Страницы: 12

Crush
Бренд: Oakley Страницы: 31

TITANIUM
Бренд: S-Force Страницы: 20
C5
Бренд: Malvern Automatic Страницы: 13
603
Бренд: Jacob Jensen Страницы: 3
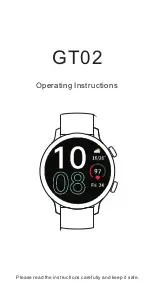
GT02
Бренд: Yingkeda Technology Страницы: 68


