6
7
2. Recommended Installation Position
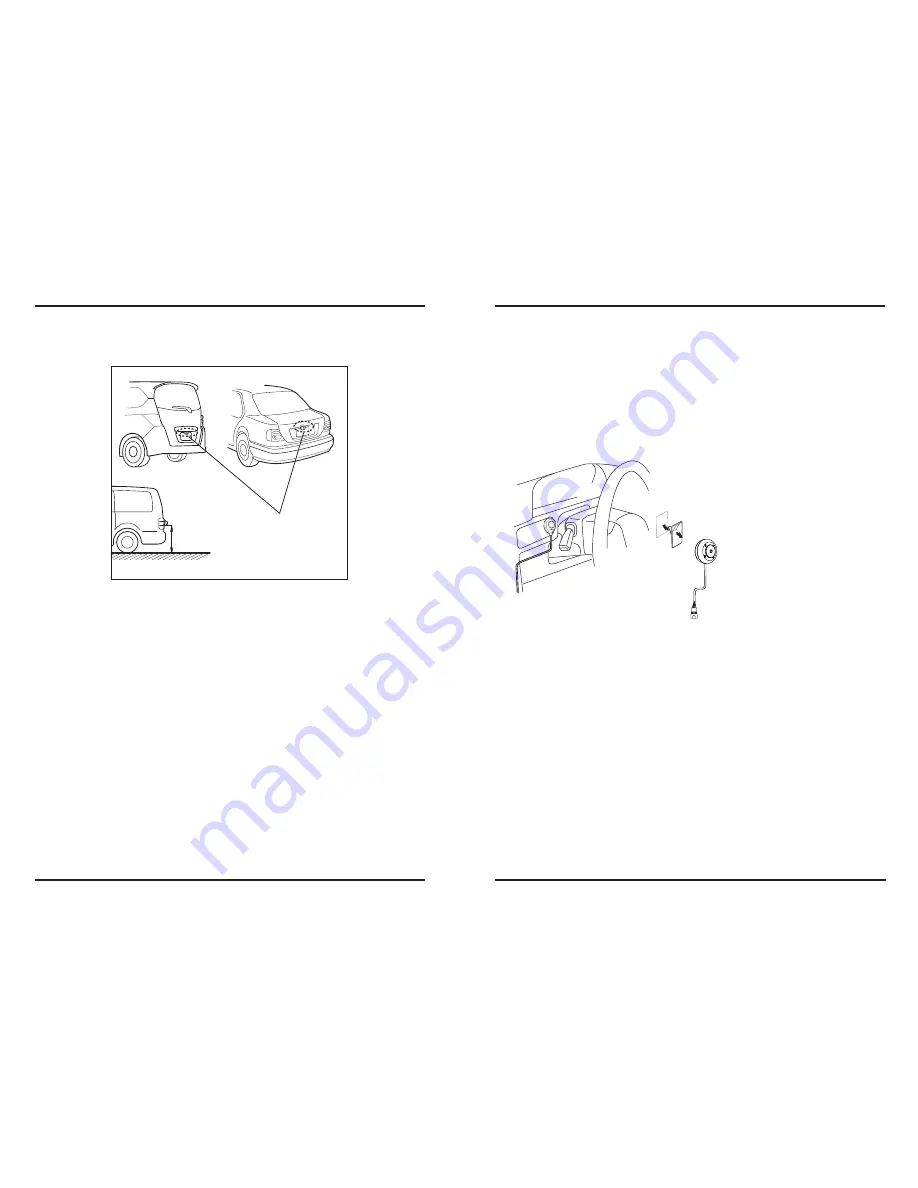
2-1 Examples of correct camera installation
2. Recommended Installation Position
2-2 Installing the Switch Unit
ˍGyGpGGaGZUY\
1. Decide the camera installation position.
2. Clean the camera installation surface.
GGGGG|GG GGSGGSGGGG GGG
GGGGGGGGGGGGGU
3. Mount the camera on the license plate.
4. Fix the camera temporarily with screw.
5. Complete all of the required connections.
6. Display the camera video.
GGGGGzGGG GG GGGGGGUG
GGGGGmGSGGGGGG GGU
7. Change the shift lever to the R (Reverse) range to view the image of the rear of the
vehicle.
GGGGGiGGGSG GGGGGGGGGGG
GGGGGGGGUGvSGGGG GU
8. Adjust the camera angle so that the rear part of the vehicle or the rear bumper is
visible at the bottom of the monitor screen.
GGGGG~GGGGSGGGGGGGGU
9. After adjusting the camera angle, tighten the retaining screws firmly.
GGGGGpGGGGGUGpG GGSGGG U
10.Perform the operations in “Camera Setting”.
GGGGpGGGGGGGG GGSGGGG
GGGGGG U
11.Fix the camera firmly in position.
G
1. Clean the switch unit installation surface.
GGGGG|GG GGSGGSGGGG GGG
GGGGGGGGGGGGGGU
G
2. Attach velcro tape on the bottom of the switch unit and then attach it in an
easy-to-operate position, for example near the dashboard on the driver seat side.
Installation position
ଝଝଝ


