Assembly / Owner’s Manual
32
7RGLVPRXQW\RXU¿WQHVVPDFKLQH
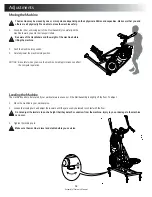
1. Move the Pedal you want to dismount from to the highest position, and bring the machine to a complete stop.
This machine is not equipped with a free-wheel. Pedal speed should be reduced in a controlled manner.
2. Grasp the Static Handlebars under the Console to steady yourself.
:LWK\RXUZHLJKWRQWKHORZHVWIRRWVZLQJWKHXSSHUIRRWRIIWKHPDFKLQHDQGGRZQRQWRWKHÀRRU
.
4. Step off of the machine and release your grip from the Static Handlebars.
Getting Started
3ODFHWKH¿WQHVVPDFKLQHLQ\RXUZRUNRXWDUHD
Place the machine on a clean, hard, level surface, free from unwanted material or other objects that may hamper your ability to
PRYHIUHHO\$UXEEHUPDWFDQEHXVHGEHORZWKHPDFKLQHWRSUHYHQWWKHUHOHDVHRIVWDWLFHOHFWULFLW\DQGSURWHFW\RXUÁRRULQJ
The machine can be moved by one or more persons. Make sure that your own physical strength is capable of safely moving the
machine.
([DPLQHIRUDQ\REMHFWVEHORZWKH3HGDOVDQGLQWKH$LU5HVLVWDQFH)DQ%HVXUHLWLVFOHDU
3. Connect the power cord to the machine and into a grounded AC Wall Outlet.
4. If you use the Heart Rate Monitor, follow the Chest Strap directions.
5. To mount the machine, move the Pedals until the one nearest you is in the lowest position.
Care should be used when mounting or dismounting the machine.
%HDZDUHWKDWWKH3HGDODQGOHEDUVDUHFRQQHFWHGDQGZKHQHLWKHURIWKHVHSDUWVPRYHWKHRWKHUGRHVDVZHOO,QRUGHUWR
DYRLGSRVVLEOHVHULRXVLQMXU\JUDVSWKDQGOHEDUVWRVWHDG\\RXUVHOI
*UDVSWKDQGOHEDUVXQGHUWKH&RQVROH%XWWRQ$VVHPEO\
7. Steadying yourself with the Static Handlebars, step up onto the lowest Pedal and place your other foot onto the opposite Pedal.
Note: “Bottomed out” is when the User is unable to start a workout because the Pedals will not
move. If this occurs, safely grasp the Static Handlebars and apply your weight to the heel
of the higher foot. While still grasping the Static Handlebar, lean back slightly applying more
weight onto the heel. Once the Pedals begin to move, resume your intended workout.
3XVKWKH86(5EXWWRQWRVHOHFWWKHGHVLUHG8VHU3UR¿OH
9. Push the START button to begin a Quick Start workout. Starting with a Quick Start workout will get
\RXIDPLOLDUZLWKKRZ\RXU%RZÀH[0D[7UDLQHU
®
machine operates and responds to adjustments of
Resistance Level and Burn Rate.
Note:
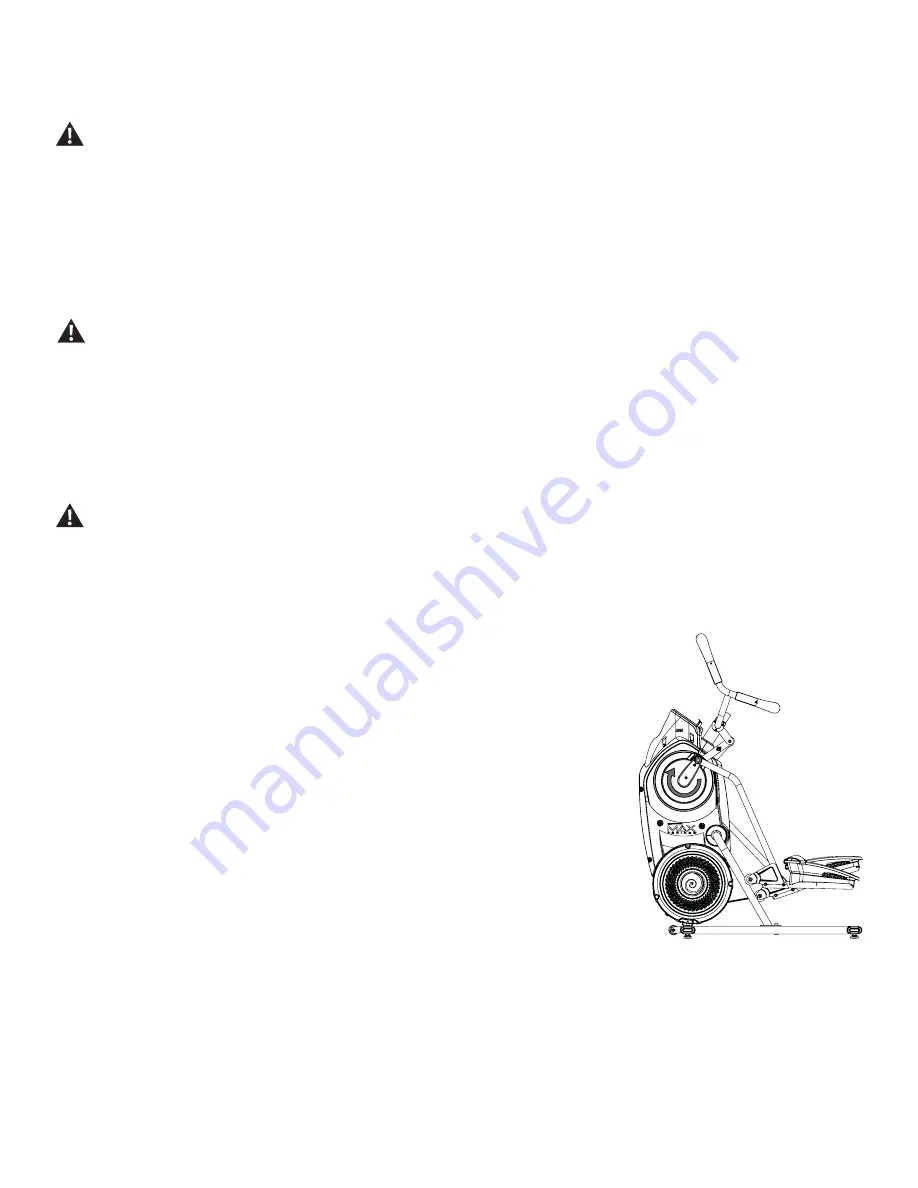
:KHQRSHUDWLQJWKH%RZÀH[0D[7UDLQHU
®
machine, be sure the Legs are moving in the direc
tion as shown on the Crank Cover.
:KHQUHDG\IRUD%RZÀH[0D[7UDLQHU
®
ZRUNRXWEHVXUHWRSURJUDP\RXU8VHU3UR¿OHVHHWKH(GLWD
8VHU3UR¿OHVHFWLRQEHIRUHVWDUWLQJWKH0$;ZRUNRXW7KHVXJJHVWHG7DUJHW%XUQ5DWHVDUHEDVHGRQ
\RXU8VHU3UR¿OHVHWWLQJV
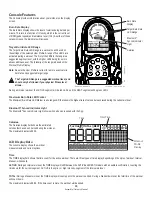
Power-Up / Idle Mode ( WELCOME screen )
The Console will enter
3RZHU8S
/ Idle Mode if it is plugged into a power source, any button is pushed, or if it receives a signal from the RPM sensor
as a result of pedaling the machine.
Auto Shut-Off (Sleep Mode)
,IWKH&RQVROHGRHVQRWUHFHLYHDQ\LQSXWLQDSSUR[LPDWHO\PLQXWHVLWZLOODXWRPDWLFDOO\VKXWRII7KH/&'GLVSOD\LVRIIZKLOHLQ6OHHS0RGH
Note: The Console does not have an On/Off switch.
Содержание Max Trainer M5
Страница 14: ...Assembly Owner s Manual 14 6 Connect the Foot Pads and then the Foot Pad Inserts 9 X2 X8 5mm 8 8 A...
Страница 53: ...Assembly Owner s Manual 53...
Страница 54: ...Assembly Owner s Manual 54...
Страница 56: ...8003606 071518 K EN...

