T
u
n
in
g
T
h
e
A
m
p
li
fi
e
r
-
F
ro
n
t
A
n
d
R
e
a
r
S
p
e
a
k
e
rs
6
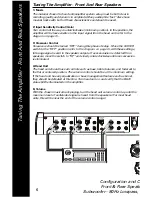
1) Music
The material chosen for head unit/amplifier system setup must be both clear in
recording quality and dynamic in amplitude. Many audiophile “test” discs have
musical tracks with both of these characteristics and should be used.
2) Input Sensitivity Control (Gain)
Turn control all the way counterclockwise (minimum position). In this position, the
amplifier will be less sensitive to the input signal from the head unit (refer to the
diagram on page 3).
3) Crossover Control
Crossovers should be turned “OFF” during this phase of setup . Move the X-OVER
switch to the “OFF” position (refer to the diagram on page 3), with these settings,
full-range signal is sent to the speaker outputs. If over-excursion is detected from
speakers, move the switch to “HP” and slowly rotate clockwise until over-excursion
is eliminated.
4) Head Unit
The head unit should have all controls such as bass, treble, balance, and fader set to
the flat or centered position. The volume control should be at the minimum setting.
If the head unit has any equalization or bass management features such as boost,
they should be defeated at this time. Turn head unit on, and verify that the BLUE
status LED is illuminated on the amplifier.
5) Volume
With the chosen musical track playing, turn the head unit volume control up until the
maximum level of undistorted signal is heard from the speakers. (For most head
units, this will be near the end of the volume control range.)
Tuning The Amplifier - Front And Rear Speakers
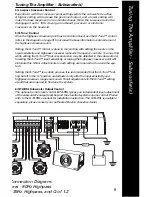
Configuration and Connection Diagram:
Front & Rear Speakers - 80Hz Highpass
Subwoofer - 80Hz Lowpass, 35Hz Highpass, and Q of 1.2
Содержание GTA 1105
Страница 1: ...High Performance 5 Channel Amplifier GTA...
Страница 11: ...Notes 11...


