When the ignition switch is put in ACC or ON position, Press [ ] button on the front
panel to turn on the unit. After the host starts, hold [ ] button for 3 seconds , the host
will turn off.
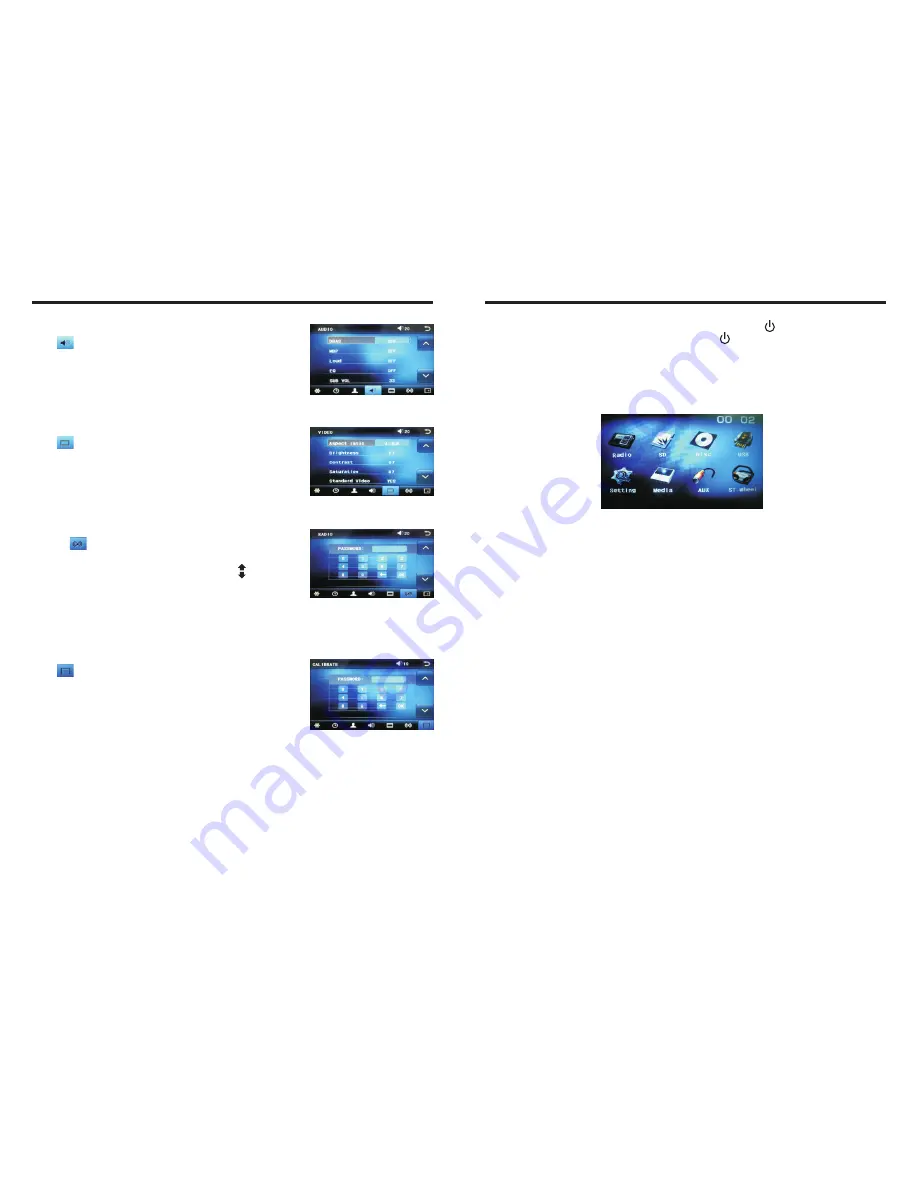
Access main interface
Turned on, the interface to return the icon to switch to the main interface. As shown
below:
Touch the function icons so as to access the corresponding function operations.
USB/SD Card Operation
When there is a USB device/SD card connected, the unit can conduct the playback of
audio/video/image files in the USB device/SD card.
Insert/Eject USB storage device
1. Connect a U disc recorded with media information to the unit by a USB connecting
cable.
2. When there is a need to eject the USB device, exit the USB device playback screen
first, and then take out the device.
Insert/eject SD card
1. Insert a SD card recorded with media information into the SD card slot in the unit
correctly until it is locked.
2. When pulling out the SD card, exit SD card playing state first, then press the SD card
and it shall pop up after unlocking.
Enter/exit
Insert a USB storage device or SD card to automatically play data contained in it. If the
unit has connected with a USB device or SD card, touch [USB] icon in the multimedia
interface to enter into the external storage playback interface; Touch [SD] icon to enter
into the SD card playback interface. During playback, touch the top center area of the
screen to pop up the touch menu, operate touch menu to perform various playback
controls.
Play
After SD card/USB removable device being read out, the operation methods are similar
to disk operation methods.
Turn on/off
06
13
INSTRUCTIONS
Audio setting
Click icon on setup interface to access audio setting
interface, as shown in right (PIC 1) diagram:
You can turn on or turn off the existing functions on audio
setting interface and adjust the rearview volume.
Video setting
Click icon on setup interface to access video setting
interface, as shown in right (PIC 2) diagram:
At video setting interface, you can adjust brightness,
contrast, saturation and hue of the video.
Radio setting
Click on in setting interface, input password [123456]
to enter as shown in right (PIC 3) diagram:
Touch [America 1] icon in the radio interface, icon will
popup, click on it to choose radio region
Touch calibration
If touch calibration error occurs, you can adjust the touch coordinate by “Touch
calibration”.
Click icon on setup interface, input password [888888]
to confirm to access touch calibration interface, as shown in
right (PIC 4) diagram:
Touching methods
Use touch pen to click the center of “+” icon, and move along with center of “+” icon so
as to calibrate the screen. It shall automatically save data and exit after screen calibration.
Please accurately click all positions on screen, or the accuracy of touch calibration shall
be affected.
PIC 1
PIC 2
PIC 3
PIC 4
Содержание BV9356I
Страница 1: ......


