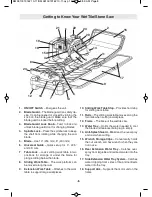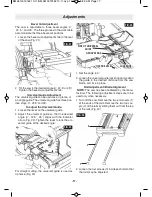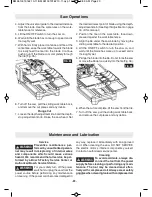
3. Use a slide caliper or straight ruler to measure the
distance between the two rails at one end of the
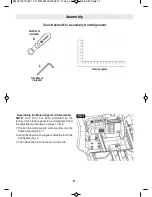
rails. Make sure that the distance is 12-5/8”
(320mm), and then slightly tighten the screw at
that end of each rail. Follow the same procedure
at the other ends of the rails to adjust the distance
between the rails to 12-5/8” (320mm), and slightly
tighten the screw at that end of each rail (Fig. 25).
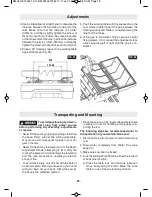
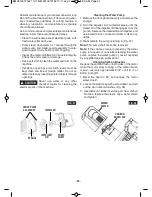
4. Place a 90° framing square on the working table
against the fence (Fig. 26).
5. Push the working table with the square along the
saw blade to determine if the gap between the
framing square and blade is consistent along the
length of the stroke.
6. If the gap is consistent, firmly secure all eight
fixing screws. If not, repeat the adjustment steps
above adjusting left or right until the gap is con-
sistent.
Adjustments
FIG. 25
FIG. 26
Transporting and Mounting
To avoid possible injury, discon-
nect plug from power source
before performing any assembly, adjustments
or repairs.
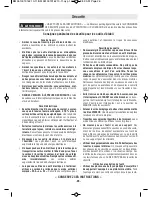
• Never lift the saw by gripping anything other than
the base. Parts, such as the sliding work table,
may move and cause sever injuries to your fin-
gers or hands.
• Never lift the saw by the power cord or the Depth
Adjustment Handle, attempting to lift or carry the
tool by the power cord will damage the insulation
and the wire connections, resulting in electric
shock or fire.
• To avoid back injury, only lift saw with the help of
a second person. Bend your knees so you can lift
with your legs, not your back. Lifting the saw by
the base is the preferred method.
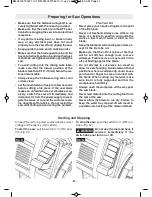
• Place the saw on a firm, level surface where there
is plenty of room for handling and properly sup-
porting the tool.
The following steps are recommended prior to
transportation of your wet tile/stone saw:
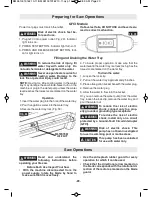
1. Disconnect plug from power source and wind up
cord.
2. Drain water completely from Water Tray (see
page 20.)
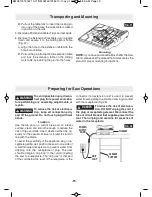
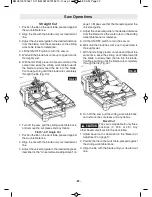
3. Make sure saw head is locked.
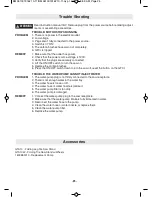
4. Lock the Sliding Work Table in either the forward
or back most position.
A. Press the table lock, and the work table can
move freely along the rails. Move the work
table to one of the two locking positions.
!
WARNING
-18-
320
223.38
BM 2610019162 10-11:BM 2610019162 10-11.qxp 10/20/11 8:59 AM Page 18

