background image

High Density Video Cassette Recorder | 

Instruction Manual

Setting the On-Screen Display

Bosch Security Systems | 26 Feb 2003 | Draft

EN

| 20

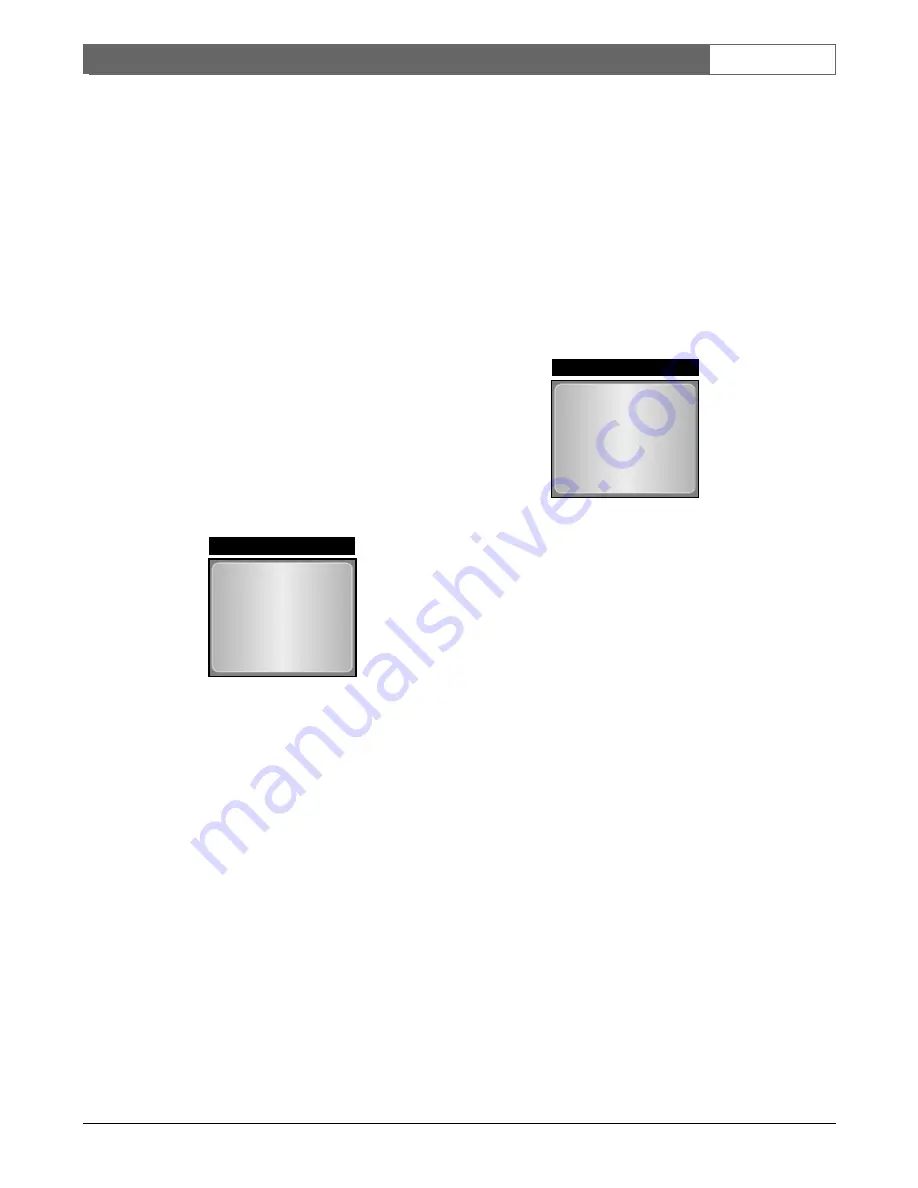
Buzzer Select

Allows you to set up the buzzer option.  You can
select:

ALARM : When an alarm input is activated, the
buzzer will operate.

VIDEO LOSS : When the video signal fails, the
buzzer will operate.

ERROR MODE : When the VCR operates
incorrectly, the buzzer will operate.

TAPE END : When the VCR reaches the end of
tape, the buzzer will operate when in the record
mode.

BUTTON : When selected to ON, the buzzer will
be activated when a key is pressed.

9. Press the MOVE button to select the BUZZER

SELECT option and then press the SELECT
button to enter the menu.

BUZZER SELECT menu will appear.

10. Press the MOVE button to choose the respective

option and then press the SELECT button to select
ON/OFF.

Note:

The TAPE END buzzer selection is only activated
when you have selected "RE-REC EVEN IF
ALARM" or "STOP IF ALARM (when there is no
alarm)" in the REPEAT function.

6.5

SEARCH SET UP Menu

The SEARCH SET UP function enables you to search
for specified alarm events.  The VCR will
automatically search the tape for the alarm index.

To scan alarm recordings during the STOP mode when
the tape is inserted:

1. Press the MENU button and the main menu will

appear.

2. Press the MOVE button to select the SEARCH

SET UP menu, and press the SELECT button to
enter the menu.

3. Rotate and release the SHUTTLE ring to REW or

FF to begin the alarm scan.

The COUNTER indicator on the VCR front panel
will indicate the tape position (if COUNTER has been
selected).  This counter indication will also be
displayed in the SEARCH SET UP menu.  You can
now reset this count to zero, which enables you to
select this tape position as the starting point when the
“GO TO ZERO” option is selected, or when the tape
is inserted into the VCR, the tape will automatically go
the the “ZERO” position.

4. Press the MOVE button to select COUNTER

RESET, and press the SELECT button to reset the
counter to zero.

6.6

SYSTEM SET UP Menu

The SYSTEM SET UP allows you to personalise your
system by defining access control and system
specification settings.

1. Press the MENU button. The main menu will

appear.

2. Press the MOVE button to select SYSTEM SET

UP and press the SELECT button to enter the
menu. 

BUZZER SELECT MODE

[BUZZER SELECT]

ALARM

ON

VIDEO  LOSS

ON

ERROR  MODE

ON

TAPE END

ON

BUTTON

ON

[

][

]

[MENU]END

[SEARCH SET UP]

COUNTER RESET

0047

GO TO ZERO

PRESS REW OR FF
TO  BEGIN  ALARM SCAN

[

][

][<< >>]

[MENU]END

SEARCH SET UP MENU

Содержание RT30A

Страница 1: ...RT30A RT960A Instruction Manual EN High Density Video Cassette Recorder ...

Страница 2: ...om being walked on or pinched particularly at plugs convenience receptacles and the point where they exit from the equipment 13 Only use attachments accessories specified by the manufacturer 14 Unplug this equipment during lightning storms or when unused for long periods of time 15 Refer all servicing to qualified service personnel Servicing is required when the equipment has been damaged in any w...

Страница 3: ...ese limits are designed to provide reasonable protection against harmful interference in a residential installation This equipment generates uses and can radiate radio frequency energy and if not installed and used in accordance with the instructions may cause harmful interference to radio communications However there is no guarantee that interference will not occur in a particular installation If...

Страница 4: ... the 9 pin Terminals Fig 4 Item 4 9 5 4 VCR Setup 10 5 5 Video Cassette Tapes 12 5 6 Normal Playback 12 5 6 1 Special Effects Playback 13 5 6 2 Tape Counter Memory Feature 13 5 7 Normal Recording 14 6 Setting the On Screen Display 15 6 1 CLOCK SET UP Menu 16 6 2 RECORD MODE SET UP Menu 16 6 3 TIMER RECORD SET UP Menu 18 6 4 REVIEW MODE Menu 19 6 5 SEARCH SET UP Menu 20 6 6 SYSTEM SET UP Menu 20 7 ...

Страница 5: ...es like the superimosed on screen menu in 8 languages provide easy setup Other features include built in time date generator a built in back up battery that provides time date settings backup during power loss for up to 31 days joggle shuttle for instant picture retrieval tape remaining indication and automatic recording after power failure The list is endless ensuring that these VCRs can meet you...

Страница 6: ...ion Operation Condensation If you pour a cold liquid into a glass water vapor in the air will condense on the surface of glass This is the condensation of moisture Condensation on the head drum one of the most crucial parts of the VCR will cause damage to the tape The VCR should not be operated for at least 2 hours after being moved from a cold to a hot environment to avoid condensation from occur...

Страница 7: ...f via the menu options If a picture is vertically vibrating during still mode or playback press V LOCK buttons until the vertical jitter on the Screen is reduced SELECT Menu operation Press to enter the next menu screen or to change a value 10 CLEAR Press to delete the information stored on the screen display such as Alarm review Power fail and Timer program It can also be used to stop the buzzer ...

Страница 8: ...ss the PLAY button to continue playback Display Window Indications Figure 2 Display Window 1 RECORD LOCK Illuminates when the record lock function is operational 2 PF Illuminates when the VCR power had failed 3 Cassette status Illuminates when a cassette is located in the recorder 4 TIMER Illuminates when the timer recording mode is on 5 REC Illuminates when recording mode is operating and TIMER i...

Страница 9: ...to monitor 4 9 PIN TERMINAL Provides inputs outputs for operational use Pin 1 Alarm IN Pin 2 Alarm OUT Pin 3 Series IN Pin 4 Series OUT Pin 5 Tape end OUT Pin 6 VEXT OUT Pin 7 GND Pin 8 Key IN Pin 9 1 Shot record IN 5 MIC IN TERMINAL Input connector for microphone REC REC REC Terminal Function Signal Level In Out 1 Alarm IN VIH 4 5V VIL 0 6V T above 500 msec IN 2 Alarm OUT VOH Open collector VOL 0...

Страница 10: ...To hear the playback sound use the 6H 18H or 30H speed during playback Audio In Accepts an audio signal from a camera external sound equipment or another recorder Line 8 8 dBm min 47 kOhm Audio Out Provides an audio output for a monitor or another recorder 5 8 dBm max 1 0 kOhm Figure 4 Rear Panel 5 3 Using the 9 pin Terminals Fig 4 Item 4 Attach the wires of the alarm switch door sensor or warning...

Страница 11: ...O inputs Connect the CAMERA AUDIO VIDEO output to the VCR AUDIO VIDEO input How to connect a Multiplexer with VEXT Input Terminals Connect the VCR VIDEO output to the MULTIPLEXER PLAYBACK input Connect the VCR VIDEO input to the MULTIPLEXER REC output Connect the VCR VEXT pin 6 to the MULTIPLEXER VEXT terminal Connect the MULTIPLEXER GND terminals to the VCR GND pin 7 Figure 5 VCR Connection to Si...

Страница 12: ... VIDEO input How to connect Alarms Connect the SWITCHER MULTIPLEXER alarm output to the VCR alarm input and then connect the SWITCHER MULTIPLEXER GND to the VCR GND pin 7 How to connect Series Record Connect the first VCR to CAMERA SWITCHER Connect the other VCRs in series After connecting turn on the VCR and then select the ON SERIES mode in REC MODE menu Figure 7 VCR Connection to Switcher Figur...

Страница 13: ...pressed even if the VCR s power is OFF Video cassette safety tab To prevent accidental erasure of recorded material remove the safety tab from the lower left corner of the cassette Recording is impossible when the safety tab is removed Your VCR will automatically eject it if you attempt to record on it 5 6 Normal Playback Turn on the power of both the VCR and the MONITOR 1 Insert a prerecorded vid...

Страница 14: ...o can be viewed at variable speeds by rotating and holding the shuttle ring at different positions The figure illustrates the action that will occur at various positions The VCR returns to the playback mode upon release of the shuttle ring During Still Mode When a picture is in the still mode the video can be viewed at variable speeds including slow motion by rotating and holding the shuttle ring ...

Страница 15: ...rval which is programmed in the 1SHOT REC menu see 6 2 Record Mode Set Up menu You can select the 1SHOT REC time interval for 1 sec 3 sec 5 sec 15 sec 30 sec 60 sec or OFF If you select 1SHOT REC OFF the unit will record one picture each time the external 1SHOT REC input is activated 3 Press the REC button Recording will start The REC indicator will light in VCR indicator panel 4 Press the STOP bu...

Страница 16: ...ments using the menus listed The functionality of each menu is described in the following paragraphs 2 Press the MOVE button to select the respective menu option that you want to setup and then press the SELECT button to enter the menu RECORD MODE SET UP REVIEW MODE LANGUAGE TIMER RECORD SET UP MAIN MENU SEARCH SET UP SYSTEM SET UP CLOCK SET UP DATE FORMAT DDMMYY DAY LIGHT OFF TIME HH MM SS DATE D...

Страница 17: ...ess the MOVE button to select the DATE option and then press the SELECT button the select the day month year digit Press the or to change the selected date digit DISPLAY Select the time date display position on the screen display LOWER R LOWER L UPPER L UPPER R OFF 7 Press the MOVE button the select the DISPLAY option and then press the SELECT button to change to the required selection 8 Press MEN...

Страница 18: ... The ALARM indicator in VCR indicator panel will appear when the alarm recording is proceeding 1SHOT REC This defines the interval time that one picture is recorded 1 sec 3 sec 5 sec 15 sec 30 sec 60 sec or OFF Notes If you select the 000H option in normal recording the VCR will activate the 1SHOT REC mode function This will record a single shot picture after each defined time interval which is pr...

Страница 19: ...ode STOP IF ALARM Rewinds tape and enters RECORD mode at beginning of tape If there has been an alarm recording it enters the STOP mode at end of tape 11 Press the MOVE button to choose the REPEAT option and press the SELECT button to choose the available options 6 3 TIMER RECORD SET UP Menu This VCR can be programmed to record up to 8 different programs The TIMER RECORD SET UP option can be progr...

Страница 20: ...er the menu The REVIEW MODE menu will appear ALARM REVIEW Allows you to view alarm events and then clear the alarm 3 Press the MOVE button to choose the ALARM REVIEW option and then press the SELECT button ALARM REVIEW menu will appear The list will show alarm events Up to 8 alarm events can be displayed on the MONITOR 4 To erase the alarm record information press the CLEAR button On the display p...

Страница 21: ...arm index To scan alarm recordings during the STOP mode when the tape is inserted 1 Press the MENU button and the main menu will appear 2 Press the MOVE button to select the SEARCH SET UP menu and press the SELECT button to enter the menu 3 Rotate and release the SHUTTLE ring to REW or FF to begin the alarm scan The COUNTER indicator on the VCR front panel will indicate the tape position if COUNTE...

Страница 22: ... or E 180 E 240 This is requested to ensure the VCR can calculate the Tape Remaining time 5 Press the MOVE button to select TAPE SELECT and press the SELECT button to scroll through the options V SYNC To obtain the best picture quality when in playback mode adjust the picture by V LOCK to ON OFF and adjust the tracking The V SYNC is switched between ON and OFF during playback by pressing the V LOC...

Страница 23: ...STAND BY ON button to switch the VCR off Remove the video tape and check the condition of the tape If damaged replace If the problem occurs frequently call your service center Capstan error Press the CLOCK COUNTER button to erase the error indication when in POWER ON Remove the videotape and check the condition of the tape If damaged replace Clean the deck mechanism using the Cleaning Tape If the ...

Страница 24: ...d Is the indicator illuminated Has the tape run out Is a cassette inserted Noise bars in the picture during playback Has the TRACKING control been adjusted Clear camera pictures during recording but during playback the picture is not clear This symptom may occur when the recorder has been used for a long period of time During this time a deposit of oxide may have built up on the video heads which ...

Страница 25: ...you press the RESET button Symptom Check Correction Recordings in of an observation multiplexer system 18 30 48 72 120 168 240 or 960 mode can not be played back in 6 hour mode no update of picture Set VEXT OUT on 2 FIELDS in the record mode setup menu For new recordings it will be possible to playback in 6 hour mode Alarm recording does not work Is the external switch correctly connected Playback...

Страница 26: ...hould not be operated for at least 2 hours after being moved from a cold to a hot environment to avoid condensation from occurring on the head drum Cleaning Be careful When surface of the case is wiped with a volatile agent such as benzine alcohol thinner etc or a chemically processed cloth the surface finish may be degraded or its coating may peel off Repacking It is wise to save the packing mate...

Страница 27: ...st Forward Time Less than 140 seconds E 180 or T 120 tape Alarm Command From the Recording or Ready Mode Turns on Alarm Indicator and Alarm output Inserts Alarm Code in on screen display for easy location during later visual search The selected alarm recording speed can be programmed to continue for a period of 30 seconds 1 5 10 minutes level or until tape end Typical Delay Time Before Alarm Recor...

Страница 28: ...s sec Intermittent No 72H 78H 104H 0 90mm sec 3 85fields sec Intermittent No 120H 126H 168H 0 56mm sec 2 38fields sec Intermittent No 168H 174H 232H 0 40mm sec 1 73fields sec Intermittent No 240H 246H 328H 0 29mm sec 1 22fields sec Intermittent No 480H 486H 648H 0 14mm sec 0 62fields sec Intermittent No 960H 966H 1288H 0 07mm sec 0 31fields sec Intermittent No Record mode Actual Hrs Tape Speed Rec...

Страница 29: ...ubject to change without notice Robert Bosch GmbH Geschäftsbereich Postfach 10 60 50 70049 Stuttgart Telefax 0711 811 12 34 www bosch de k Bosch Security Systems B V P O Box 80002 5600 JB Eindhoven The Netherlands Tele 31 40 27 80000 www boschsecuritysystems com ...

Отзывы: