


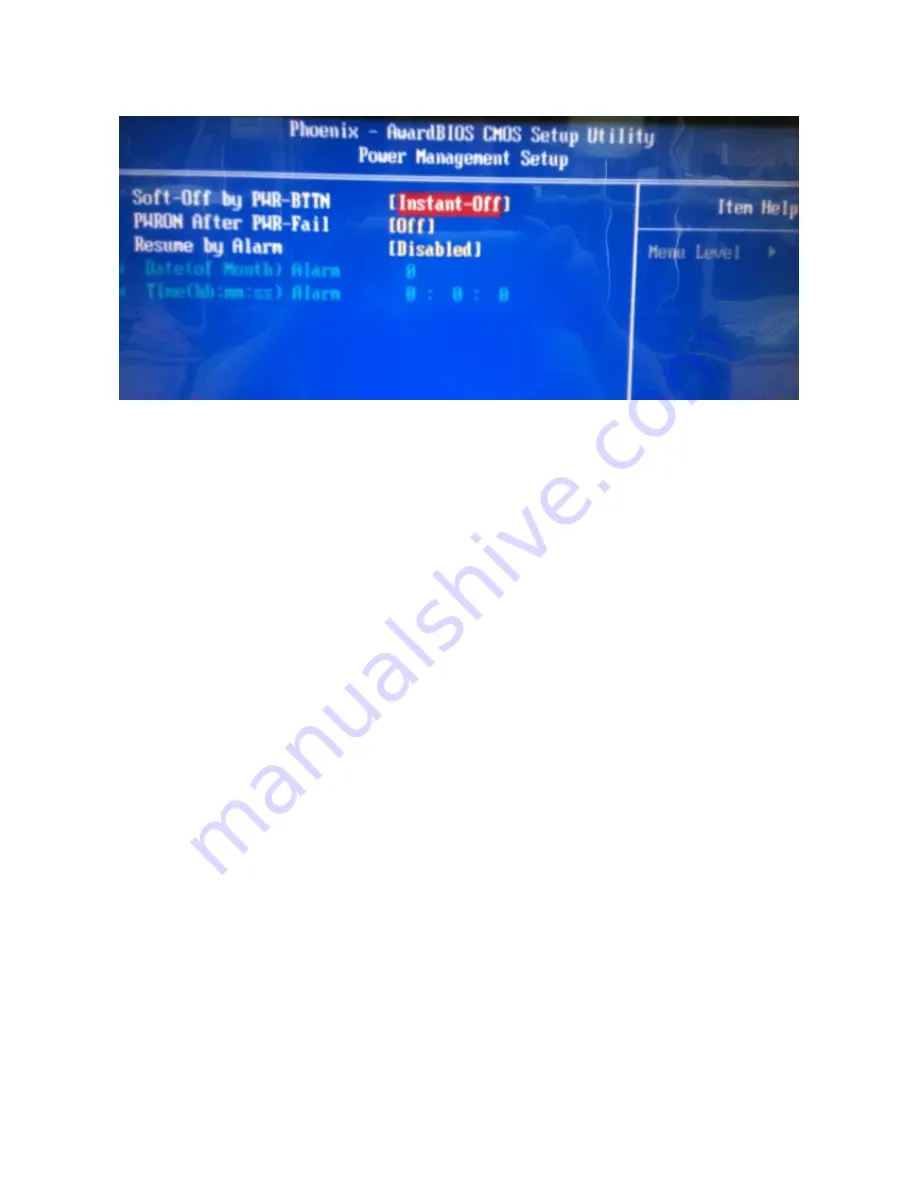
44
Power Management Setup
Soft-Off by PWR-BTTN (Instant-Off)
Under ACPI (Advanced Configuration and Power management Interface) you can create a
software power down. In a software power down, the system can be resumed by Wake Up
Alarms. This item lets you install a software power down that is controlled by the power
button on your system. If the item is set to Instant-Off, then the power button causes a
software power down. If the item is set to Delay 4 Sec. then you have to hold the power
button down for four seconds to cause a software power down.
Power On After Power Fail (Off)
This item enables your computer to automatically status after power returns from a power
failure.
Resume by Alarm (Disabled)
When set to Enabled, additional fields become available and you can set the date (day of
the month), hour, minute and second to turn on your system. When set to 0 (zero) for the
day of the month, the alarm will power on your system every day at the specified time.
Содержание Xterra-POS
Страница 1: ......
Страница 13: ...13 5 Rear I O Interface 1 COM RS232 port 2 Parallel port 3 VGA port 4 USB port ...
Страница 14: ...14 5 PS 2 K B port 6 Lan port 7 RJ11 port for Cash drawer 8 DJ Jack 9 DC out option ...
Страница 16: ...16 d Fasten the Magnetic Card Reader I button on the plate chassis with 2 screws e Connect the MSR cable ...
Страница 17: ...17 f Fasten the plate chassis on panel cover with 3 screws g Fasten the MSR cover ...
Страница 19: ...19 c Fasten the HDD on HDD bracket with 4 screws d Connect SATA cable with HDD ...
Страница 21: ...21 3 VFD LCM Module Installation a Remove the plate and loosen 4 screws and remove VFD cover ...
Страница 26: ...26 j Manage the cables into the pole k Put the cable cover on the hinge of VESA bracket ...
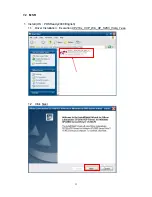
Страница 28: ...28 1 3 Click Next 1 4 Select None and click Next ...
Страница 29: ...29 1 5 Click OK 1 6 Click Next ...
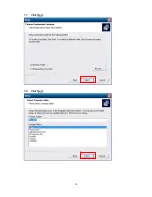
Страница 30: ...30 1 7 Click Next 1 8 Click Next ...
Страница 32: ...32 1 11 Follow the instruction to touch the four cross points 1 12 Calibration done ...
Страница 34: ...34 1 3 Click I accept the terms of the license agreement Next 1 4 Click Next ...
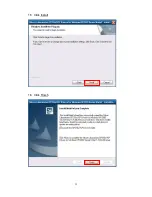
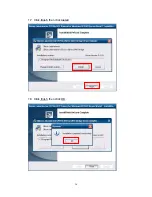
Страница 35: ...35 1 5 Click Install 1 6 Click Finish ...
Страница 36: ...36 1 7 Click finish then click Install 1 8 Click finish then click OK ...
Страница 39: ...39 1 13 Slip MSR then the screen will appear ID card s data Finish the test ...
Страница 40: ...40 8 BIOS Utility setup Press DEL key to enter BIOS SETUP UTILITY when system boot up ...


