37
buttons which are not selected will light in red. You can select a camera by pressing its
respective CAMERA button (lit in red).
▪
The tally lamp of the camera receiving a command from the TALLY/CONTACT connector
lights. *
▪
On Air - Displays the tally input lamp corresponding to the number of the camera with tally
input ON.
o
ON AIR TALLY mode: The following actions are performed for the number that is input from the
TALLY/ CONTACT connector only while receiving the commands.
▪
The corresponding CAMERA button lights in red.
▪
A camera can be selected arbitrarily. Selecting a CAMERA button lit in red will make it flash in
red and yellow alternately.
▪
The tally lamp of the camera receiving a command from the TALLY/CONTACT connector
lights. *
•
Command Select
o
Standard - Sets the input/output method to STANDARD method. The camera numbers and input/output
pin numbers have a 1:1 correspondence.
▪
If the unit and cameras are connected by serial connection, cameras 1 to 7 correspond to
input/outputs 1 to 7.
▪
If the unit and cameras are connected by LAN connection, cameras 1 to 10 in group 1
correspond to input/outputs 1 to 10.
o
Expand - Handles camera numbers as binary numbers.
▪
Tally input numbers 8 and higher in a serial connection are ignored. In this case, the response is
equivalent to no input.
▪
Numbers in a LAN connection, corresponding to cameras 1 to 10 in groups 1 to 10, are handled
as the numbers 1 to 100. Tally input numbers 101 and higher are ignored. In this case, the
response is equivalent to no input.
•
Camera Link - Turns tally lamp control on/off. The tally lamp control operation varies depending on the
combination of the SETTING and CAMERA LINK settings.
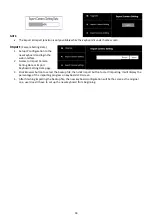
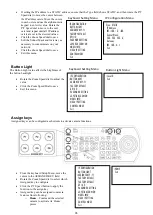
Password Setting
•
Old Password: Enter the current password
•
New Password: Enter the password you would
like to set
•
Confirm: Enter the new password again to
confirm
•
Save: Select this to apply the password. “OK”
will appear, confirming that the new password
has been applied
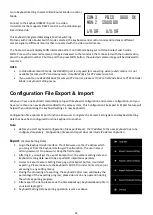
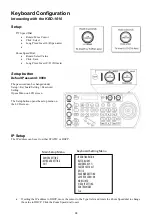
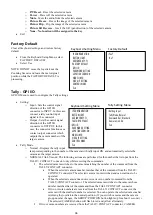
IP CONFIGURATION
BUTTON LIGHT
ASSIGNED KEY: F1
FACTORY DEFAULT
GPI I/O
>PASSWORD SETTING
JOYSTICK ZOOM: ON
MODEL INFO
VISCA IP SETTING
CONTROL MODE
Exit
Keyboard Setting Menu
>Old Password:
New Password
Confirm:
Save Exit
Password Setting Menu
Содержание KBD-1010
Страница 17: ...17 ...
Страница 19: ...19 ...
Страница 20: ...20 ...
Страница 21: ...21 ...
Страница 23: ...23 ...
Страница 24: ...24 ...
Страница 25: ...25 ...
Страница 26: ...26 IP Control Use ONVIF IP Control Use VISCA OVER IP Control ...
Страница 50: ...50 Dimensions Unit mm KBD 1010 Junction Box ...
Страница 51: ...51 www bolintechnology com 2082 TECHNOLOGY LLC dba BOLIN TECHNOLOGY ...

