


148
SINFONIA500SE / EMPRIO 600SE OWNERS MANUAL
•
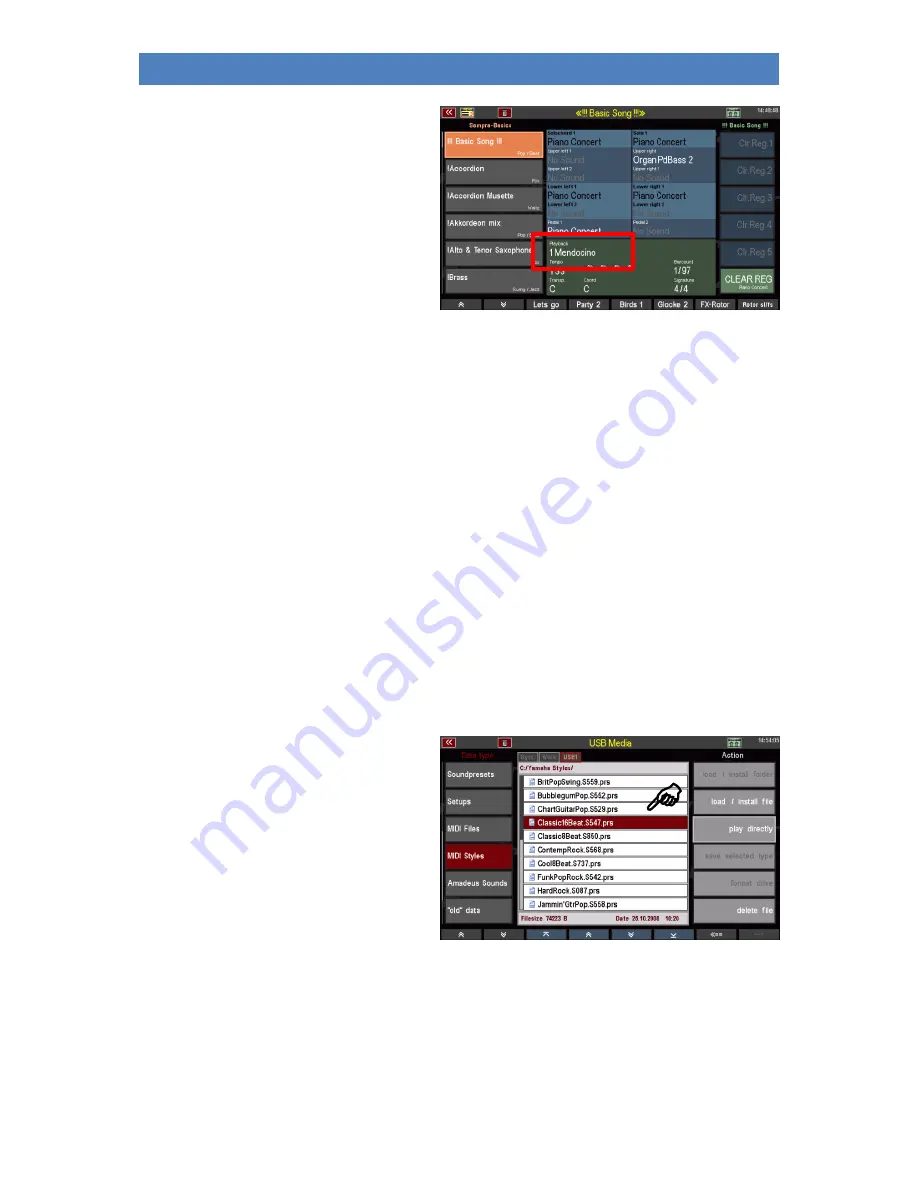
The display returns to the basic
screen. The selected Midi file is
activated and can now be used as
long as you do not call another MIDI
file, playback or style manually or via
a SONG/preset switch.
If you want to finally save the temporarily loaded MIDI file internally, return to the USB menu and
load it to an internal user slot as described above.
Alternatively, you can also call the style editor directly to edit the style immediately and then save it
internally from the editor (for more information, see chapter
Managing and Editing
Accompaniments
).
MIDI Styles (loading Yamaha Styles)
This file type is used to load styles in the Yamaha ® Style formats (.STY, .PSR...) directly into the SEMPRA.
These styles are directly converted into the SEMPRA style format on loading and can then be used and
edited like the SEMPRA styles.
You can save such Yamaha styles either directly from the USB stick into your internal user style library
or you can call such styles directly from the stick for playing (temporary storage). For more details,
refer to the chapter
Managing and Editing Accompaniments
.
Saving MIDI Style in SEMPRA
•
Use the cursor to select the style you
want to load.
•
Tap on the action field
Download /
Install file
on the right.
Содержание EMPRIO 600SE
Страница 1: ...1 ...
Страница 6: ...6 SINFONIA500SE EMPRIO 600SE OWNERS MANUAL ...
Страница 13: ...13 SINFONIA500SE EMPRIO 600SE OWNERS MANUAL ...
Страница 173: ...173 SINFONIA500SE EMPRIO 600SE OWNERS MANUAL ...


