background image

36

Belt 

58004-6-1046-00


410 J5 (1041 J5)

1

37

Belt wheel

58008-6-1017-03

ZL102

D260*19

1

38

Round magnet

174R4-6-2574-00


M02

1

39L

Left crank

58007-6-1045-02

1015A

6 1/2"x9/16"-20UNF

1

39R

Right crank

58007-6-1046-02

1015A

6 1/2"x9/16"-20UNF

1

40

Ball knob 

52916-2-0032-BB1

Q235A+ABS

D50xM16x32xD8

1

41

Upper computer cable

807E2-6-2572-00


700L

1

42

Motor 

73002-6-2571-00


1

43

Adjustable foot cap

55486-L-0076-B11

PP

D76*86

2

44

Buffer 

55308-4-0010-BB

NBR+Q235A

D20*10L*M8*1.25

1

45L

Left chain cover

737RB-6-4501-B0

HIPS88

594*80.3*495

1

45R

Right chain cover

737RB-6-4502-B0

HIPS88

594*76*495

1

46

Upper handle pulse cable

802S0-6-2585-00


600L

2

47

Middle handle pulse

cable

737RB-6-2587-00


2400L

2

48

Lower handle pulse cable

737RB-6-2586-00


100L

1

49

Handle pulse cable

802S0-6-2479-00


800L

1

50

Adaptor 

804C2-6-2584-01


OUTPUT:9VA,500MA

1

51

Crank welding set

803MC-3-2903-00


1

52

Spacer bushing

58002-6-1081-01


D13.5*D10*9

1

53

Fixed plate for idle

24500-6-2674-N1

Q235A

156*62.2*5T

1

54

Idle

745S0-6-1671-00


D42*D38*24

1

55

Bolt 

50308-5-0055-F3

35#

M8*1.25*55L

2

56

Square neck bolt

50508-5-0055-F3

35#

M8x1.25x55L

2

57

Plastic sleeve

803K0-6-1082-00

PVC

D3*30L

2

58

Cap

553F0-1-0031-B3

PVC

D25.4x31L

4

59L

Rear chain cover(Left)

737RB-6-4512-BU0

HIPS88

321*44*242

1

59R

Rear chain cover(Right)

737RB-6-4513-BU0

HIPS88

321*39.6*242

1

60

Sliding beam 

711RB-3-5100-C2


1

61

Bolt 

50108-2-0025-U0

35#

M8x1.25x25

2

62

Front rear cover 

73600-6-4514-B0

ABS

100*93*66

1

63

Anti-loose nut

55206-1-2006-NA

Q235A

M6*1*6T

1

64

Nylon washer

55106-1-1915-B1

NL66

D6*D19*1.5T

1

65

Flat washer

55106-1-1310-NA

Q235A

D13*D6.5*1.0T

1

66

Flat washer

55108-1-1612-FA

Q235A

D16xD8.5x1.2T

18

67

Bolt 

50106-5-0015-C0

35#

M6x1.0x15L

4

68

Anti-loose nut

55206-1-2006-CA

Q235A

M6x1.0x6T

4

69

Bearing

58006-6-1018-00

GCr15

#6003ZZ

2

70

Foam

58015-6-1287-B1

NBR

D23*4T*415L

2

Содержание CVEB2710

Страница 1: ...USER MANUAL BodyMax 60 recumbent bike 1...

Страница 2: ...Safety Instructions 2...

Страница 3: ...3...

Страница 4: ...erciser only under adult supervision and be instructed on the correct and proper use of the exerciser The exerciser is not a toy Make sure there is sufficient free space around the exerciser when you...

Страница 5: ...ercisers and training devices are no toys Therefore they must only be used by properly informed or instructed persons Stop your work out immediately in case of dizziness nausea chest pain or any other...

Страница 6: ...Exploded drawing...

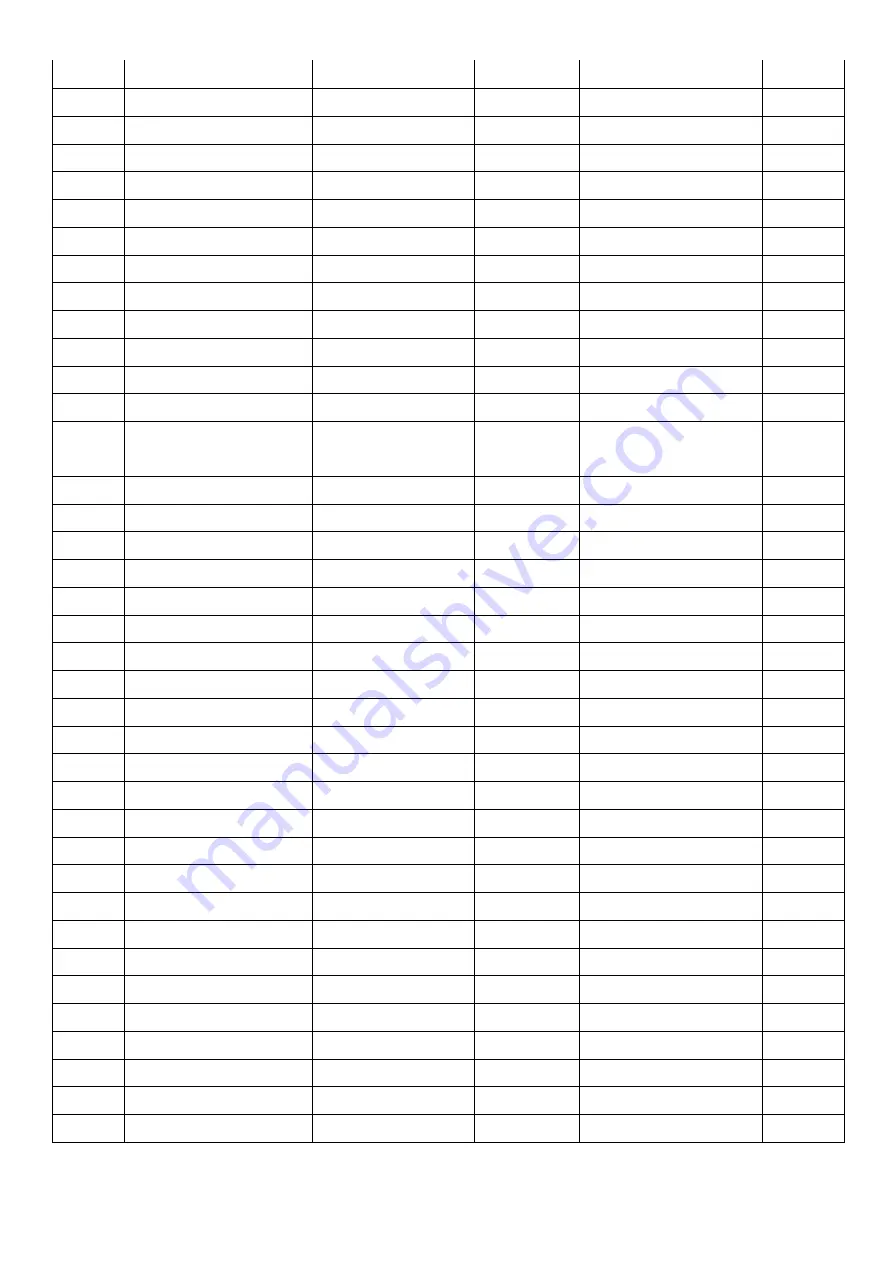
Страница 7: ...lt 50308 5 0040 F3 35 M8 1 25 40 8 16 Screw cover 81502 6 2779 B0 PE D26 11L 2 17 Plastic washer 55110 1 2404 BF NL66 D10 D24 0 4T 2 18 Seat 80700 6 1146 B10 PVC 348 270 52 1 19 Bolt 50310 5 0035 C3 3...

Страница 8: ...UTPUT 9VA 500MA 1 51 Crank welding set 803MC 3 2903 00 1 52 Spacer bushing 58002 6 1081 01 D13 5 D10 9 1 53 Fixed plate for idle 24500 6 2674 N1 Q235A 156 62 2 5T 1 54 Idle 745S0 6 1671 00 D42 D38 24...

Страница 9: ...73600 6 1071 B0 PE 40 80 102L 2 81 Anti loose nut 55210 1 2010 CA Q235A M10x1 5x10T 1 82 Bolt 52605 2 0012 N0 Q235A M5x0 8x12L 1 83 Bolt 50108 5 0052 N3 35 M8 52L 1 84 Anti loose nut 55208 1 2008 CA Q...

Страница 10: ...CHECK LIST...

Страница 11: ...1 2pcs spring washer 11 2pcs domed nut 12 and 2pcs allen bolt 30 2 Assemble the rear stabilizer 6 onto the main frame 1 by using 4pcs curved washer 31 2pcs spring washer 11 2pcs domed nut 12 and 2pcs...

Страница 12: ...STEP 2 1 Assemble the seat 18 on the seat post 7 by using 4pcs flat washer 66 and 4pcs allen bolt 15 2 Assemble the seat post 7 to the sliding beam 60 as the picture shown...

Страница 13: ...cs allen bolt 55 shown as fig A and 2pcs bolt 56 2pcs spring washer 11 2pcs domed nut 12 and 2pcs flat washer 66 shown as fig B Then fix the front rear cover 62 on the sliding beam shown as fig C Conn...

Страница 14: ...pulse cable 46 with middle handle pulse cable 47 2 Insert the handlebar post tube 10 on the main frame 1 and fix it by using 4pcs spring washer 11 2pcs flat washer 66 4pcs allen bolt 13 2pcs curved wa...

Страница 15: ...semble the bottle holder 3 to handlebar post tube 10 with 2pcs bolt 4 3 Assemble handlebar set 5 to the backrest supporting set 86 by using 4pcs flat washer 66 4pcs spring washer 11 4pcs allen bolt 13...

Страница 16: ...pper handle pulse cable 46 the upper computer cable 41 to the cable of computer 8 2 Assemble the computer 8 to the handlebar post 10 by using 4pcs bolt 87 3 Plug the adaptor 50 to the adaptor input on...

Страница 17: ...for comparison of different exercise sessions which can not be used in medical treatment PULSE User may set up target pulse from 0 30 to 230 and computer buzzer will beep when actual heart rate is ove...

Страница 18: ...Start Stop Start or Stop workout Recovery Test heart rate recovery status Body fat In stop mode press it for body fat measurement...

Страница 19: ...file Console come to main menu Drawing 2 Drawing 3 WORKOUT SELECTION Use UP or DOWN Encoder to select workout Manual Drawing4 Program Drawing 5 User Program Drawing 6 H R C Drawing 7 Watt Drawing 8 Dr...

Страница 20: ...s MODE ENTER to get into 2 Use UP or DOWN Encoder to select program 1 12 Drawing 14 and press MODE ENTER to get into 3 Use UP or DOWN Encoder to preset TIME 4 Press START STOP key to start workout Use...

Страница 21: ...o select workout program choose WATT and press MODE ENTER to get into 2 Use UP or DOWN Encoder to preset WATT target default 120 Drawing 18 3 Use UP or DOWN Encoder to preset TIME 4 Press START STOP k...

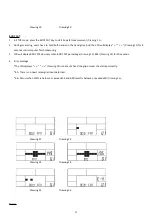
Страница 22: ...r finish measuring 3 LCD will display BODY FAT advice symbol BODY FAT percentage Drawing 23 BMI Drawing 24 for 30 seconds 4 Error message The LCD displays Drawing 25 means not hand the grip or wear ch...

Страница 23: ...ter 4 minutes without pedaling or pulse input console will enter into power saving mode Press any key may wake the console up 2 When computer act abnormal please plug out the adaptor and plug in again...

Отзывы: