background image

1

3

4

2

Attach the Tail light & Rear Licence Plate   

  7

1. Fit the tail light to the vehicle body, 

2. Tighten three 

Ø4x12 screws

 to secure it with a screwdriver.

3. Fit the 

rear licence plate

 to the vehicle body, 

4. Tighten two 

Ø4x12 screws 

to secure it with a screwdriver.

Содержание S 1000 RR - 2009

Страница 1: ...s manual contains important safety information as well as assembly use and maintenance instructions The Ride on Car must be assembled by an adult who has read and understands the instructions in this...

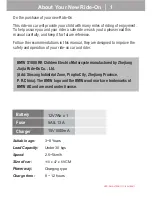
Страница 2: ...nd operation of your ride on car and rider Battery Fuse Charger 12V7Ah x 1 5A 13A 15V1000mA Suitable age Load Capacity Speed Size of car Power way Charge time 3 8 Years Under 30 kgs 2 5 5km h 110 x 47...

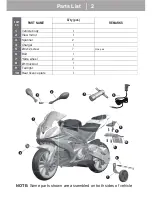
Страница 3: ...6 5 5 3 1 10 9 4 8 PART NO REMARKS PART NAME Q ty pcs Vehicle body View mirror Spanner Charger 4x12 screw Bolt Side wheel 10 locknut Tail light Rear licence plate One pair NOTE Some parts shown are a...

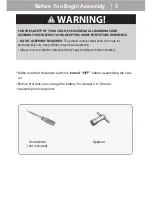
Страница 4: ...bly 3 WARNING FOR THE SAFETY OF YOUR CHILD PLEASE READ ALL WARNINGS AND ASSEMBLY USE INSTRUCTIONS KEEP THIS GUIDE FOR FUTURE REFERENCE ADULT ASSEMBLY REQUIRED The product contains small parts which ar...

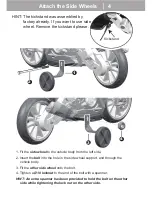
Страница 5: ...the vehicle body 3 Fit the other side wheel onto the bolt 4 Tighten a 10 locknut to the end of the bolt with a spanner HINT An extra spanner has been provided to hold the bolt on the other side while...

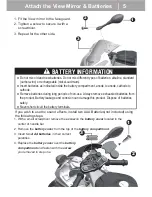
Страница 6: ...3 Insert two AAA batteries in their correct polarities 4 Replace the battery cover over the battery compartment and fasten with the screw you removed in step one Do not mix old and new batteries Do n...

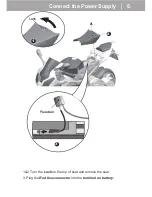
Страница 7: ...1 2 3 Connect the Power Supply 6 Fuse box 1 2 Turn the Lock on the top of seat and remove the seat 3 Plug the Red fuse connector into the terminal on battery Lock...

Страница 8: ...Rear Licence Plate 7 1 Fit the tail light to the vehicle body 2 Tighten three 4x12 screws to secure it with a screwdriver 3 Fit the rear licence plate to the vehicle body 4 Tighten two 4x12 screws to...

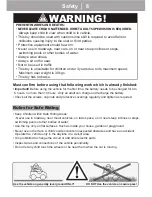
Страница 9: ...urs no more than 10 hours Only an adult can charge and recharge the battery Check all the screws cap nuts and protective coverings regularly and tighten as required Must confirm before using that foll...

Страница 10: ...The vehicle can be driven at a maximum of 5 km h ADVANCED USE High speed Drive 1 Power Switch Turns the vehicle on and off 2 High Low speed switch The switch operates the vehicle to move in low or hi...

Страница 11: ...and other materials that are toxic and corrosive Do not open the charger Exposed wiring and circuitry inside case may cause electric shock Only adults may handle or charge the battery NEVER allow chi...

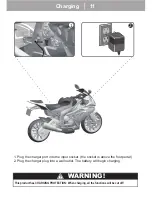
Страница 12: ...RGING PROTECTION When charging all the functions will be cut off Charging 11 1 Plug the charger port into the input socket the socket is above the foot pedal 2 Plug the charger plug into a wall outlet...

Страница 13: ...trip Battery Replacement and Disposal The battery will eventually lose the ability to hold a charge Depending on the amount of use and varying conditions the battery should operate for one to three ye...

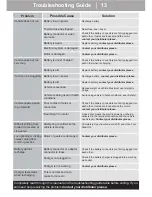
Страница 14: ...connection and the vehicle needs repair Contact your distributor please Attempting to shift while the vehicle is moving Completely stop the vehicle and shift see Use Your Ride On Check if the battery...

Страница 15: ...ery at least once a month when the vehicle is not being used Do not wash the vehicle with a hose Do not wash the vehicle with soap and water Do not drive the vehicle in rainy or snowy weather Water wi...

Страница 16: ...usehold or general waste It should be handed over to the applicable collection point for the recycling of electrical and electronics equipment or returned to the supplier for disposal Internal Supplie...

Отзывы: