+41 (0)33 826 00 12
+41 (0)33 826 00 14
BMS
energy
®
© Es gelten ausschliesslich unsere allgemeinen Geschäftsbedingungen
Seite 20 von 32
DE
IT
FR
ES
SS-45
Montage
Mounting
Montaggio
Montage
Motanje
23
12a )
12b )
13 )
14a )
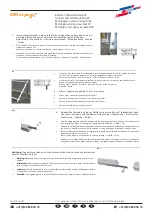
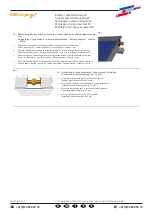
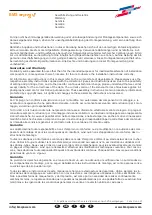
12: Ersten Kollektor in die untere Trageschiene einhängen und einrichten
(12a + 12b!). Hinweis: Abstand Kollektor - Ende Trageschiene = 45 mm
•
Hang the first collector in the lower mounting rail and adjust (12a + 12b!)
Note: Distance between collector and end of mounting rails = 45mm
•
Innestare il primo collettore nella barra portante inferiore e allinearlo (12a + 12b!)
Nota: Distanza collettore - estremità barra portante = 45 mm
•
Posez le premier capteur solaire dans le rail de support inférieur et installez-le
(12a + 12b !)
Remarque: Distance capteur solaire - extrémité du rail de support = 45 mm
•
Colgar el primer colector en la regleta inferior y ajustar (12a + 12b!)
Indicación: Distancia del colector con el extremo de la regleta = 45 mm
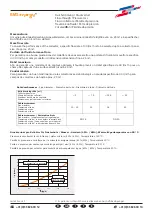
13: Klemmstück an oberer Trageschiene positionieren und vorerst nur handfest an-
drehen. Reihenfolge: Trageschiene oben - Hammerkopfschraube - Klemmstück
- Scheibe - Mutter
•
Place the clamping piece on the upper mounting rail and hand tighten for now. Order: upper mounting
rail – hammer-head bolt – clamp – washer – nut
•
Posizionare la morsa di fissaggio con foro sulla barra portante superiore e fissarla per ora solo manu-
almente. Sequenza: barra portante superiore - vite con testa a martello - morsa di fissaggio con foro
- rondella - dado
•
Positionnez la bride de serrage sur le rail de support supérieur et serrez-la manuellement seulement
dans un premier temps. Ordre: rail de support supérieur - vis à tête marteau - bride de serrage - ron-
delle - écrou
•
Colocar la pieza de apriete en la regleta superior y apretar primero sólo a mano. Orden a seguir: re-
gleta superior - tornillo con cabeza de martillo - pieza de apriete - arandela - tuerca
Genereller Hinweis: Vor der Montage weiterer Kollektoren muss zuvor jeweils die
Schneidring-Verschraubung auf den Anschluss geschoben werden!
•
General Note:
Before mounting another collector, the cutting ring screw connection must first be mo-
ved onto the connection!
•
Informazione generale:
prima di montare altri collettori bisogna sempre spingere il raccordo a te-
nuta metallica sull'attacco!
•
Remarque générale:
Avant le montage de capteurs solaires supplémentaires, vous devez chaque
fois pousser le raccord à bague coupante sur le raccordement!
•
Indicación general:
Antes de montar otros colectores, previamente debe empujarse en cada caso el
racor de anillo cortante en la conexión!
Boden- / Wandmontage 45°
Ground and wall mounting 45°
Montaggio su terra e al muro 45°
Montage sur terre et au mur 45°
Montaje en el suelo y en pared 45°
D
E
F
I
GB
DE
IT
FR
ES
SS-45
Montage
Mounting
Montaggio
Montage
Motanje
24
14b )
15 )
16 )
17 )
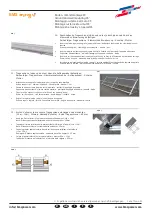
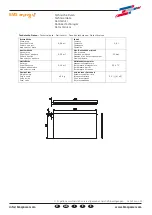
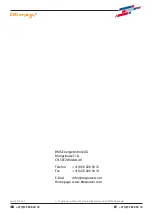
14: Zweiten Kollektor einhängen und mit Abstand = 45 mm ausrichten
(Maß A = Maß B gemäß Bild 14b). Bitte Montagelehre benützen (14b).
•
Attach the second collector and adjust with a clearance = 45mm
(measurement A = measurement B as shown in Figure 14b). Please use the mounting jig (14b).
•
Innestare il secondo collettore e allinearlo con distanza = 45 mm
(misura A = misura B come da fig. 14b). Utilizzare il calibro di montaggio (14b).
•
Posez le deuxième capteur solaire et alignez-le à une distance de 45 mm
(mesure A = mesure B selon la figure 14b). Veuillez utiliser le gabarit de montage (14b).
•
Colgar el segundo colector y ajustar con una distancia = 45 mm
(Medida A = medida B según la figura 14b). Utilizar calibre de montaje (14b).
15: Klemmstück um 90 ° verdrehen (vergleiche mit Bild 13) und mit langem Steck-
schlüssel festschrauben
•
Rotate the clamping piece by 90° (see figure 13) and screw it tight using a long socket wrench
•
Torcere la morsa di fissaggio con foro di 90 ° (vedasi figura 13) e fissarla con chiave a tubo
•
Tournez la bride de serrage de 90 ° (cf. image 13) et vissez-la à l'aide d'une longue clé à douille
•
Dar una vuelta de 90 º (véase figura 13) a la pieza de apriete y atornillar con la llave de tubo larga
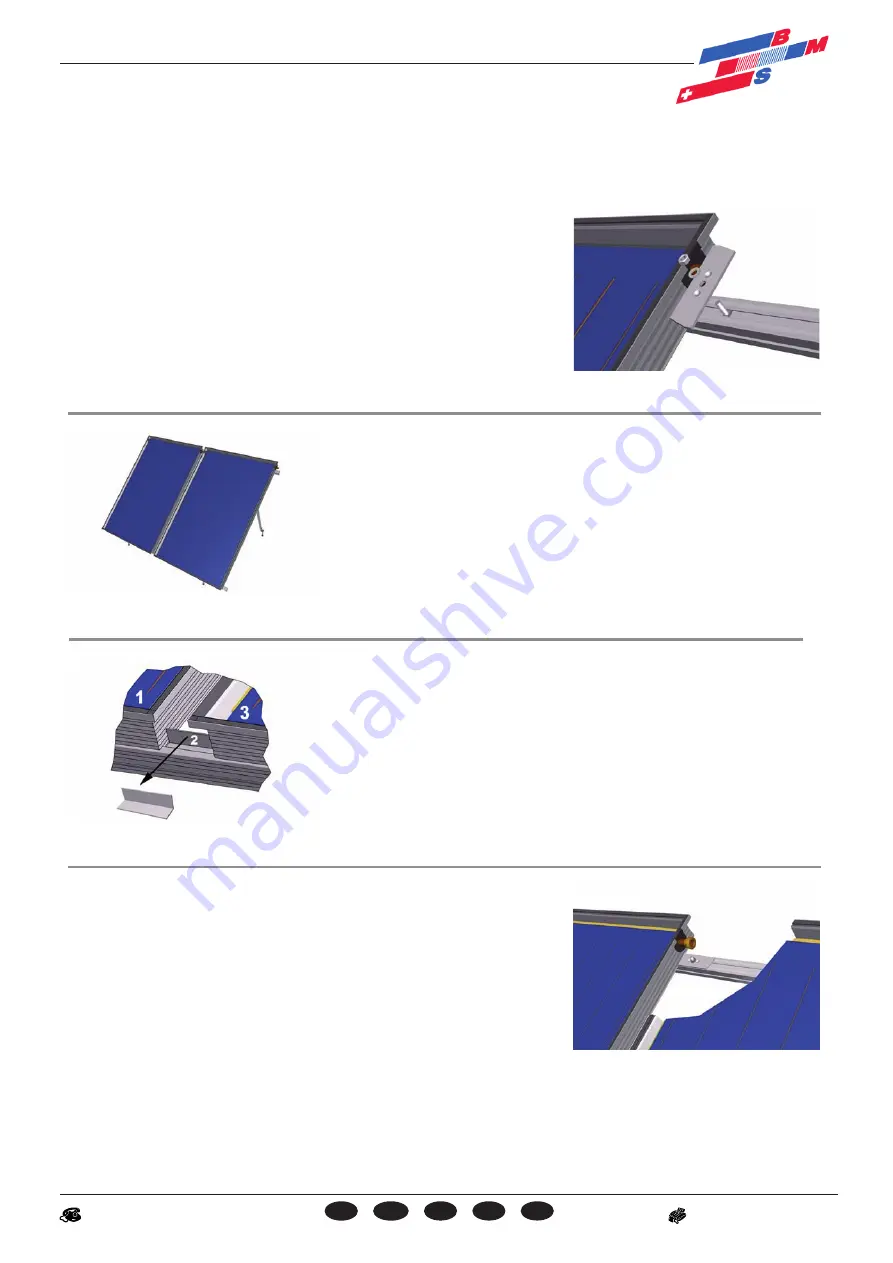
16: Bei aneinanderstoßenden Trageschienen Befestigungsteil Erweiterung in die
obere Trageschiene einschieben und positionieren
•
With clashing mounting rails, insert and position the mounting part in the upper mounting rail
•
Quando le barre portanti si toccano inserire l'elemento di fissaggio nella barra
portante superiore e posizionarlo
•
Au niveau de rails de support contigus, poussez l'extension de la pièce de fixation
dans le rail de support supérieur et positionnez-la
•
En regletas contiguas introducir la prolongación de la pieza de fijación en la regleta superior y colocar
17: Weitere Klemmstücke / weitere Kollektoren gemäß Punkt 12 - 16 befestigen
•
Attach additional clamping pieces / collectors as described in Points 12–16
•
Fissare le altre morse di fissaggio con foro e gli altri collettori come descritto
ai punti 12 - 16
•
Fixez les brides de serrage/capteurs solaires supplémentaires comme indiqué aux étapes 12 à 16
•
Fijar otras piezas de apriete / otros colectores según los puntos 12 - 16
DE
IT
FR
ES
SS-45
Montage
Mounting
Montaggio
Montage
Motanje
21
6c )
6d )
7 )
8 )
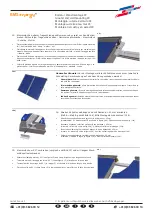
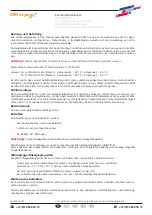
6c: Stützwinkel mit Befestigungswinkel hinten verschrauben (C)
Reihenfolge: Schraube - Befestigungswinkel - Stützwinkel -Scheibe - Mutter
•
Screw the support bracket to the attachment bracket on the back (C)
Order: screw – attachment bracket – support bracket – washer – nut
•
Avvitare dietro il montante di supporto collettore alla squadretta di fissaggio (C)
Sequenza: vite - squadretta di fissaggio - montante di supporto collettore - rondella - dado
•
Vissez à l'arrière l’angle de support à l'équerre de fixation (C)
Ordre: vis - équerre de fixation – angle de support - rondelle - écrou
•
Atornillar la escuadra de apoyo con el ángulo de fijación por detrás (C)
Orden a seguir: tornillo - ángulo de fijación - escuadra de apoyo - arandela - tuerca
6d: Zweites Befestigungsdreieck gemäß 6a - 6c montieren
•
Attach the second mounting triangle as described in 6a-6c
•
Montare il secondo triangolo di fissaggio come indicato nelle figure 6a - 6c
•
Montez le deuxième triangle de fixation d'après les instructions 6a - 6c
•
Montar el segundo triángulo de fijación según 6a - 6c
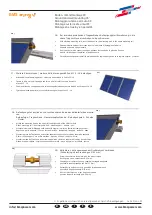
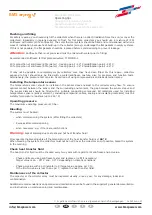
7:
Hammerkopfschraube in die untere Nut der Trageschiene einschieben und mit
Unterlegscheibe und Sechskantmutter am Befestigungsteil verbinden.
Reihenfolge: Trageschiene - Hammerkopfschraube - Befestigungsteil - Scheibe
- Mutter
•
Slit T-head bolt into the lower groove of the mounting rail and screw it to the mounting part using a
washer and hexagon nut.
Sequence: mounting rail - hammer-head bolt - mounting part - washer - nut
•
Inserire la vite con testa a martello nella scanalatura inferiore della barra portante e avvitarlo con la
rondella e il dado esagonale all'elemento di fissaggio.
In successione: barra portante - vite con testa a martello - elemento di fissaggio - rondella - dado
•
Insérez le corps de boulon à tête rectangulaire et coins abattus dans la rainure des profilés de fixation
et vissez-les à l'aide d'une rondelle et d'un écrou hexagonal au support de fixation.
Ordre: rail de support - vis à tête marteau - pièce de fixation - rondelle - écrou
•
Introducir el tornillo con cabeza de martillo en la ranura inferior de la regleta y atornillarlo con la ar-
andela y la tuerca hexagonal a la pieza de fijación
Orden a seguir: regleta - tornillo con cabeza de martillo - pieza de fijación -
arandela - tuerca
8:
Obere Trageschiene gemäß Punkt 7 montieren
•
Attach upper mounting rail as described in Point 7
•
Montare la barra portante superiore come indicato al punto 7
•
Montez le rail de support supérieur comme décrit à l'étape 7
•
Montar la regleta superior según el punto 7

