background image

NOTE: Some buttons have multiple functions based on if the function requires a 

“Press” (Press & Immediately Release the button) command or a “Press & Hold” 

(Press & Hold the button for 1-2 seconds) command. 

SETTING THE ALARM 

CAUTION: Before setting the Alarm make sure the correct TIME is shown on the LED 

Display. 

NOTE:

 Before setting the TIME make sure all of the non-clock functions (BLUETOOTH, FM, 

AM) are turned OFF.  If any of the non-clock functions are playing, turn the function OFF by 

simply pressing & holding the 

FUNCTION

 button 

(1). 

1. Press & hold the 

VOLUME DOWN / ALARM-1

 button 

(3) 

until the time flashes on the

LED display and the 

ALARM-1 BUZZER


Indicator Light


(B)

 flashes.  Once the time is

flashing you can release the 

VOLUME DOWN / ALARM-1

 button 

(3)

.

2. Press the 

PREV / HOUR

 button 

(6) 

repeatedly until the correct HOUR is shown on the

LED display.

NOTE:  The “AM” Indicator Light (A) will turn ON when the hour is set to AM.

For PM hours the “AM” Indicator Light (A) will turn OFF.

3. Press the 

NEXT / MINUTE

 button 

(7) 

repeatedly until the correct MINUTE is shown on

the LED display.

4. After setting the HOURS & MINUTES press the 

VOLUME DOWN / ALARM-1

 button 

(3)

to confirm the ALARM-1 time.

5. The clock will automatically set the Alarm-1 for BUZZER and the 

ALARM-1 BUZZER

Indicator Light


(B)

 will turn 

ON

.

6. To choose to wake to 

RADIO

 simply press the 

VOLUME DOWN / ALARM-1

 button 

(3)

until the 

ALARM-1 RADIO


Indicator Light


(C)

 turns 

ON

.

7. To turn the ALARM OFF press the 

VOLUME DOWN / ALARM-1

 button 

(3)

 until both the

ALARM-1 Indicator Lights (B & C)

 turn 

OFF

.

12:34

B
C

F

E

A

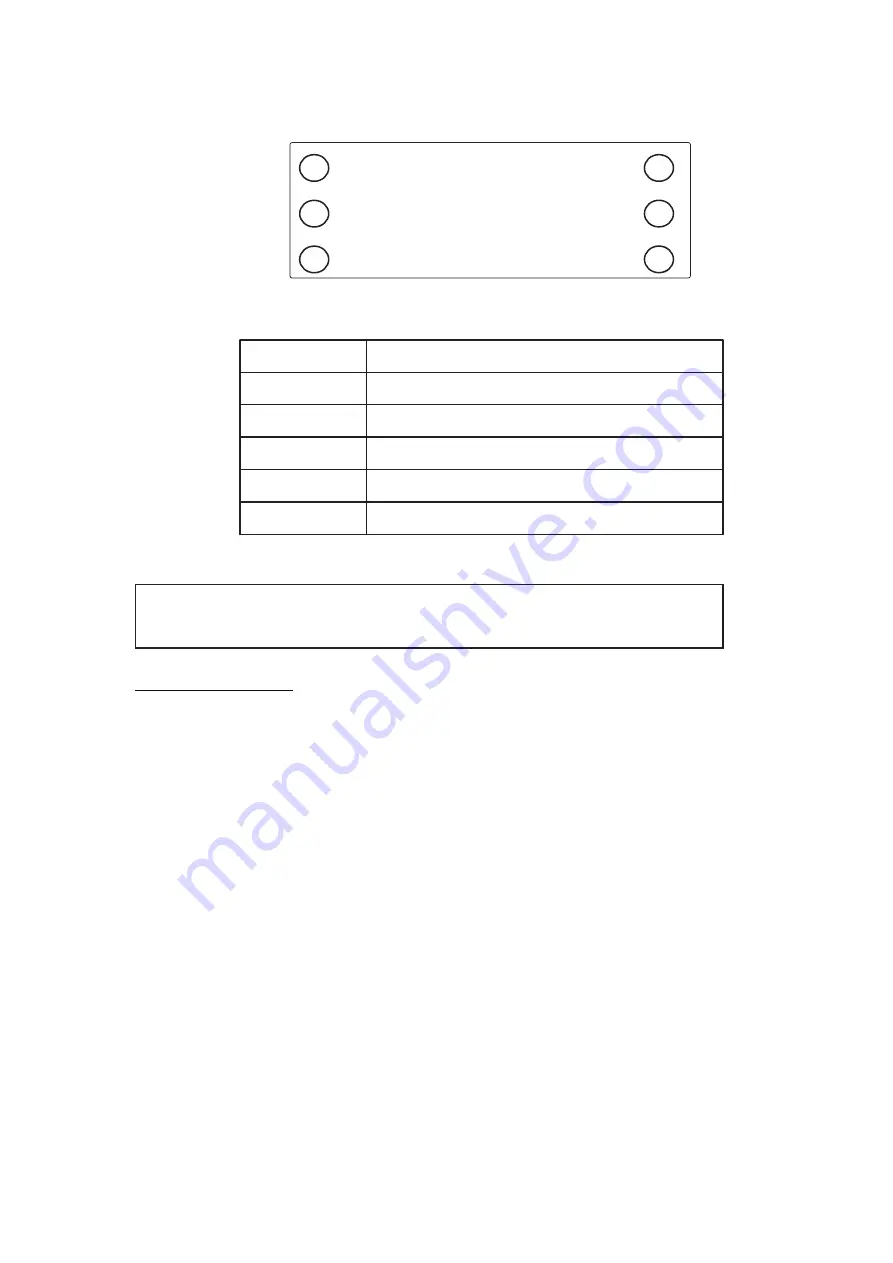
EXPLANATION OF DISPLAY LIGHTS 

LETTER

DESCRIPTION

A
B
C
D
E

“AM” INDICATOR LIGHT

ALARM-1 BUZZER INDICATOR LIGHT

ALARM-1 RADIO INDICATOR LIGHT

ALARM-2 BUZZER INDICATOR LIGHT
ALARM-2 RADIO INDICATOR LIGHT

F

D

BLUETOOTH INDICATOR LIGHT

5

Содержание W-PR001BT

Страница 1: ...W PR001BT PLEASE READ THIS USER MANUAL COMPLETELY BEFORE OPERATING THIS UNIT AND RETAIN THIS BOOKLET FOR FUTURE REFERENCE For technical assistance or troubleshooting please call 1 855 719 8324 or vis...

Страница 2: ...k any ventilation openings Install in accordance with the manufacturer s instructions 8 Do not install near any heat sources such as radiators heat registers stoves or other apparatus including amplif...

Страница 3: ...9 LED Display 4 SLEEP button 10 Battery Door 5 VOLUME UP ALARM 2 button 11 AC Power Cord 6 PREV HOUR button AC 120V 60Hz to DC 6V 0 4A 3 NOTE Some buttons have multiple functions based on if the funct...

Страница 4: ...D display NOTE The AM Indicator Light A will turn ON when the hour is set to AM For PM hours the AM Indicator Light A will turn OFF 3 Press the NEXT MINUTE button 7 repeatedly until the correct MINUTE...

Страница 5: ...til the correct HOUR is shown on the LED display NOTE The AM Indicator Light A will turn ON when the hour is set to AM For PM hours the AM Indicator Light A will turn OFF 3 Press the NEXT MINUTE butto...

Страница 6: ...E UP ALARM 2 button 5 until the ALARM 2 RADIO Indicator Light F turns ON 7 To turn the ALARM OFF press the VOLUME UP ALARM 2 button 5 until both the ALARM 1 Indicator Lights E F turn OFF SNOOZE Once t...

Страница 7: ...W PR001BT in the Bluetooth menu 6 If your Bluetooth device asks for a password enter 0000 and the device will now pair with the W PR001BT and be ready to use NOTE The BLUETOOTH Indicator Light D will...

Страница 8: ...o a lower numbered station TIPS FOR BEST RECEPTION o The AM FM antennas are built in to the cabinet of this player To improve reception of radio stations simply move the entire player to another locat...

Страница 9: ...ill remain OFF until power has been restored NOTE Batteries are not required for normal use of this clock The purpose of the Battery Backup is to insure the correct Time Alarm settings are stored in t...

Страница 10: ...o 7 00PM EST for technical assistance or troubleshooting To contact us please call 1 855 719 8324 or visit www sibrandssupport com This warranty applies only under conditions of normal use Our product...

Отзывы: