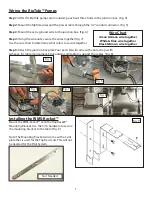
Wiring the RipTide™ Pumps
Step 1:
After the RipTide pumps are mounted, punch out three holes in the junction box. (Fig. 4)
Step 2:
Mount the RipTide wires and the power cable through the 1/2” conduit connector. (Fig. 5)
Step 3:
Mount the extra ground wire to the junction box. (Fig. 6)
Step 4:
Using the wire nuts, secure the wires together(Fig. 7).
Use the wire chart to determine what colors to secure together.
Step 5:
Attach the junction box plate. Your parts kit will come with velcro straps with
adhesive for cable managment. Stick underneath table to support the cables. (Fig. 8)
Wire Chart
Green & Green wire together
White & Blue wire together
Black & Brown wire together
Fig. 5
Fig. 4
Fig. 6
Fig. 8
Fig. 7
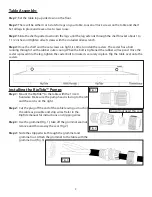
Installing the RIMS-Rocket™
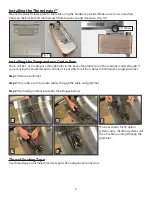
Mount the RIMS-Rocket™ with the HopRocket™
Mounting Bracket. Use the 5/16 hardware to secure
the mounting bracket to the table. (Fig. 9)
Note: The Mounting Bracket will come with a t-slot
plate that is used for the TopTier stand. This will not
be needed for the Pilot System.
Fig. 9
3
Not Needed
Содержание Pro Series
Страница 7: ...7 ...
Страница 8: ...8 ...
Страница 9: ...9 ...
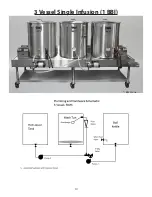
Страница 10: ...3 Vessel Single Infusion 1 BBl 10 1 BBL Shown ...
Страница 11: ...11 ...
Страница 12: ...12 ...
Страница 13: ...13 ...
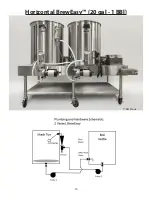
Страница 14: ...Horizontal BrewEasy 20 gal 1 BBl 14 1 BBL Shown ...
Страница 15: ...15 ...
Страница 16: ...16 ...
Страница 17: ...17 ...

