


13
Indoor/Outdoor Mini-Dome IP Camera
SECTION 2: INSTALLATION AND SETUP
b.
Enter the IP address for your camera from Table 1 into the IP Address field.
c.
Enter the subnet mask for your computer from Table 1 into the Subnet Mask field.
d.
Click
SETUP
. A Login window will open.
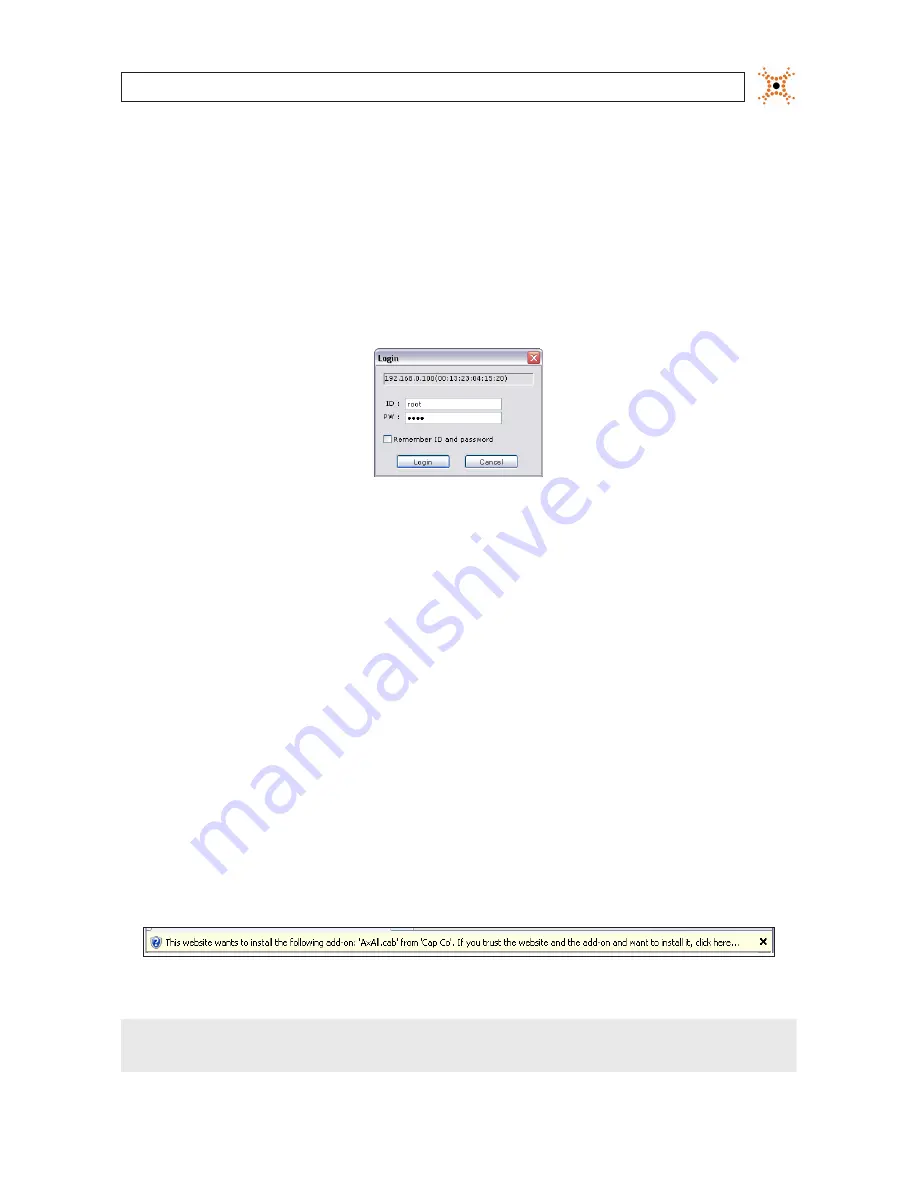
5.
In the Login window, enter the ID and PW (password) for your camera, then click
Login
. The default administrator ID and
PW are
root
and
pass
. After entering the ID and PW, the IP Setup window closes.
6.
In the IPAdmin Tool window, click
Refresh
and verify that the entry representing the camera now shows the new IP address.
7.
In the IPAdmin Tool window, click Refresh and verify that the entry for your camera now shows the new IP address.
2.7 Setup the camera Basic Configuration
IIn this procedure, use the Internet Explorer (IE) browser to setup the camera administrator and user passwords, date, and time.
1.
Open the IE browser.
2.
In the URL field (Internet address), enter the IP address for your camera in the format:
http://<IP address>/
where <IP address> is the IP address of your camera. Following the example earlier in this guide, the entry would be:
http://192.168.1.201
3.
If prompted to install an ActiveX control such as AxAll.cab (publisher Cap Co), follow screen prompts to install the software.
IE prompt to install ActiveX control
NOTE
To load these ActiveX controls, you may need to adjust the security settings of your browser to accept add-ins from
unknown publishers.


