


15
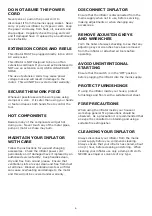
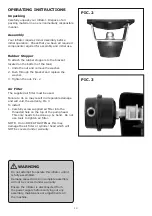
CLEANING
ENSURE the inflator is NOT running whilst
cleaning. To keep the inflator clean, always
wipe down after use. Wear eye protection when
cleaning. Only clean the inflator with a damp soft
cloth. NEVER use liquid or solvents of any type.
Ensure ventilation slots are kept clean and free
from dust/dirt build up.
REPAIRS
Repairs to your inflator should only be carried out
by an authorised service agent.
Call BLACKRIDGE for your closest centre, Aust.
Aust. 1300 660 457 N.Z. 0800 474 876.
TROUBLE SHOOTING
Inflator will not start
Check that you have plugged the power lead into a standard 240V 10Amp power point and turned the switch ON.
Check that you have turned the inflator ON/OFF switch ON.
The air tank may be full. Use your air tool and the inflator should start when the pressure decreases to 85PSI.
Inflator does not build up pressure
Check that the tank drain tap is sealed
Check that the air fitting is not leaking. If leaking replace.
Inflator smells like burnt oil
Using beyond the 50% duty cycle, allow to cool for 30 minutes before reusing this inflator.
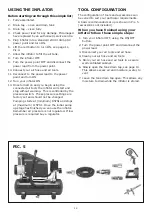
Part
Description
SMG Part No.
17
Tank pressure
gauge
95 BRC95TPG
10
Rubber stopper
with bolt & nut
95 BRI40RS
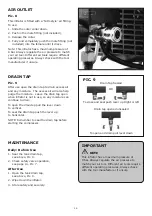
11
Drain tap
95 BRC95DT
19
Nitto style socket
fitting (male)
95 BRI40NSF
5 & 6
Motor cover
95 BRI40MC
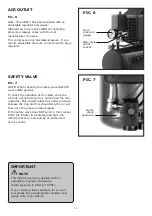
15
Safety valve
95 BRC95SPV
4
Handle grip
95 BRI40HG
3
Air filter
95 BRC95AF
8
Exhaust tube
95 BRI40ET
User replaceable parts listed below. All
other parts must be serviced/replaced by
an authorised service agent.
3
8
10
11
4
6
5
19
17
15


