


SERVTRAY
10
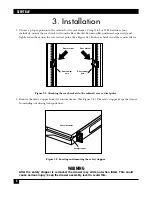
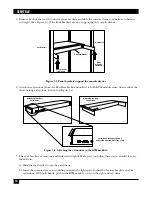
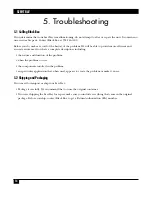
5. Remove both of the loosely connected rear brackets and slide the console drawer out halfway to balance
its weight. (See Figure 3-5.) The front brackets are now supporting the console drawer.
Figure 3-5. Front brackets support the console drawer.
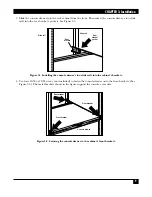
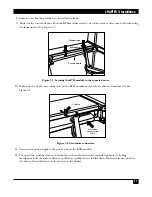
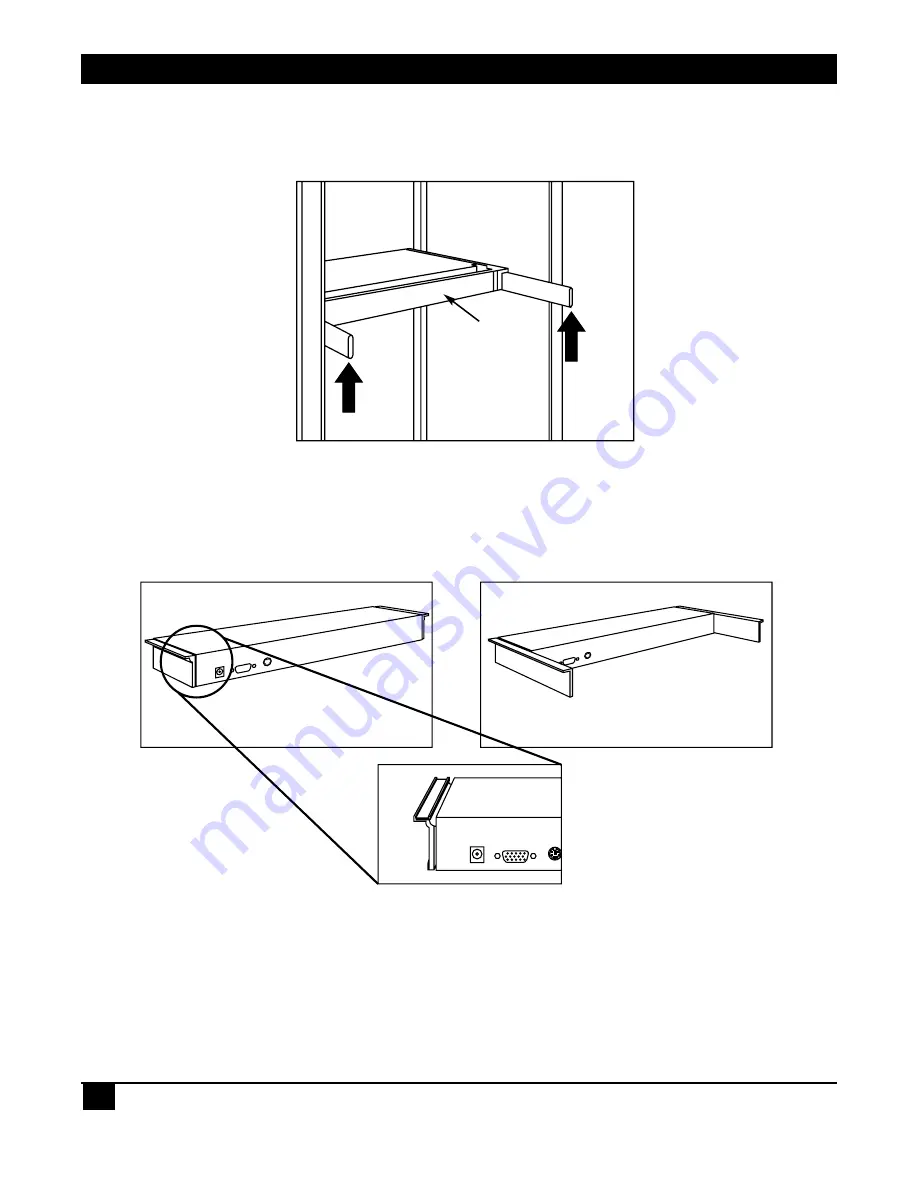
6. Attach the extensions (from the Rear Bracket Extension Kit) to both KVM module sides. Attach either the
short or long extensions, as shown in Figure 3-6.
Figure 3-6. Attaching the extensions to the KVM module.
7. The rear brackets, extensions, and slide rails fit tightly. Make sure you follow these steps carefully for easy
installation.
a) Slide the rear brackets onto the extensions.
b) Insert the console drawer’s two sliding rails into the tight space formed by the rear brackets and the
extensions. With both hands, push in the KVM module
evenly
on the right and left sides.
Rear bracket
removed
Console drawer
Vertical rail
Vertical rail
Rear
bracket
removed
Attaching the short
extensions
Attaching the long
extensions
Install the plastic extension’s
wider side near the ServTray’s top


