– 50 –
C
HAPTER
3
| Installing the Switch
Connecting Switches in a Stack
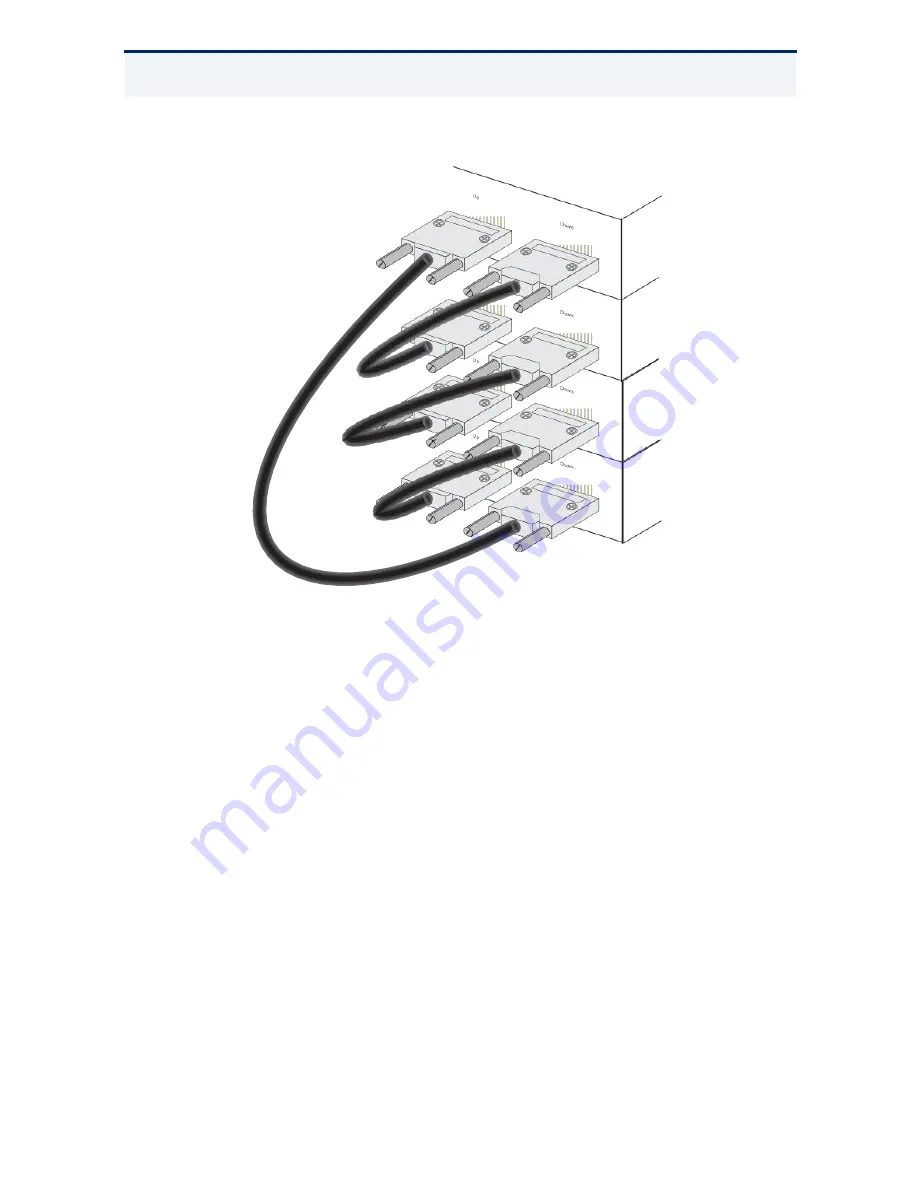
Figure 18: Making Stacking Connections
5.
Select the Master unit in the stack by pressing the Master button in on only
one of the switches. Only one switch in the stack can operate as the Master,
all other units operate in slave mode. If more than one switch in the stack is
selected as Master, or if no switches are selected, the system will select the
unit with the lowest MAC address as the Master.
S
TACKING
T
OPOLOGIES
All units in the stack must be connected via stacking cable. You can connect
units in a simple cascade configuration, connecting Down ports to Up ports, from
the top unit to the bottom unit. Using this “line” topology, if any link or unit in
the stack fails, the stack is split and two separate segments are formed. The
Stack Link LEDs on the units that are disconnected flash to indicate that the
stack link between them is not functioning (see
Table 2, “System Status LEDs,”
on page 27
).
When using line topology and a stack link failure occurs, the stack reboots and a
Master unit is selected within each of the two stack segments. The Master unit
will be either the unit with the Master button depressed or the unit with the
lowest MAC address if the Master button is not depressed on any unit. When the
stack reboots and resumes operations, note that the IP address will be the same
for both of the stack segments. To resolve the conflicting IP addresses, you
Содержание LGS103AE
Страница 2: ......
Страница 3: ......
Страница 5: ......
Страница 15: ...14 COMPLIANCES AND SAFETY STATEMENTS...
Страница 21: ...20 TABLES...
Страница 23: ...22 FIGURES...
Страница 33: ...32 CHAPTER 1 Introduction Features and Benefits...
Страница 41: ...40 CHAPTER 2 Network Planning Application Notes...
Страница 55: ...54 CHAPTER 3 Installing the Switch Connecting to the Console Port...
Страница 89: ...88 GLOSSARY...
Страница 92: ......
Страница 93: ...LGS103AE LGS104AE...
Страница 94: ......


