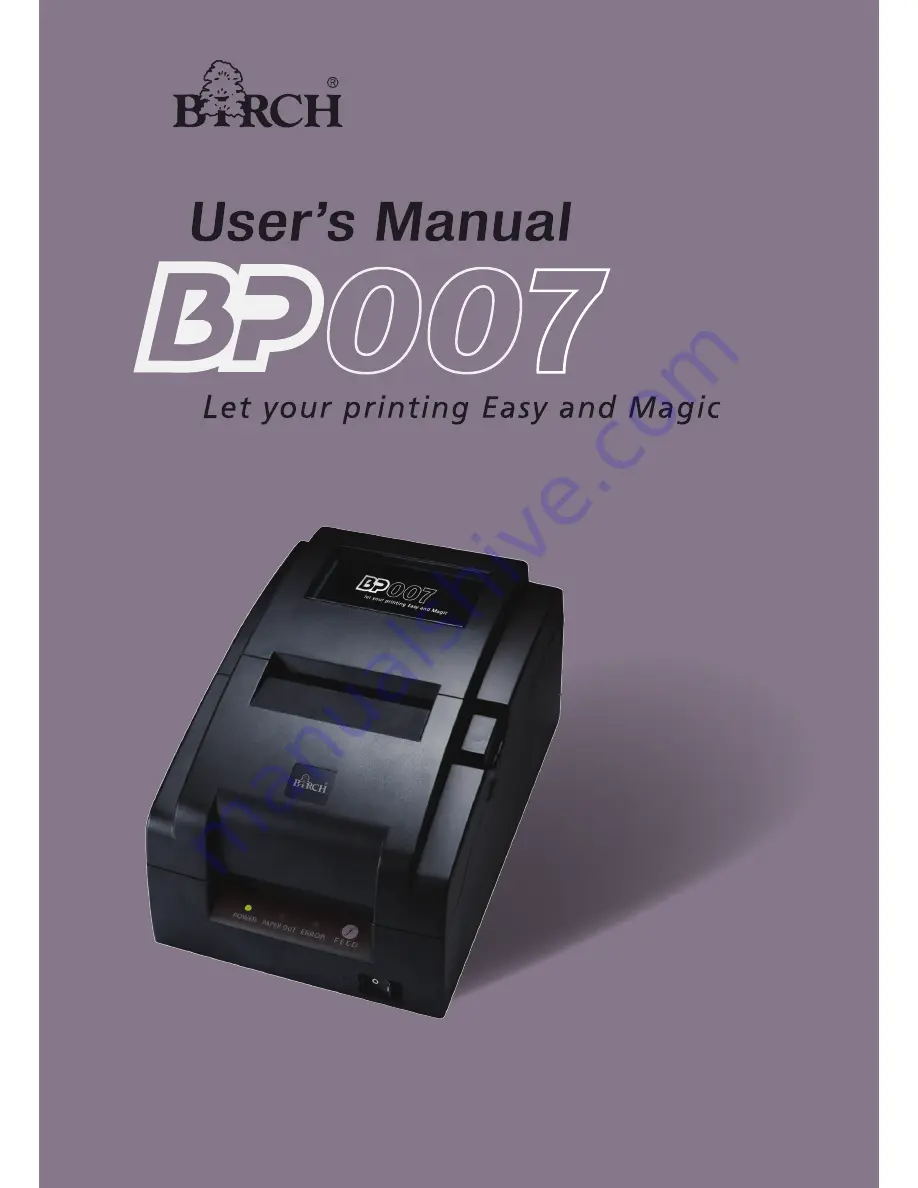
76 mm Dot Matrix Receipt Printer
High -Performance, Flex
i
ble and Heavy Duty
Страница 1: ...76 mm Dot Matrix Receipt Printer High Performance Flexible and Heavy Duty...
Страница 2: ...uld not be placed in a built in installation or kiosk stand unless proper ventilation is provided 8 This product should never be placed near or over a radiator or heat origin and should avoid of direc...
Страница 3: ...ng instructions since importer adjustment of other controls may result in damage and will often require extensive work by a qualified technician to restore the product to normal operation d If the pro...
Страница 4: ...iver 7 2 7 Installing Bluetooth Interface Driver 10 2 8 Network Settings 13 2 8 1 Connecting Printer 13 2 8 2 Setting IP Address 13 2 9 Wi Fi Setting 15 2 9 1 Connect to the Printer Run the WiFiConfig...
Страница 5: ...37 5 2 5 Ethernet Interface 38 5 3 Auto cutter Specification 39 Chapter 6 Troubleshooting and Maintenance 40 6 1 Clean the Printer 40 6 2 Problems and Solutions 40 Chapter 7 Command Code Summary 42 7...
Страница 6: ...terface cable Black BP 007BT Bluetooth USB interface cable Black BP 007BF USB interface Wi Fi USB interface cable Black BP 007WP Parallel interface Parallel interface cable White BP 007WU Serial inter...
Страница 7: ...dards Figure 1 1 Main parts of printer Front view Figure 1 2 Main parts of printer Rear view Power Supply Inlet Cash Drawer Interface Data Interface Upper Cover Paper stopper_Holder 57 5mm Ribbon Cart...
Страница 8: ...arallel interface serial interface USB interface USB interface Ethernet interface Bluetooth or USB interface Wi Fi and one cash drawer interface According to specific interface standards Connect the c...
Страница 9: ...2 Connect the other end of the cable to the computer s parallel interface and tighten the screws on both sides 2 3 3 Connecting the USB Cable 1 Plug the USB cable A end flat shape into the computer s...
Страница 10: ...computer s serial interface and tighten the screws on both sides 2 3 5 Connecting the Ethernet Cable Plug the crystal end of the Ethernet cable RJ 45 into the printer s Ethernet interface and then plu...
Страница 11: ...e power cord 2 Please use the electrical outlet connecting the ground properly 2 5 Installing the Ribbon Cartridge 1 Make sure the printer is turned off 2 Please open the upper cover and front cover f...
Страница 12: ...irect Note Auto installing way needs the operating system of Windows 2000 or above Hand operated installing way Note The hand operated installing ways of serial interface and parallel interface are th...
Страница 13: ...ferences among different operating systems 1 Connect the printer to computer with an USB cable and turn on the printer 2 After the computer find out new hardware and finish searching pop up a window o...
Страница 14: ...Next 4 A window of Search for new drivers pops up check Specify a location click Browse select the path as follows CD ROM Driver WIN98 WINME USBdriver then click OK 5 Return to a window of Search for...
Страница 15: ...8400bps 8 data bits no check bit 1 stop bit and the protocol is DTR DSR 2 Choose the appropriate Bluetooth adapter the operation system is Window XP or above which with Bluetooth adapter driver 3 Turn...
Страница 16: ...BP 007 User s Manual 11 5 Select the BP 007 and then click Next 6 Tick off the option of Let me choose my own passkey and enter 1234 as shown then click Next BP 007...
Страница 17: ...g COM port and click Finish then reboot the computer 8 Set the printer driver print port as the outgoing port and the installation is finish Note Every Bluetooth device has its own address Please rein...
Страница 18: ...re the printer has entered into the normal connection 2 8 2 Setting IP Address 1 Run NetFinder Software Double click NetFinder exe in the PC which connects the printer in the same LAN The figure of th...
Страница 19: ...n or not If there is fire wall please close it temporarily open again after finishing searching and setting a printer completely 3 Setting printer s IP address The printer s information is listed in t...
Страница 20: ...fective IP address When to specify static address uncheck Use DHCP and fill in IP address Subnet Mask and Default Gateway If there is no gateway in the network fill 255 255 255 255 in the Default gate...
Страница 21: ...fresh Refresh the printer model Enter setup mode Enter setup mode Note If the printer has entered setup mode please don t click Enter setup mode again Load Load the current Wi Fi parameter Baudrate Se...
Страница 22: ...e IP The remote IP is a segment of the LAN or the PC IP which communicates with printer When filling in IP such as 192 168 0 1 PC is communicate with printer respectively When filling in segment such...
Страница 23: ...ter IP parameters Please set the corresponding printer IP parameters according to the actual network circumstances The detail information please enquire the network administer Note Dynamic assign IP i...
Страница 24: ...ox would pop up to denote the recovery is successful or not 4 After finishing recovering please restart the printer and set the Wi Fi parameters again 2 10 Installing Printer Network Driver The ways o...
Страница 25: ...tting printer s IP address in the Printer Name or IP Address column Take IP address 192 168 0 240 for example Port Name is created automatically after finishing filling in IP address 6 A window of Add...
Страница 26: ...BP 007 User s Manual 21 7 A window of Port Settings pops up Affirm that Port name and Printer name or IP address are correct Protocol is RAW and Port Number is 9100 click OK...
Страница 27: ...then click OK to return to the window of Install Printer Software select the respective model click Next 12 Follow the direct click next gradually till the installation is finish At this time printer...
Страница 28: ...he IP address reported by the Setting printer s IP address in the Printer name or IP address column Take IP address 192 168 0 240 for example Port name is created automatically after finishing filling...
Страница 29: ...BP 007 User s Manual 24 8 A window of Port Settings pops up Affirm that Port name and Printer name or IP address are correct Protocol is RAW and Port Number is 9100 click OK...
Страница 30: ...Next 10 A window of Completing the Add Standard TCP IP Printer Port Wizard pops up click Finish 11 Return to Printer Ports click Close 12 Return to Properties make sure the network port is selected cl...
Страница 31: ...beeps Initialize the printer Six beeps Aging test Note When there is paper in the printer every time the FEED key is pressed less than 0 5 second paper will feed one line If you press and hold the key...
Страница 32: ...lt settings Parallel and USB interface Figure 3 3 BP 007 Default setting Serial interface BP 007 9Pin Mini Printer VX XX XXX XXXX XX XX SN XXXXXXXXXXXXXXXXXXXX Cutter OFF Black Mark OFF Print Mode BI...
Страница 33: ...the serial data transfer stop bit Only for Serial interface model HANDSHAKE DTR DSR XOFF XON Specify the protocol of printer serial data transfer as software control XON XOFF or hardware control DTR O...
Страница 34: ...lues after setting all items After clicking Set All or Set Current program would set the setting command to the printer 8 Printer would change the parameter settings as soon as it receives the setting...
Страница 35: ...this key for a long time it will be saved after sounding two beeps and the present selected value will be printed at the same time Turn off the printer the new value will be active after the printer i...
Страница 36: ...Note Paper head should be pulled out by the direction of paper input slot but not the opposite 3 Turn on the printer and then hold both edges of the paper and insert it straight into the paper input...
Страница 37: ...cter set Character set Big 5 or GB 18030 Line spacing 1 6 inch or by programmable in 1 144 inch increments Type Compatible star RC 200B Ribbon Life 3 million characters Interface types Cash drawer int...
Страница 38: ...paper width Horizontal 420 dots per line 76 0 5mm paper width Resolution Vertical 144DPI Control panel 1 key and 3 indicator lights Paper type Roll paper Wireless disturb Grade B Note The Print head l...
Страница 39: ...All the input data and interface control signal are compatible with TTL electric level 2 Linker Parallel interface is 57 30360 AMPHENOL The parallel interface connector is 36PIN type shown as Figure...
Страница 40: ...ted with signal line 31 16 INIT Initialization of printer Input Low level means initialization of printer 32 ERROR Error happens with printer Out When the printer is in state of paper out offline cond...
Страница 41: ...er and computer with USB interface as shown in Figure 5 5 USB Interface is 2 0 Full Speed interface and displayed as a USB port on the computer finally You can use the USB Interface to print by select...
Страница 42: ...TS Ask for Sending Output 5 CTS Allowable to Send Input 6 DSR Data Set Ready Input 7 GND power GND 8 DCD Data Carrier Detect Input 20 DTR Data Terminal Ready Output 4 Interface protocol 1 DTR DSR inte...
Страница 43: ...t is in the following two conditions The printer becomes FREE from BUSY The printer becomes ONLINE from OFFLINE When the printer sends X OFF 13H code to the Host through TXD it means the printer is BU...
Страница 44: ...ation Item Specification Paper width 85mm max Cuttable thickness Paper thickness 65 75 m Cutting mode Full cut or partially cut leaving point one point 2mm Drive voltage V Motor 24 2 4 detector 3 3 0...
Страница 45: ...ft cloth first and then add proper lube NYE180 lube of NYE Company is recommended move print head back and forth to make lube scattered Note 1 Turn off printer and pull out the power cord before clean...
Страница 46: ...enters the protect state Solution Please wait patiently the printer will recover automatically after the print head cools down 5 Print quality Phenomenon The printer can t print at all Solution 1 Che...
Страница 47: ...escribing the function and using instruction of this command 7 2 Explanation of Command HT Horizontal tab Format ASCII HT Decimal 9 Hex 09 Description Moves the print position to the next horizontal t...
Страница 48: ...ing command for character printing mode and is used for selecting size and underline of printed character The bit definition of print parameter n is shown as follows Default n 1 That means 7 7 dot arr...
Страница 49: ...user defined characters after being defined will be valid all the time until they are defined again or the printer is turned off The format of user defined characters is shown as follows d1 d4 d2 d3...
Страница 50: ...ng to 1 6 inch ESC 3 Set n 144 inch line spacing Format ASCII ESC 3 n Decimal 27 51 n Hex 1B 33 n Description Set the line spacing to n 144 inch n 0 255 Default n 24 ESC Print head Returns to standby...
Страница 51: ...absolute horizontal position of the first horizontal tab is n1 times of half dot distance The absolute horizontal position of the second horizontal tab is n1 n2 times of half dot distance The absolut...
Страница 52: ...75 n Hex 1B 4B n Description Print the data in the print buffer and feeds the paper by n 144 inch in the reverse direction n 0 48 ESC U Turn unidirectional printing mode on off Format ASCII ESC U n D...
Страница 53: ...Hex 1B 65 n Description Print the data in the print buffer and feeds n lines in the reverse direction n 0 2 The maximum reverse paper feed spacing is 48 dots 48 0 176mm ESC i Full cut Format ASCII ESC...
Страница 54: ...t position is the black mark position bit7 0 denotes that the current position is not the black mark position If black mark is ineffective this bit is undefined FS Select Chinese character mode Format...
Страница 55: ...SCII FS S n1 n2 Decimal 28 83 n1 n2 Hex 1C 53 n1 n2 Description Set the left side character spacing to n1 dots Set the right side character spacing to n2 dots Half size characters will be put in good...
Страница 56: ...ffset or tearing cutting position offset from black mark This value is calculated by dots number The parameters of this command are shown as follows pL pH 256 4 that is pL 4 pH 0 1 a 3 m 0 48 0 nL nH...
Страница 57: ...he tearing cutting position offset from the black mark is greater than the inherent mechanical value L0 of the printer shown as figure 4 the calculation of tearing cutting position offset is shown as...
Страница 58: ...tatus is returned If paper is present the bit2 3 of the returned byte is 0 if paper is not present the bit 2 3 of the returned byte is 1 GS V Select cut mode and cut paper Format ASCII GS V m n Decima...
Страница 59: ...asized mode on off ESC G 1B 47 n Turn double strike mode on off ESC J 1B 4A n Print and feed paper ESC K 1B 4B n Print and reverse feed ESC U 1B 55 n Turn unidirectional printing mode on off ESC c 4 n...
Страница 60: ...007 User s Manual 55 GS F pL pH a m nL nH 1D 28 46 pL pH a m nL nH Set offset of black mark for printing and cutting position GS r 1D 72 n Transmit status GS V m n 1D 56 m n Select cut mode and cut pa...