23
22
7a)
7b)
8a)
8b)
5)
6)
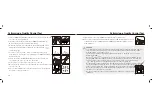
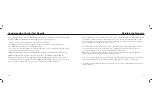
Set Up Your Meter - Set Up the Date, Time and Volume
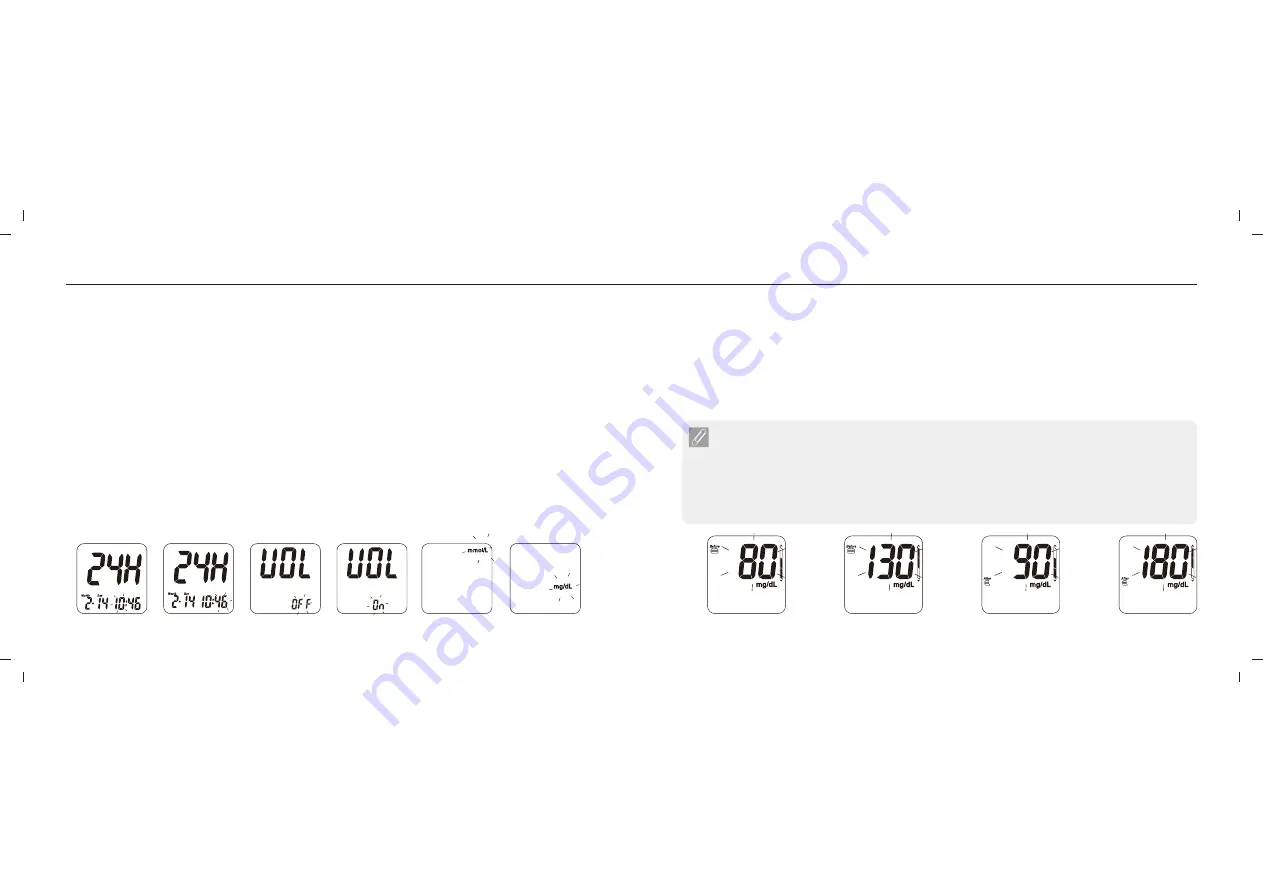
Set Up Your Meter - Set Up the Meal Glucose Range
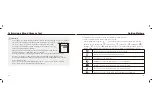
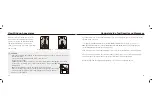
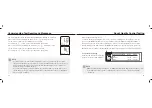
9. Before Meal Blood Glucose Range Setting
The before meal mark and the lower limit bar will be displayed, and the blood glucose value will
blink. Press the up / down button to adjust the value to the target value and then press the main
button to confirm. Please follow the same way to set up the upper limit for before meal.
10. After Meal Blood Glucose Range Setting
The after meal mark and the lower limit bar will be displayed, and the blood glucose value will
blink. Press the up / down button to adjust the value to the target value and then press the main
button to confirm. Please follow the same way to set up the upper limit for after meal.
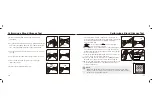
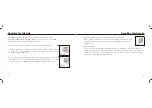
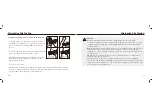
5. Hour setting
When the hour blinks, press the Up or Down button to select the current hour and press the main
button to conform the setup.
6. Minute setting
When the minute blinks, press the Up or Down button to select the current minute and press the
main button to conform the setup.
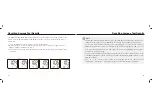
7. Volume Setting
When the " OFF " blinks, press the Up or Down button to turn the volume on or off and press the
main button to confirm the setup.
8. Measurement Unit Setting
When the milligrams per deciliter (mg/dL) or millimoles per liter (mmol/L) blinks, press the Up or
Down key to select the preferable measurement unit and press the main button to confirm the
setup.
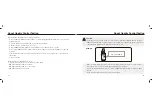
NOTE
- The upper / lower limit marker is only for reminding. You may consult your doctor for
further assistance.
- Tight blood glucose control for ADA: close to a normal (nondiabetic) blood glucose level
as you safely can. Ideally, this means levels between 70 and 130 mg/dL (3.8 and 7.2
mmol/L) before meals, and less than 180 mg/dL (10.0 mmol/L) two hours after starting a
meal.
9a)
10a)
9b)
10b)
Содержание RIGHTEST Max
Страница 2: ......


