31
BetterOutdoorProducts.com
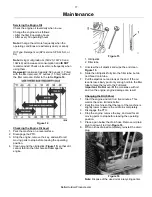
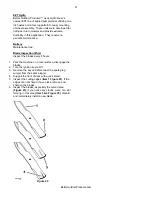
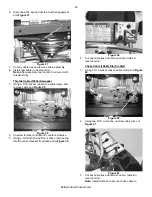
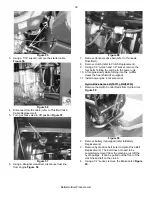
Figure 60
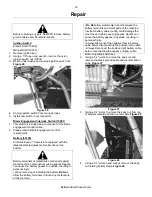
5. It is recommended to have two people for the
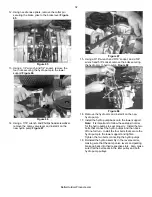
remaining steps. Using a 9/16” wrench and 9/16”
socket, remove the two bolts holding the swingarm
to the lower support
Figure 61
.
Figure 61
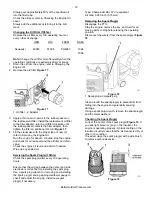
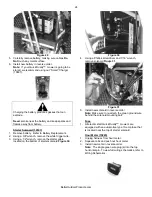
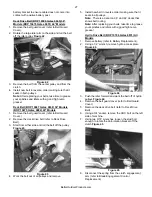
6. Using a 1/2” wrench and 1/2” socket with extension,
remove the eight nuts securing the hydro assembly
to the frame
Figure 62
.
Figure 62
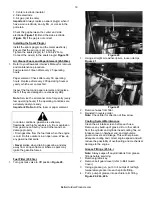
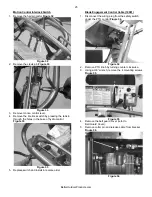
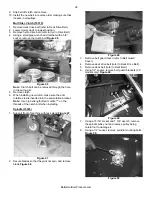
7. Using a 1/2” wrench and 1/2” socket, remove the
two bolts securing the rear of the hydro assembly to
the frame
Figure 63
.
Figure 63
8. You should be able to lift up on the handlebars and
roll the machine off of the hydro assembly.
Note:
Be careful that the dump valves are clear of the slots
before lifting up, as they may bend.
9. Remove the wheels from the hydro assembly (refer
to Rear Wheel Replacement).
10. Determine which hydro pump needs to be replaced.
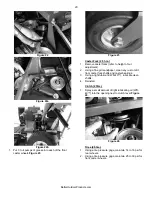
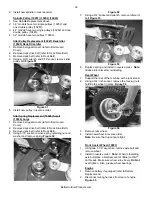
11. Using a 9/16” wrench and 9/16” socket, remove the
two bolts that connect the hydros
Figure 64a, 64b
.
Figure 64a
Figure 64b
Содержание Quick Dually
Страница 9: ...9 BetterOutdoorProducts com ...
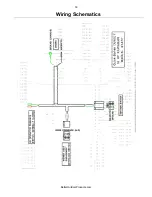
Страница 33: ...33 BetterOutdoorProducts com Wiring Schematics ...
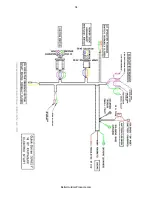
Страница 34: ...34 BetterOutdoorProducts com ...

