23
MainTenance
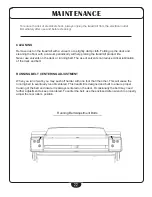
RUNNING BELT CENTERING PROCEDURE:
1. Do not wear loose clothing, neckties, or loose jewelry while making this adjustment.
2. Never turn the bolts more than ¼ turn at a time.
3. Always tighten one side and loosen the other to prevent over tightening or loosening the belt.
4. Run the treadmill. Adjust belt while the treadmill is running at 4 mph (6.4 kph)
with no person on the belt.
After making the adjustment, walk on the belt for five minutes to test the change. If necessary, re
-
peat the procedure but never turn the bolts more than ¼ turn at a time. Over tightening the belt can
significantly shorten the belt’s product life.
IF BELT IS TOO FAR TO THE LEFT SIDE:
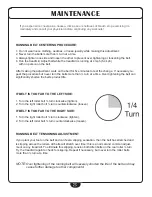
1. Turn the left roller bolt ¼ turn clockwise (tighten).
2. Turn the right roller bolt ¼ turn counterclockwise (loosen).
IF BELT IS TOO FAR TO THE RIGHT SIDE:
1. Turn the right roller bolt ¼ turn clockwise (tighten).
2. Turn the left roller bolt ¼ turn counterclockwise (loosen).
RUNNING BELT TENSIONING ADJUSTMENT
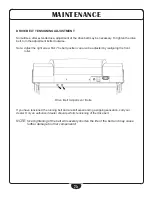
If you plant your foot on the belt and can feel a slipping sensation, then the belt has stretched and
is slipping across the rollers. All belts will stretch over time; this is a normal and common adjust-
ment on any treadmill. To eliminate this slipping, tension both Allen bolts on the rear roller ¼ turn.
Try the treadmill again to check for slipping. Repeat if necessary, but never turn the roller bolts
more than ¼ turn at a time.
NOTE
: Over tightening of the running belt will severely shorten the life of the belt and may
cause further damage to other components!
If you experience chest pains, nausea, dizziness or shortness of breath, stop exercising im-
mediately and consult your physician before continuing any workouts!
Содержание BFT1
Страница 1: ...BFT1 O w n e r s M a n u a l v 121808...
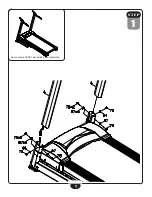
Страница 9: ...9 S T EP 1 Above shows STEP 1 assembled and completed...
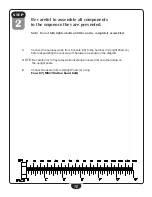
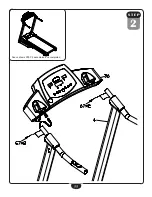
Страница 11: ...11 S T EP 2 Above shows STEP 2 assembled and completed...
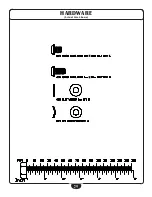
Страница 29: ...29 HARDWARE Actual Size Shown...
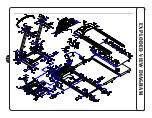
Страница 33: ...3 3 Exploded View Diagram...

