background image

 30

cOnsOle OperatiOn

user MOde

To access 

User Mode

, see the 

Training Mode Programs

 section. 

User Mode

 allows the 

user access to create a workout program to tailor fit their exercise requirements. The 

user can adjust up to 20 workout intervals within the program as well as set custom-

ized count-down workout goals. 

When 

User Mode

 is selected, the display will flash the first of twenty customizable 

workout intervals within the program as well as flash the currently active ‘Load 

Level’. ‘Load Level’ in each step is adjustable from 1 to 16 using the UP/DOWN 
buttons. Press the MODE button to advance to the next workout interval to be set.

NOTE:  

T

he


U

ser

 M

ode


workouT


level


parameTers


are


sTored


inTo


The


console

s

 ram 

memory


and


remain


sTored


in


memory


afTer


a

 ‘T

oTal

 r

eseT

’ 

or


afTer


power


To


The


sysTem


has


been


losT

.

Once the 20 workout levels have been set, press and hold the MODE button for 2 

seconds to confirm the selection. Function values may be preset for TIME, DISTANCE, 

CALORIES, and PULSE by using the UP/DOWN buttons. After choosing the desired 

function value, press the MODE  button to confirm the setting.

Press the START/STOP button to start training. During exercise, the user selected pre-

set values will count down. If no preset values were selected, the display values will 

count up. ‘LOAD LEvEL can be adjusted at any time during the workout.

9

20

STEP 7 – Handlebar Assembly

Slide Left and Right Handlebar
Assembly over the top of the Swing
Arm Assembly and insert 3 Allen 
Bolts per side.

Hand tighten first 

to begin all Allen Bolts.

Then,

tighten Allen Bolts with the 5mm 
Allen Wrench provided.

7

right 

handlebar

assembly

REAR

FRONT

right swing arm

assembly

left swing arm

assembly

upright

frame

assembly

left 

handlebar

assembly

6 - M8 x 20mm 

allen bolts

STEP 6 – Swing Arm Covers

Attach the Swing Arm Covers 
on the front of the Swing Arms 
with Phillips Bolts. Tighten with 
the Phillips Screwdriver provided.

6

swing arm

covers

2 - M6 x 12mm 

phillips bolts

NOTE:

If you find it difficult to get

the Bolt started, first thread the
Bolt into the hole on the Swing
Arm without the Cover. Then,
remove the Bolt and repeat 
Step 6 above.

HEART RATE

Training in H.R.C. Mode:

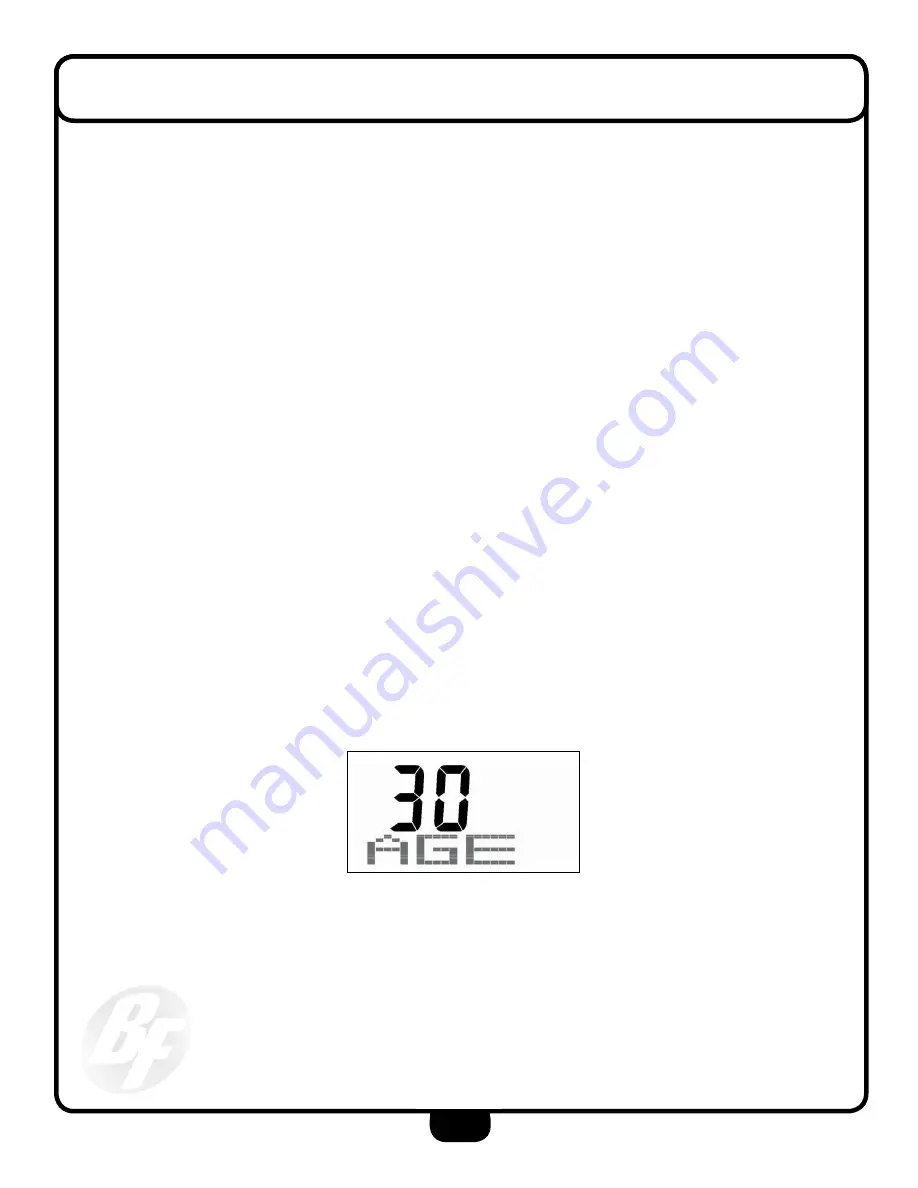
AGE 30 will be blinking after you enter H.R.C. Mode.
You may set your age by pressing the UP or DOWN
and MODE button to set. The Monitor will calculate
preset Heart Rate value automatically according
to your age setting. (Preset at Age 30). Screen will
show Heart Rate percentage 55%, 75%, 90% and
TARGET. You may select Heart Rate percentage 
by pressing the UP or DOWN button and MODE 
button for training.

Note: 

1.

If there is no signal for over 4 minutes, the screen
will turn off and display room temperature, clock,
and calendar.

2.

When Monitor displays abnormally, please 
unplug the adapter and plug-in again.

NB 8000 Program Profiles

User’s Age  Display

Содержание BFE2

Страница 1: ...BFE2 O w n e r s M a n u a l V BFE2 112718...

Страница 2: ...ance or troubleshooting of the equipment Even though we have prepared this manual with extreme care neither the publishernortheauthorcanacceptresponsibilityforanyerrorsin oromissionfrom theinformation...

Страница 3: ...erence Please use this Owner s Manual to make sure that all parts have been included in your shipment When ordering parts you must use the part number and description from this Owner s Manual Use only...

Страница 4: ...nd consult your physician Never operate the unit when it has been dropped or damaged Return the equipment to a service center for examination and repair Never drop or insert objects into any opening i...

Страница 5: ...t is involved with the lift Keeping proper form also includes maintaining control through an entire range of motion 4 Breath properly Inhale during the eccentric phase of the exercise and exhale durin...

Страница 6: ...sequence presented in this guide Personal Safety During Assembly m Before beginning assembly please take the time to read the instructions thoroughly m Read each step in the assembly instructions and...

Страница 7: ...ations only important safety notes and other tips are included in the text Some pieces may have extra holes that you will not use Use only those holes indicated in the instructions and illustra tions...

Страница 8: ...nce they are presented A Carefully lift the Upright Frame Assembly above the front of the Base Frame B Attach wire harness as shown NOTE A second person is required C Slide the Upright Frame onto the...

Страница 9: ...9 S T E P 1 M8 Washer M8 Arc Washer...

Страница 10: ...they are presented A Insert Right Rocker Arm into Right Swing Arm and install hardware as shown B Insert End Cap into Right Rocker Arm C Insert Left Rocker Arm into Left Swing Arm and install hardware...

Страница 11: ...11 S T E P 2 M10 Washer M10 Spring Washer...

Страница 12: ...12 Be careful to assemble all components in the sequence they are presented A Connect the Rocker Arms as shown S T E P 3...

Страница 13: ...13 S T E P 3...

Страница 14: ...ll components in the sequence they are presented A Connect the Right Foot Pedal to the Right Foot Tube using Six M6x16 Phillips Screw B Connect the Left Foot Pedal to the Left Foot Tube using Six M6x1...

Страница 15: ...15 S T E P 4...

Страница 16: ...16 Be careful to assemble all components in the sequence they are presented A Connect the Foot Tubes as shown S T E P 5...

Страница 17: ...17 S T E P 5...

Страница 18: ...18 Be careful to assemble all components in the sequence they are presented A Attach the Water Holder using the hardware shown B Connect the Swing Arm Cover as shown using the hardware shown S T E P 6...

Страница 19: ...19 S T E P 6 M5x12 Phillips Bolt M5x12 Phillips Bolt M5x12 Phillips Bolt...

Страница 20: ...20 Be careful to assemble all components in the sequence they are presented A Connect the Right Handle Bar using the hardware shown B Connect the Left Handle Bar using the hardware shown S T E P 7...

Страница 21: ...21 S T E P 7 M8x16 Allen Bolt M8 Arc Washer...

Страница 22: ...n Bolt Three M8 Washer B Slide the Net Cover Frame onto the Main Frame and secure using Two M5x8 Phillips Screw C Connect the harnesses from the Console to the Console Frame then secure using Four M5x...

Страница 23: ...23 S T E P 8 Insert Power Supply here...

Страница 24: ...24 Console Overview Take a few moments to review the console layout Below is an overview of the console buttons and their different functions Display Window Control Buttons...

Страница 25: ...n minutes in the range of 1 00 to 99 00 Displays the approximate current training speed from 0 0 to 99 9 mph Display approximate current training rotation per minute Displays distance traveled during...

Страница 26: ...ds followed by a long beep The room temperature will display shortly GETTING STARTED WITH YOUR MONITOR Press Total Reset The LCD will display for 2 seconds with a long beep sound The Monitor will be i...

Страница 27: ...ng in PROGRAM Mode See page 20 for Program Profiles In the PROGRAM mode you may press the UP or DOWN button to select Programs P01 P6 The selected Program will be show on screen for 2 seconds then dis...

Страница 28: ...m Mode Press the UP DOWN buttons to select pro grams P01 P12 The selected program will be shown on the DISPLAY WINDOW for 2 seconds and then the DISPLAY WINDOW will show the Program Profile accordingl...

Страница 29: ...ay press the UP or DOWN button to select Programs P01 P6 The selected Program will be show on screen or 2 seconds then display Program Profile accordingly Press MODE to set LOAD 1 preset value will be...

Страница 30: ...ton for 2 seconds to confirm the selection Function values may be preset forTIME DISTANCE CALORIES and PULSE by using the UP DOWN buttons After choosing the desired function value press the MODE butto...

Страница 31: ...s After choosing the desired function value press the MODE button to confirm the setting Press the Start Stop button to start training During exercise the user selected preset values will count down I...

Страница 32: ...own If no preset values were selected the display values will count up Wattage can be adjusted at any time during the workout Recovery MODE RecoveryMode compares the heart rates during the workout and...

Страница 33: ...reisn tapulsereadingorthereis poor contact with the pulse sensors Your estimated heart rate will appear in the win dow approximately 6 seconds after you grasp the heart rate sensors For additional inf...

Страница 34: ...st over the main artery After finding the pulse count the number of beats in 10 seconds Multiply the number of beats by six to determine your pulse rate per minute It is recommend to take a heart rate...

Страница 35: ...user to calculate a specific target heart rate MHR MaximumHeartRate THR TargetHeartRate 220 Age MaximumHeartRate MHZ MHZ x 60 60 ofyourMaximumHeartRate MHZ x 75 75 ofyourMaximumHeartRate For example...

Страница 36: ...36 power input location The location of the power input is on the left side of the shroud See below photo Plug in Here...

Страница 37: ...37 Note...

Страница 38: ...hangedesignandspecificationswhenwefeelitwillimprovetheproduct BestFitness machinesmaintainseveralpatentedandpatentpendingfeaturesanddesigns Allrightsreservedonalldesignpatentsandutilitypatents www Bes...

Отзывы: