14
General operating instructions
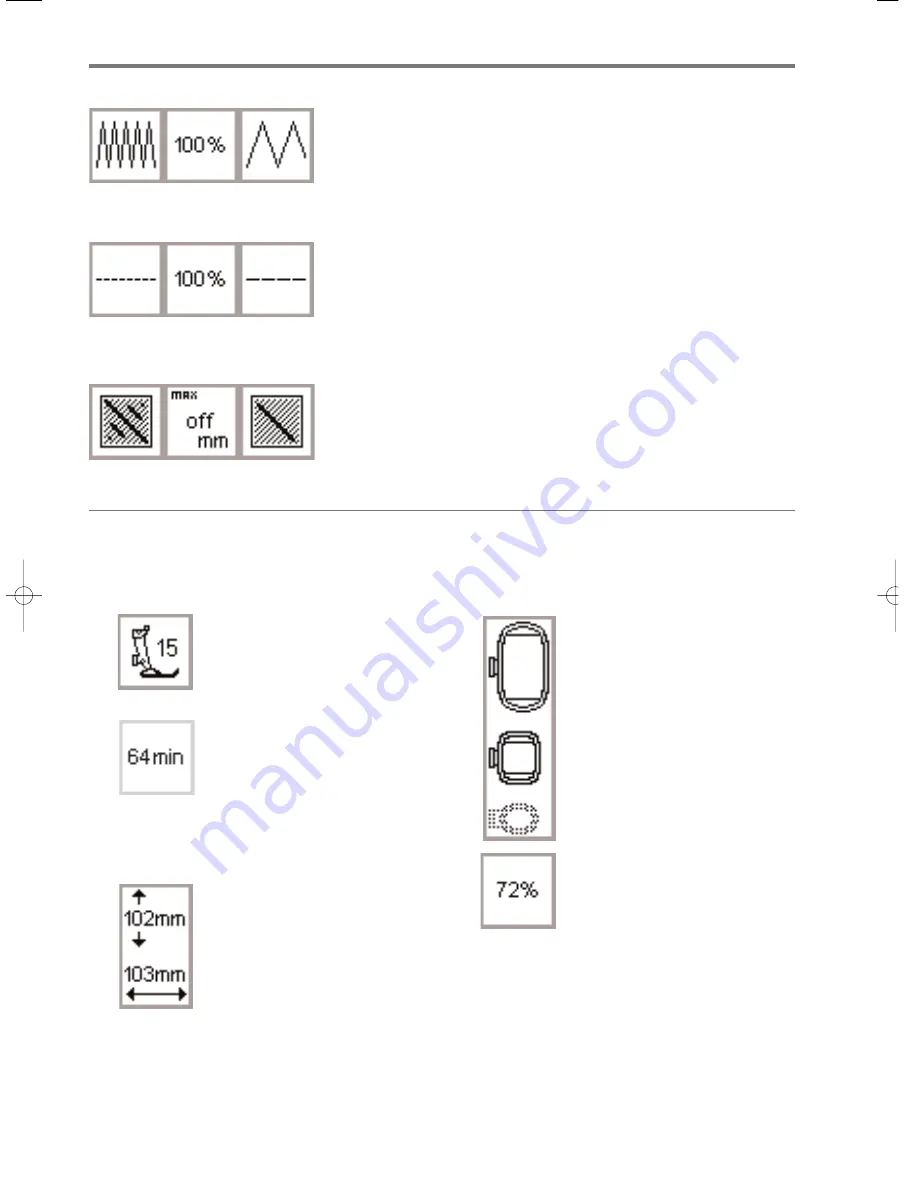
Adjust the density
· found in layout 2
· touch the left field
· this increases the stitch density
(more stitches)
· touch the right field
· this reduces the stitch density
(fewer stitches)
· the center field shows the adjust-
ment in percent
· touch center to return the motif to
its basic setting
Adjust the stitch length
· found in layout 2
· touch the left field; this reduces the
stitch length
· touch the right field; this increases
the stitch length
· the center field shows the adjust-
ment in percent
· touch center symbol to return the
motif to its basic settings
· affects only fill stitches, not outline
· can be changed to accommodate
varying thicknesses of threads
Screen symbols
These symbols appear on the left of the sewing and
layout (1 and 2) screens.
Presser foot
· indicates the recommended presser
foot for embroidery (no. 15)
Embroidery time
· the motif is developed on the
screen
· the total embroidery time for the
selected motif is displayed in
minutes
· the remaining embroidery time
for a motif or individual color is
shown while embroidering
Motif size
· indicates the size in millimeters of
the chosen motif
Embroidery hoop coding
· shows the small, medium, and large
hoops
· the most suitable hoop for the
motif chosen is highlighted
Recalculation of an embroidery motif
· after altering the size or stitch
density etc. of a motif, the motif
will be recalculated
· after pressing “ok”, the screen
reverts to the previous screen
· the hourglass blinks
· the percentage of completed
alteration appears on-screen as the
design is recalculated
Convert long Stitch to short
(straight) stitch:
· found in layout 2
· touch the right symbol – the stitch
length is increased
· touch the left symbol – the stitch
length is reduced
· the stitch length is shown in mm in
the center symbol
· touch the center symbol =
return to basic setting (off)
165_170_180_SM_engl 19.04.2004 8:58 Uhr Seite 14
008904.55.04_EMB_0401_a165 a170 a180_EN


