SCOUT200 Series Quick Start Guide 5
Record Route
1. Select
ROUTES
to display the
Routes
window.
The list of available routes is displayed and information about each route:
Total number of points in the selected route
Number of points with completed recordings
Percentage of points with completed recordings
2. Select a database, folder, and route. The
Route Configuration
window is displayed.
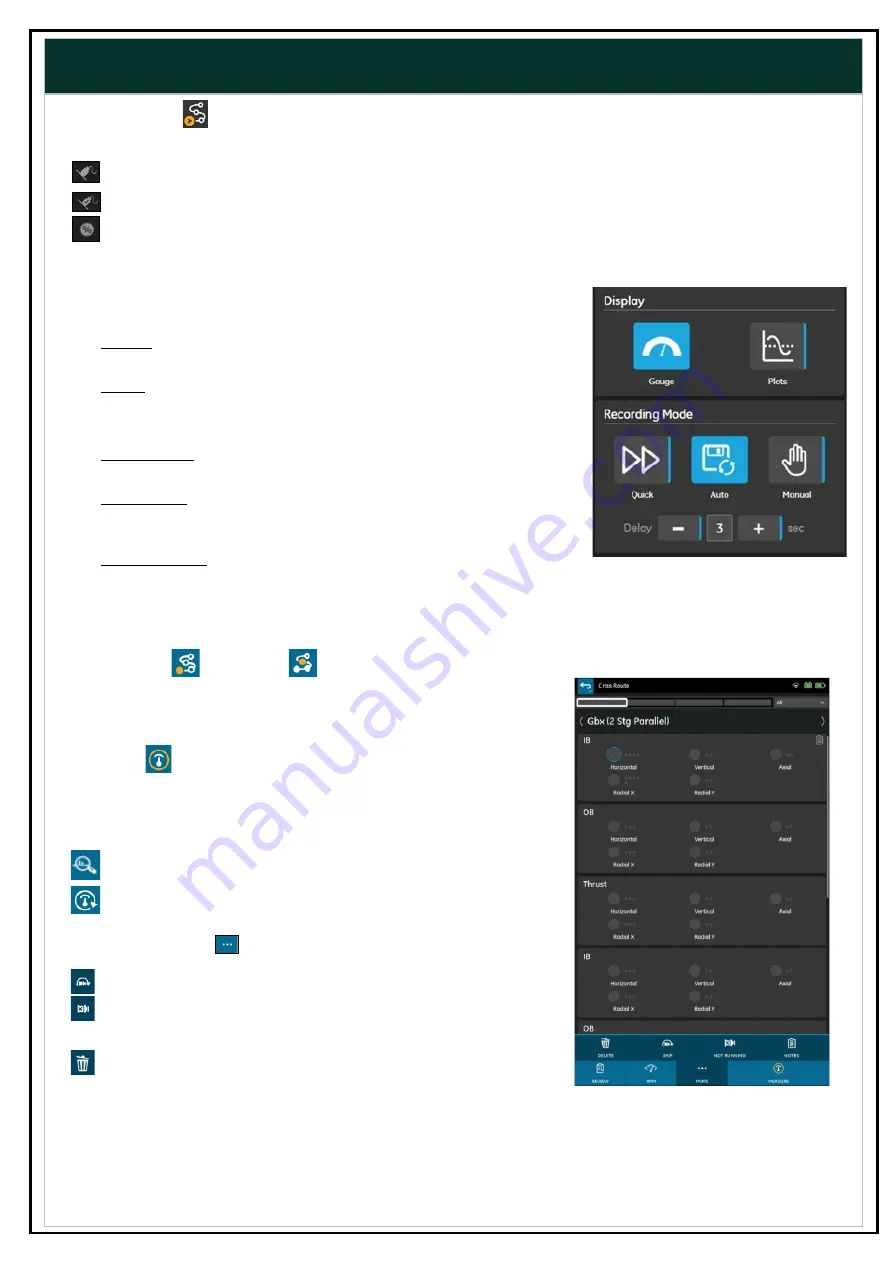
3. Select a
Display
and
Recording Mode
Display
•
GAUGE - Displays a color-coded gauge showing the vibration
level compared to the alarm threshold.
•
PLOTS
- Displays spectra &/or waveform plots allow data-quality
review and analysis.
Recording Mode
•
QUICK MODE - Takes all measurements at this location as
quickly as possible, without delays or user intervention.
•
AUTO MODE - The S1 Collector App automatically moves on to
subsequent recordings at this measurement location with a
short, user-configured delay.
•
MANUAL MODE - The S1 Collector app allows you to visually
analyse the data and/or remeasure before manually
proceeding to the next measurement.
4. Select
Sensors
to enable the channel(s) you have sensors connected to and select or create the
appropriate sensor for each channel. Press
Done
to return to the
Route Configuration
screen.
5. Select
START
or
RESUME
.
The
Route Details
window is displayed.
6. The blue circle indicates the Machine – Bearing – Point where the
sensor should be placed. Then select
MEASURE
to start recording.
The type of data displayed, and the progress to the next
measurement, is controlled by the Display and Mode selections
you made earlier. You may be presented with these options:
To view a graph of the recording, select
ANALYZE.
To retake the recording, select
REMEASURE
.
The new recording overwrites the previous one.
7. You can use
MORE
to access these options:
Skip
recording a machine on a route.
Toggle the status of a machine from
running
to
not running
and vice versa
Delete
opens a flexible interface to remove unwanted
recordings.
8.
Sync
the data between the S1 Collector app and System 1.


