background image

  43

  Navigating the main menu

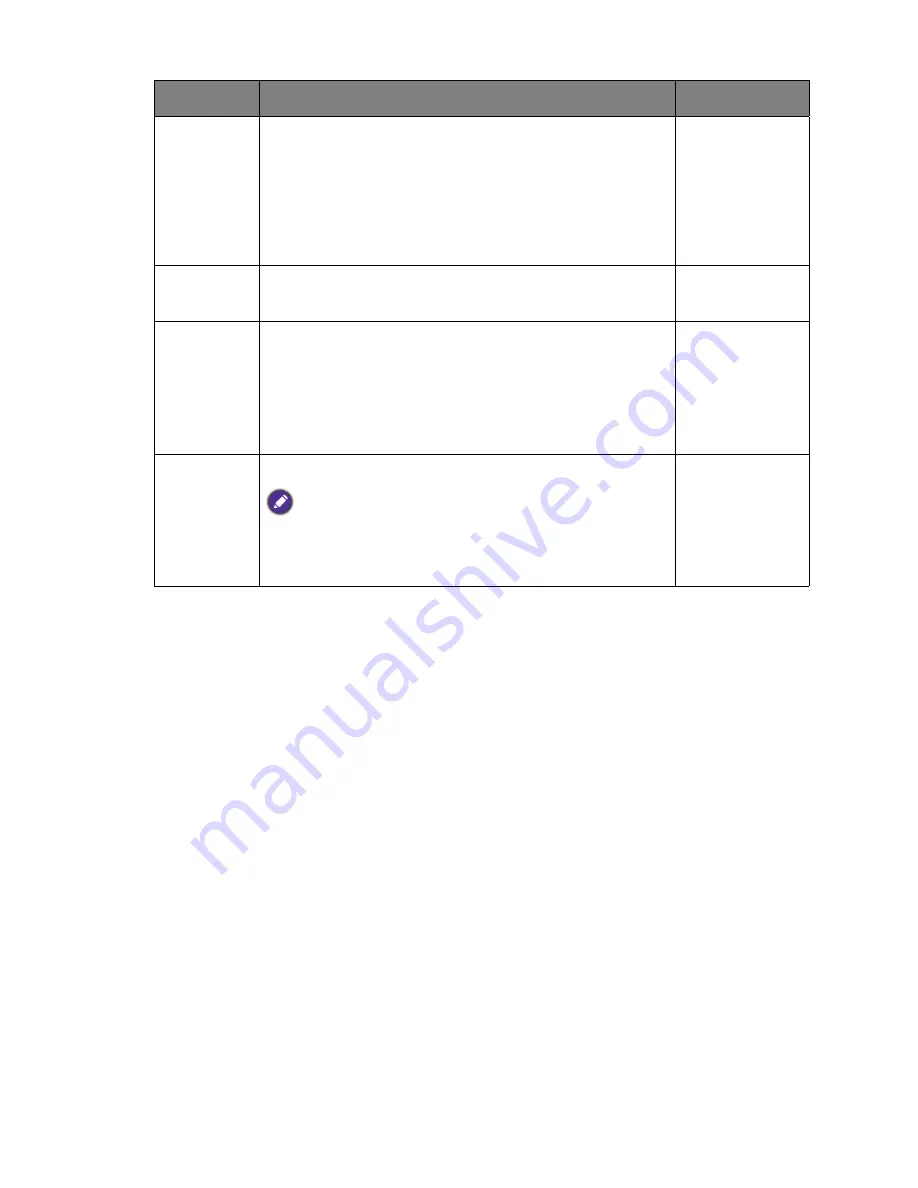
Eye Protect 
Meter


(available 
when 

Color 

Mode

 is set 

to 

Standard 

or 

Custom

)

Sets to display the light condition around the monitor on 
the screen.

• 

ON


• 

OFF


Smart 
Reminder


Decides to display the pop-up message that reminds you to 
rest your eyes.

• 

ON 

• 

OFF


Time 
interval 
(min.)


Sets the interval of the reminder message.

• 

20 

• 

40


• 

60


• 

80


• 

100


Duration 
(sec.)


Sets the time the reminder message lasts on the screen.

Alternatively, when the reminder message is displayed, press any 

key except the power button to hide the message.

• 

• 

10


• 

15


• 

20


• 

25


Item

Function

Range

Содержание PG240IPT

Страница 1: ...PG2401PT LCD Monitor User Manual...

Страница 2: ...outlet should be installed near the equipment and be easily accessible This product should be operated from the type of power indicated on the marked label If you are not sure of the type of power ava...

Страница 3: ...attempt to service this product yourself as opening or removing covers may expose you to dangerous voltages or other risks If any of the above mentioned misuse or other accident such as dropping or mi...

Страница 4: ...nQ monitor 25 How to install the monitor on a new computer 26 How to upgrade the monitor on an existing computer 27 How to install on Windows 8 system 28 How to install on Windows 7 system 29 How to a...

Страница 5: ...have the following items If any are missing or damaged please contact the place of purchase for a replacement BenQ LCD Monitor Monitor Stand Monitor Base Quick Start Guide DVD ROM Power Cord Picture m...

Страница 6: ...from the actual contents and the product supplied for your region For cables that are not supplied with your product you can purchase them separately Consider keeping the box and packaging in storage...

Страница 7: ...ew Back view 1 Light sensor Eco sensor 2 Control buttons 3 Power button 1 2 3 4 Power switch 5 AC power input jack 6 Headphone jack 7 Cable management hole 8 HDMI socket 9 D Sub socket 10 USB port ups...

Страница 8: ...t x 2 downstream connecting to USB devices 14 VESA mount release button 15 DVI D socket 16 DisplayPort socket 17 Mini DisplayPort socket Above diagram may vary depending on the model Picture may diffe...

Страница 9: ...lowing connection illustrations are for your reference only For cables that are not supplied with your product you can purchase them separately For detailed connection methods see page 11 13 PC Notebo...

Страница 10: ...creen surface on an object like a stapler or a mouse will crack the glass or damage the LCD substrate voiding your warranty Sliding or scraping the monitor around on your desk will scratch or damage t...

Страница 11: ...angle the screen to minimize unwanted reflections from other light sources 2 Connect the PC video cable Do not use both DVI D cable and D Sub cable on the same PC The only case in which both cables ca...

Страница 12: ...output device To Connect the DP Cable Connect the plug of the DP cable to the monitor video socket Connect the other end of the cable to the computer video socket To Connect the mini DP Cable Connect...

Страница 13: ...between the PC and the USB devices connected to the monitor Connect USB devices via other USB ports downstream on the monitor These downstream USB ports transmit data between connected USB devices an...

Страница 14: ...he headphone hook to place your headphone It is useful when your headphone is not in use Orient and align the headphone hook with the hole on the monitor stand and attach the hook to the hole Turn the...

Страница 15: ...on the monitor by pressing the power button on the monitor Turn on the computer too and follow the instructions in Getting the most from your BenQ monitor on page 25 to install the monitor software To...

Страница 16: ...before laying the screen face down on a flat clean padded surface Please be careful to prevent damage to the monitor Placing the screen surface on an object like a stapler or a mouse will crack the gl...

Страница 17: ...mble your monitor hardware Turn the stand counterclockwise until you cannot go further And then detach the base from the stand You can remove the headphone hook as illustrated Keep the headphone hook...

Страница 18: ...ned and can fit into your monitor properly Do not use excessive force when installing the shading hood to avoid possible damage 1 Prepare for the shading hood installation Place the monitor upright on...

Страница 19: ...19 Installing shading hood 4 Install the right part of shading hood 5 Attach to the right side of the monitor 6 Place the piece on the top of the monitor b d 2 1 e e...

Страница 20: ...alibrate the display s color by a colorimeter slide the piece to the left end so the colorimeter can be installed Follow the instruction manuals of the colorimeter you purchased and the provided softw...

Страница 21: ...g hands on the upper or lower part of the height adjustable stand or at the bottom of the monitor as ascending or descending monitor might cause personal injuries Keep children out of reach of the mon...

Страница 22: ...ce the display is rotated you also need to rotate the OSD menu Go to System and Auto Pivot Select On The OSD menu rotates with the monitor 3 Fully extend the monitor and tilt it Gently lift the displa...

Страница 23: ...justment You may position the screen to the desired angle with 5 to 20 monitor tilt 90 left and right total monitor swivel and 150 mm monitor height 5 Adjust the monitor to the desired viewing angle 5...

Страница 24: ...r before disconnecting the cables from the LCD monitor 1 Remove the monitor stand Lay the screen face down on a clean and well padded surface Detach the monitor stand as instructed in step 1 2 in How...

Страница 25: ...ng the monitor to your computer Windows will automatically recognize the new or different hardware and will launch its Found New Hardware wizard Follow the wizard instructions until it asks you to sel...

Страница 26: ...launch the Found New Hardware Wizard Follow the prompts until it displays the option to Install Hardware Device Drivers 2 Insert the BenQ LCD Monitor DVD ROM into a DVD drive on the computer 3 Check...

Страница 27: ...e particular model monitor you have connected and letting Windows install the corresponding driver files from the DVD You need only steer it in the right direction Windows has an Upgrade Device Driver...

Страница 28: ...hen the Properties button 5 Click the Driver tab and the Update Driver button 6 Insert the BenQ LCD Monitor DVD ROM into a DVD drive on the computer 7 In the Update Driver Software window select the o...

Страница 29: ...the Update Driver button 6 Insert the BenQ LCD Monitor DVD ROM into a DVD drive on the computer 7 In the Update Driver Software window select the option Browse my computer for driver software 8 Click...

Страница 30: ...ontrol keys Accesses the functions or menu items displayed on the screen right next to each key 2 Power key Turns the power on or off 1 2 The control keys are embedded in a touchpad and are indicated...

Страница 31: ...keys and are designated for particular functions 3 Select Menu to access the main menu 4 In the main menu follow the icons next to the control keys to make adjustments or selection See Navigating the...

Страница 32: ...page 33 Enters sub menus Custom Key 4 By default the key is the hot key for Contrast To change the default settings see Customizing the hot keys on page 33 Enters sub menus Menu Activates the main men...

Страница 33: ...and adjust the monitor until the noise disappears Customizing the hot keys The left 4 control keys also called custom keys perform as hot keys to provide direct access to pre defined functions You ca...

Страница 34: ...software named Palette Master and optimize the display color The calibration result will be saved under Color Adjustment Color Mode Calibration 1 or Calibration 2 See the provided Palette Master How...

Страница 35: ...s functions and settings Menu options that are not available will become grayed out And keys that are not available will be disabled and the corresponding OSD icons will disappear For more information...

Страница 36: ...tion 5 To return to the previous menu select 6 To exit the menu select Item Function Range Input Use this to change the input to that appropriate to your video cable connection type D Sub DVI HDMI DP...

Страница 37: ...ge 0 to 100 V Position Adjusts the vertical position of the screen image 0 to 100 Pixel Clock Adjusts the pixel clock frequency timing to synchronize with the analog input video signal See also Pictur...

Страница 38: ...return to the previous menu select 6 To exit the menu select Item Function Range Color Mode Select a color mode that best suits the type of images shown on the screen Standard For basic PC applicatio...

Страница 39: ...e subjects in the image 1 to 10 Color Temp 2800K Applies a color tint cool or warm to the image Color temperature is measured in K Kelvin degrees The display becomes reddish if the color temperature i...

Страница 40: ...duces the color gamut set by Rec 709 standards Hue Adjusts the degree of how we perceive colors Some color gradations may not be displayed well if this the setting has been adjusted R G B C M Y Satura...

Страница 41: ...N A V Contrast V V V V V V V N A V Sharpness V V V V V V V N A V Color Temp 2800K 3700K 5000K 5500K 6500K 7000K 7500K 8200K 9300K N A N A 2800K 3700K N A N A 2800K 3700K 5000K 5500K 6500K 7000K 7500K...

Страница 42: ...Display Color Adjustment Ergonomics Eco PIP PBP System Mode AdobeRGB On Off Eye Protect Eye Protect Meter Smart Reminder Time Interval min Duration sec Item Function Range Eye Protect available when...

Страница 43: ...rt Reminder Decides to display the pop up message that reminds you to rest your eyes ON OFF Time interval min Sets the interval of the reminder message 20 40 60 80 100 Duration sec Sets the time the r...

Страница 44: ...vious menu select 6 To exit the menu select Display Color Adjustment Ergonomics Eco PIP PBP System Mode AdobeRGB On Off ECO Sensor Sensor Range Item Function Range Eco Sensor Your monitor comes with a...

Страница 45: ...45 Navigating the main menu Sensor Range Decides how far the sensor can detect Near Middle Far Item Function Range...

Страница 46: ...previous menu select 6 To exit the menu select Item Function Range Mode Sets the PIP or PBP mode Pictures from two independent video sources as one is analog and the other is digital are displayed on...

Страница 47: ...cond video source for the PIP PBP mode VGA DVI D HDMI DP Mini DP PIP Size Determines the size of the inset window in the PIP mode Small Medium Large H Position Adjusts the horizontal position of the i...

Страница 48: ...ct Menu from the hot key menu 2 Use or to select System 3 Select to go to a sub menu and then use or to select a menu item 4 Use or to make adjustments or use to make selection 5 To return to the prev...

Страница 49: ...ish Fran ais Deutsch Italiano Espa ol Polski esky Magyar SiCG BiH CRO Rom n Nederlands Svenska Portugu s Display Time Adjusts the display time of the OSD menu 5 sec 10 sec 15 sec 20 sec 25 sec 30 sec...

Страница 50: ...range setting on the connected HDMI device RGB 0 255 RGB 16 235 Uniformity If activated this function compensates the variation in brightness across the display area so the whole display area looks u...

Страница 51: ...ws the monitor settings to be set through the software on the PC DDC CI short for Display Data Channel Command Interface which was developed by Video Electronics Standards Association VESA DDC CI capa...

Страница 52: ...n One of several pixels is permanently black one or more pixels are permanently white one or more pixels are permanently red green blue or another color Clean the LCD screen Cycle power on off These a...

Страница 53: ...ustments based on these instructions You are running the monitor at its native resolution but the image is still distorted Images from different input sources may appear distorted or stretched on the...

Страница 54: ...rs reflect light and the sensor cannot detect the main light sources The Eco sensor of the monitor does not work well The Eco sensor is located at the front bottom of the monitor Check if there are an...

Отзывы: