10 Introduction
6.
SOURCE
Displays the source selection bar.
7.
ECO BLANK
Used to hide the screen picture.
Do not block the projection lens from
projecting as this could cause the blocking
object to become heated and deformed or
even cause a fire.
8.
OK
Confirms the selected On-Screen Display
(OSD) menu item.
9.
AUTO
Automatically determines the best picture
timings for the displayed image when PC signal
(analog RGB) is selected.
10.
MENU
Turns on the On-Screen Display (OSD) menu.
11. Source selection buttons
Only
PC 1
is available.
12.
(No function.)
13. MHL control buttons
(
Previous, Play/Pause, Next,
Rewind, Stop, Fast-forward)
(No function.)
14.
LASER
Emits visible laser pointer light for
presentation purposes.
15.
ZOOM+
/
ZOOM-
Magnifies or reduces the projected picture
size.
16.
PAGE
/
PAGE
Operate your display software program (on a
connected PC) which responds to page
up/down commands (like Microsoft
PowerPoint).
17.
INFO
Displays the projector information.
18.
FREEZE
Freezes the projected image.
19.
ASPECT
Selects the display aspect ratio.
20.
MODE
Selects an available picture setup mode.
21.
SMART ECO
Displays the
Lamp Mode
menu for selecting
a suitable lamp operating mode.
22.
QUICK INSTALL
Quickly selects several functions to adjust the
projected image and displays the test pattern.
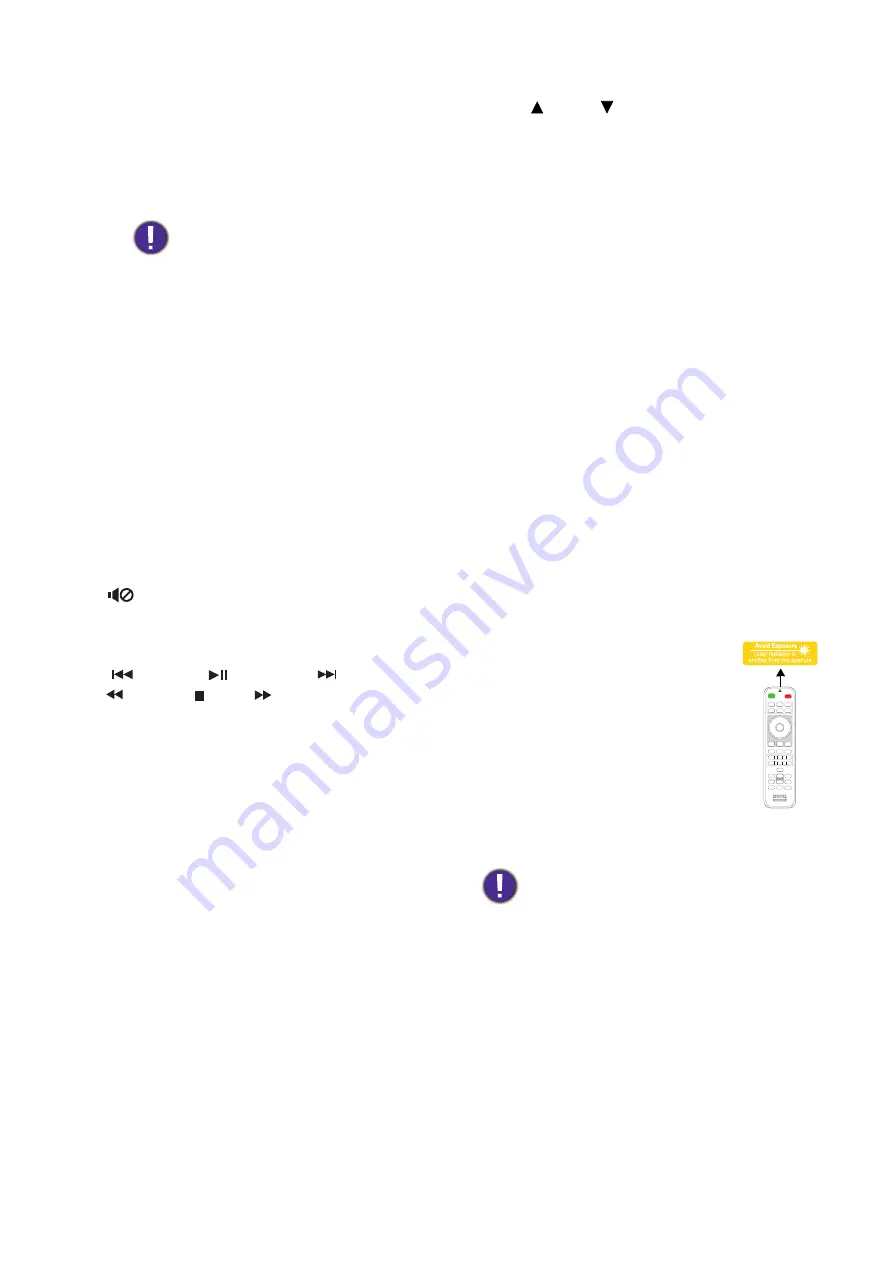
Operating the LASER pointer
The Laser Pointer is a presentation
aid for professionals. It emits red
colored light when you press it. The
laser beam is visible. It is necessary to
press and hold
LASER
for
continuous output.
The laser pointer is not a toy. Parents
should be mindful of the dangers of
laser energy and keep this remote
control out of the reach of children.
Do not look into the laser light window or
shine the laser light beam on yourself or others.
See the warning messages on the back of the
remote control prior to using it.


